
Recently I had a friend ask me if I had the time to build him a desk for his new home office. He was concerned about time because my wife and I had just welcomed our first child a month earlier. So, naturally, I agreed immediately to do the build. It was one of those times that I was going to ask for forgiveness rather than permission.
After talking with Travis about what he was looking for in a home office desk, I had my inspiration. He sent me a picture of what he wanted and asked me to replicate it.
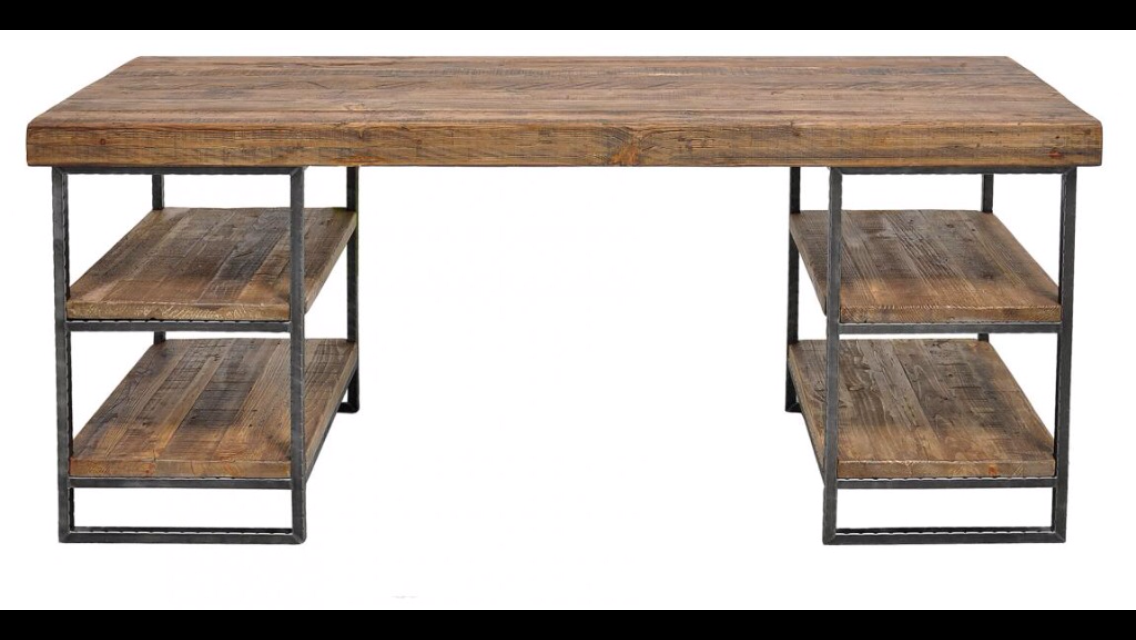
This is what Travis wanted me to try and replicate
The first part of the build I planned on was wood for the desktop and shelves. After three renderings, we decided the final measurements should be 60″W x 31″H x 28″ D. With the dimensions agreed upon I set out to rip down some wood to size. This is my favorite part of a build because almost nothing smells better than fresh cut wood. After the wood was cut to size, it was time to construct the desktop and shelves.
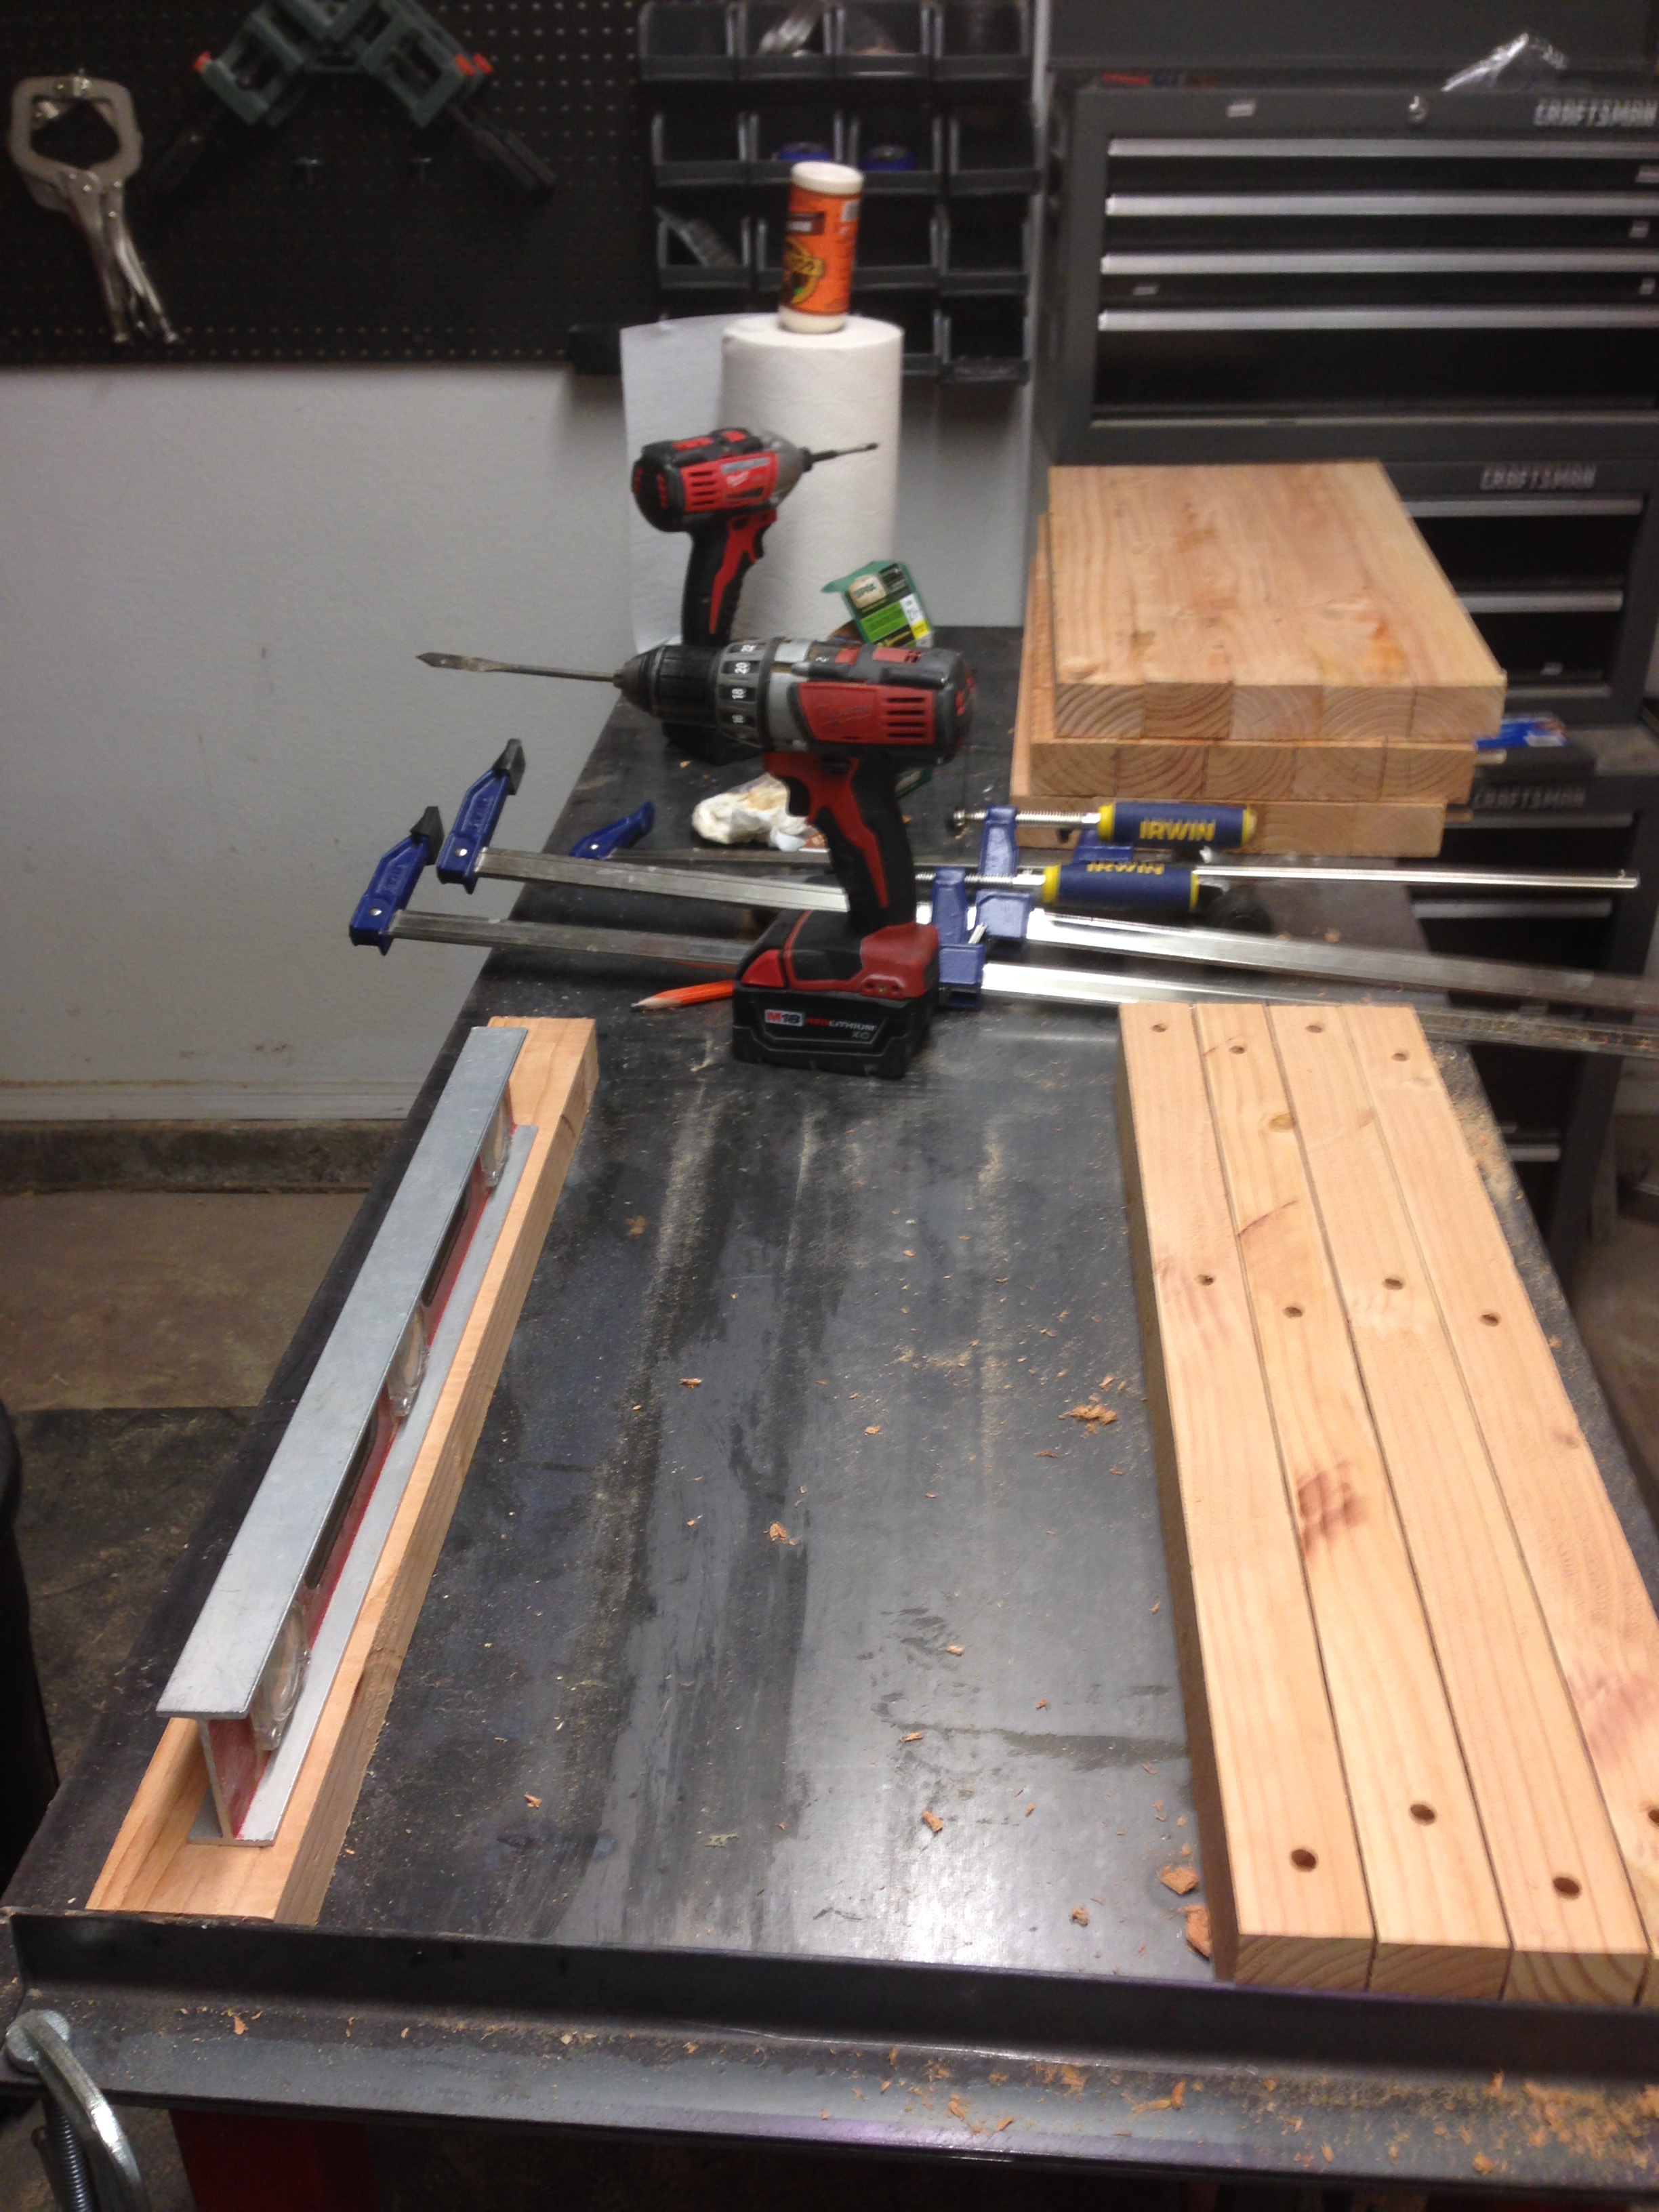
Here is the Last of the four shelves getting secured together
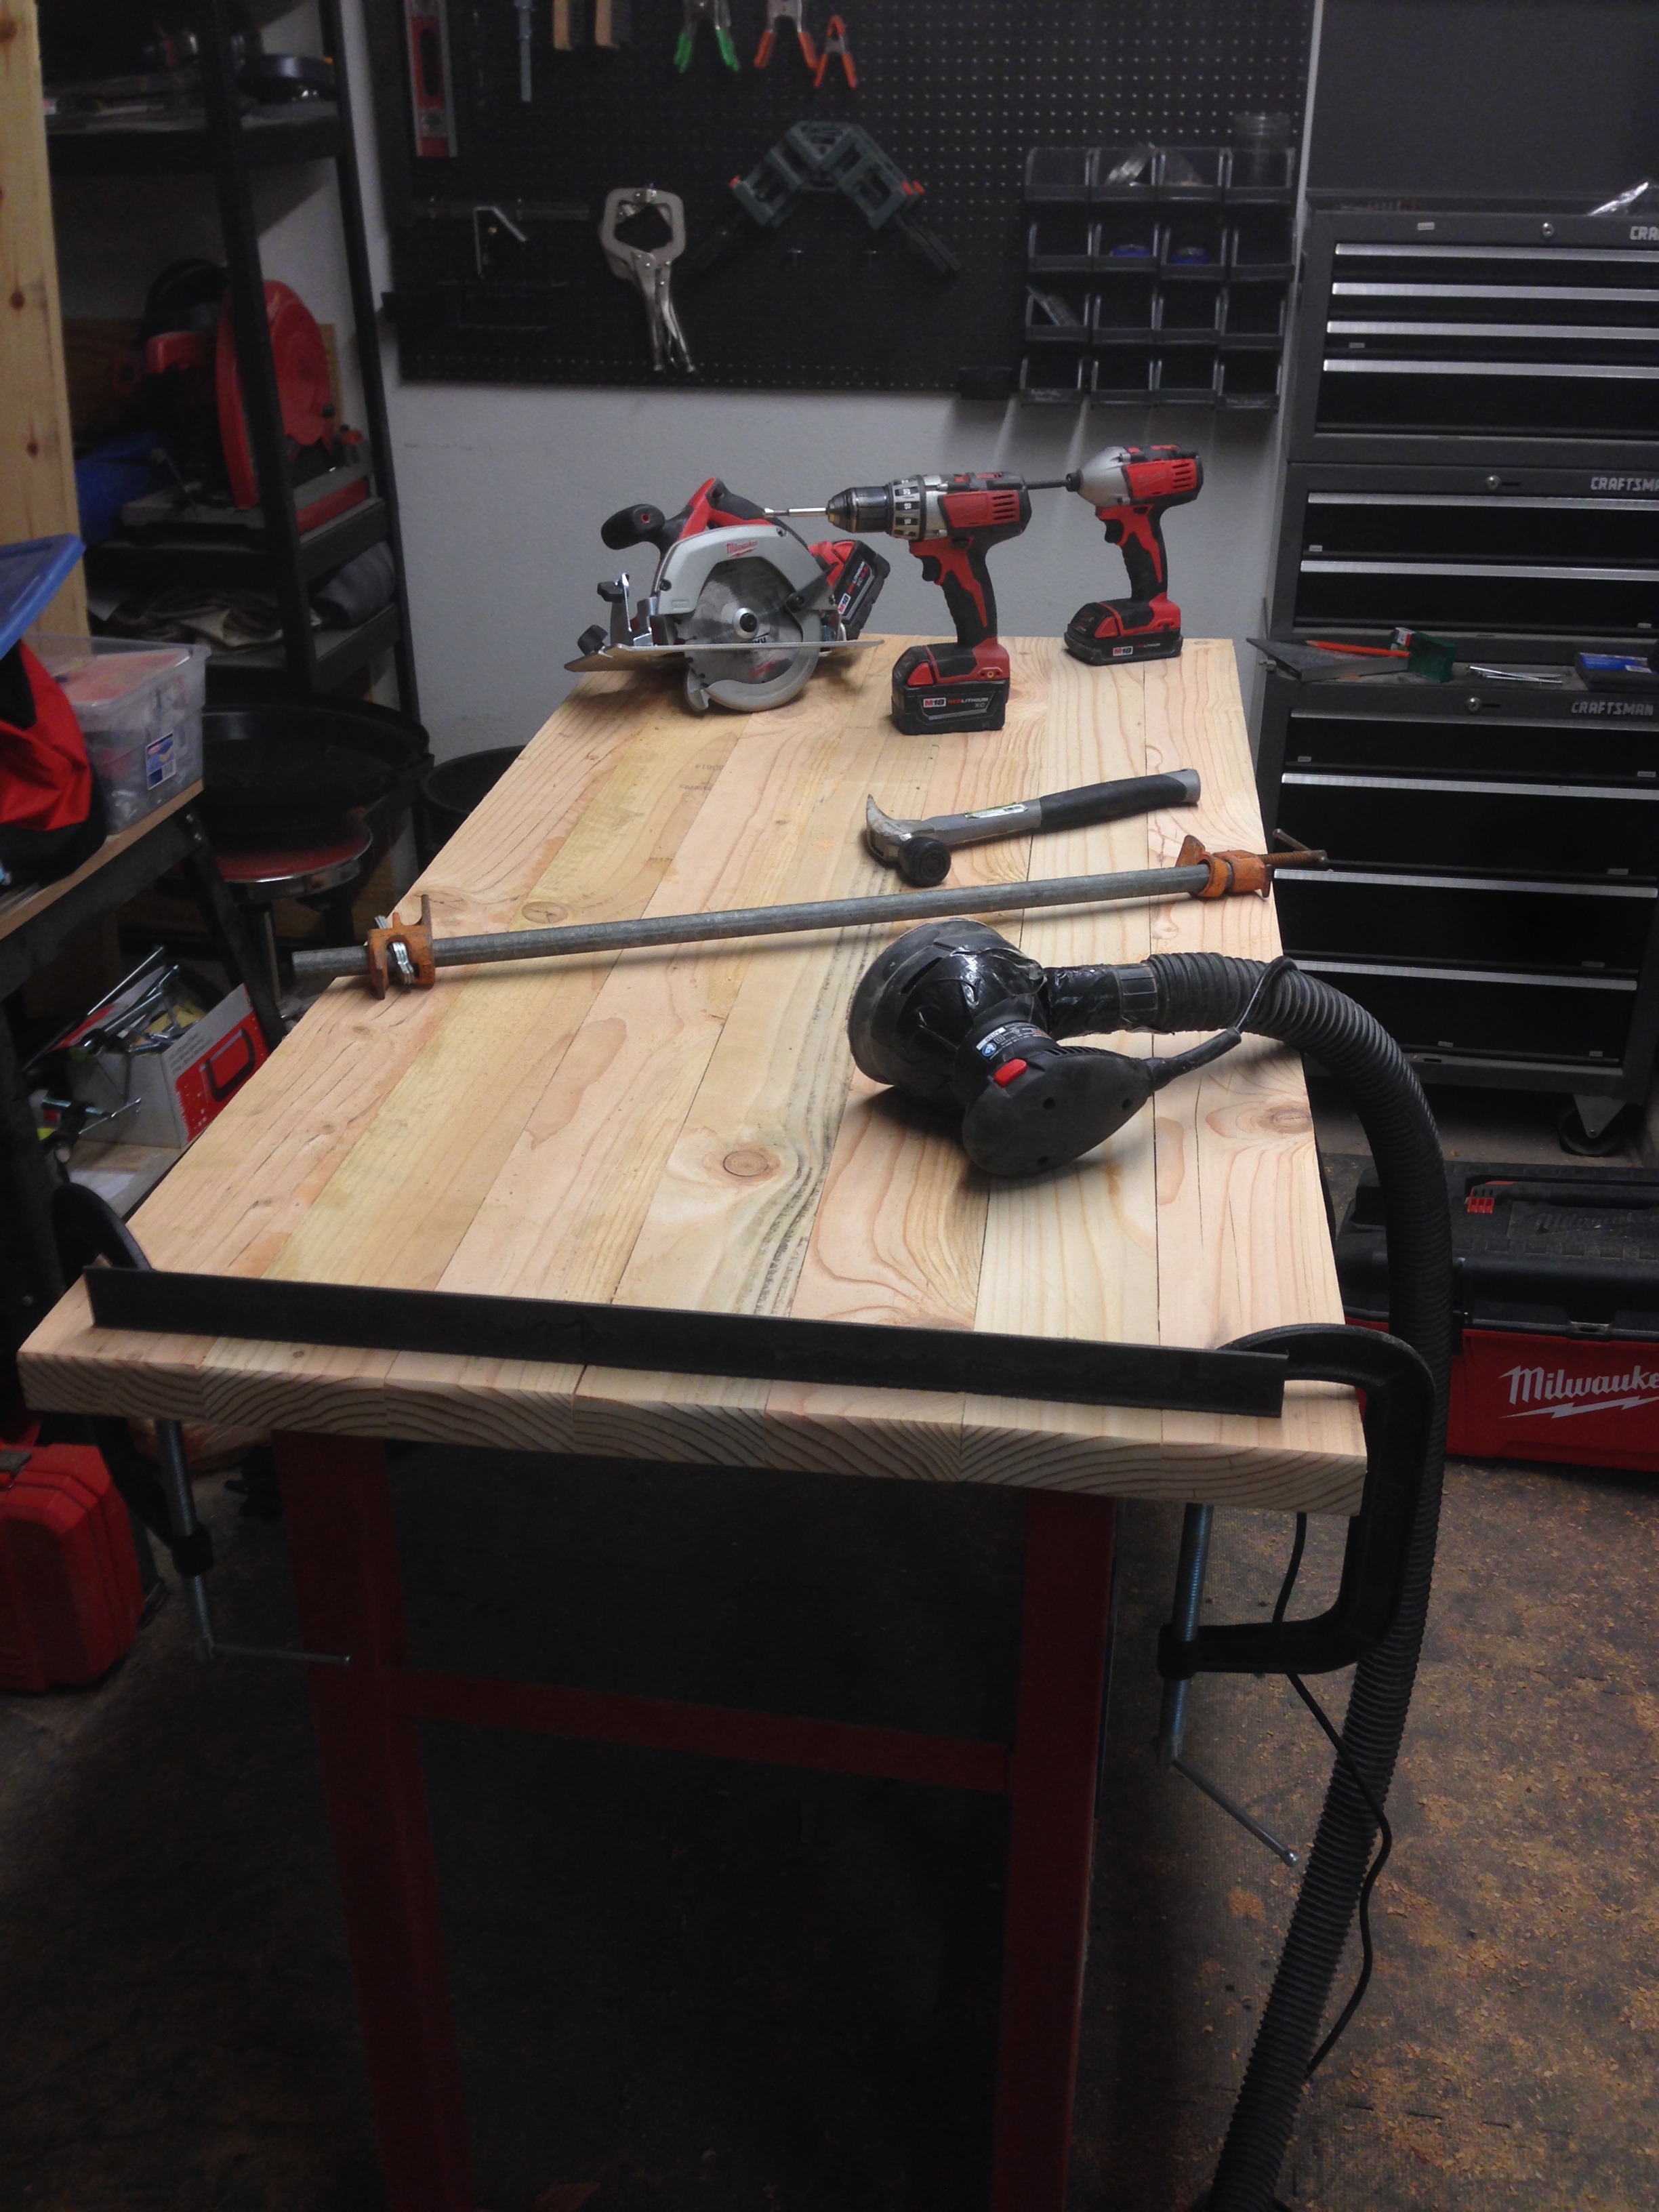
This is the desk top construction. Going to take lots of sanding!
Once the shelves and desktop were joined together it was time to stain. A trick I have learned in making wood look vintage is to soak steel wool in vinegar over night, but I needed to make it darker, so I added walnut stain to soak for two days. Once I put it on the wood I could not love it anymore. Added on top of the stain is two coats of clear.
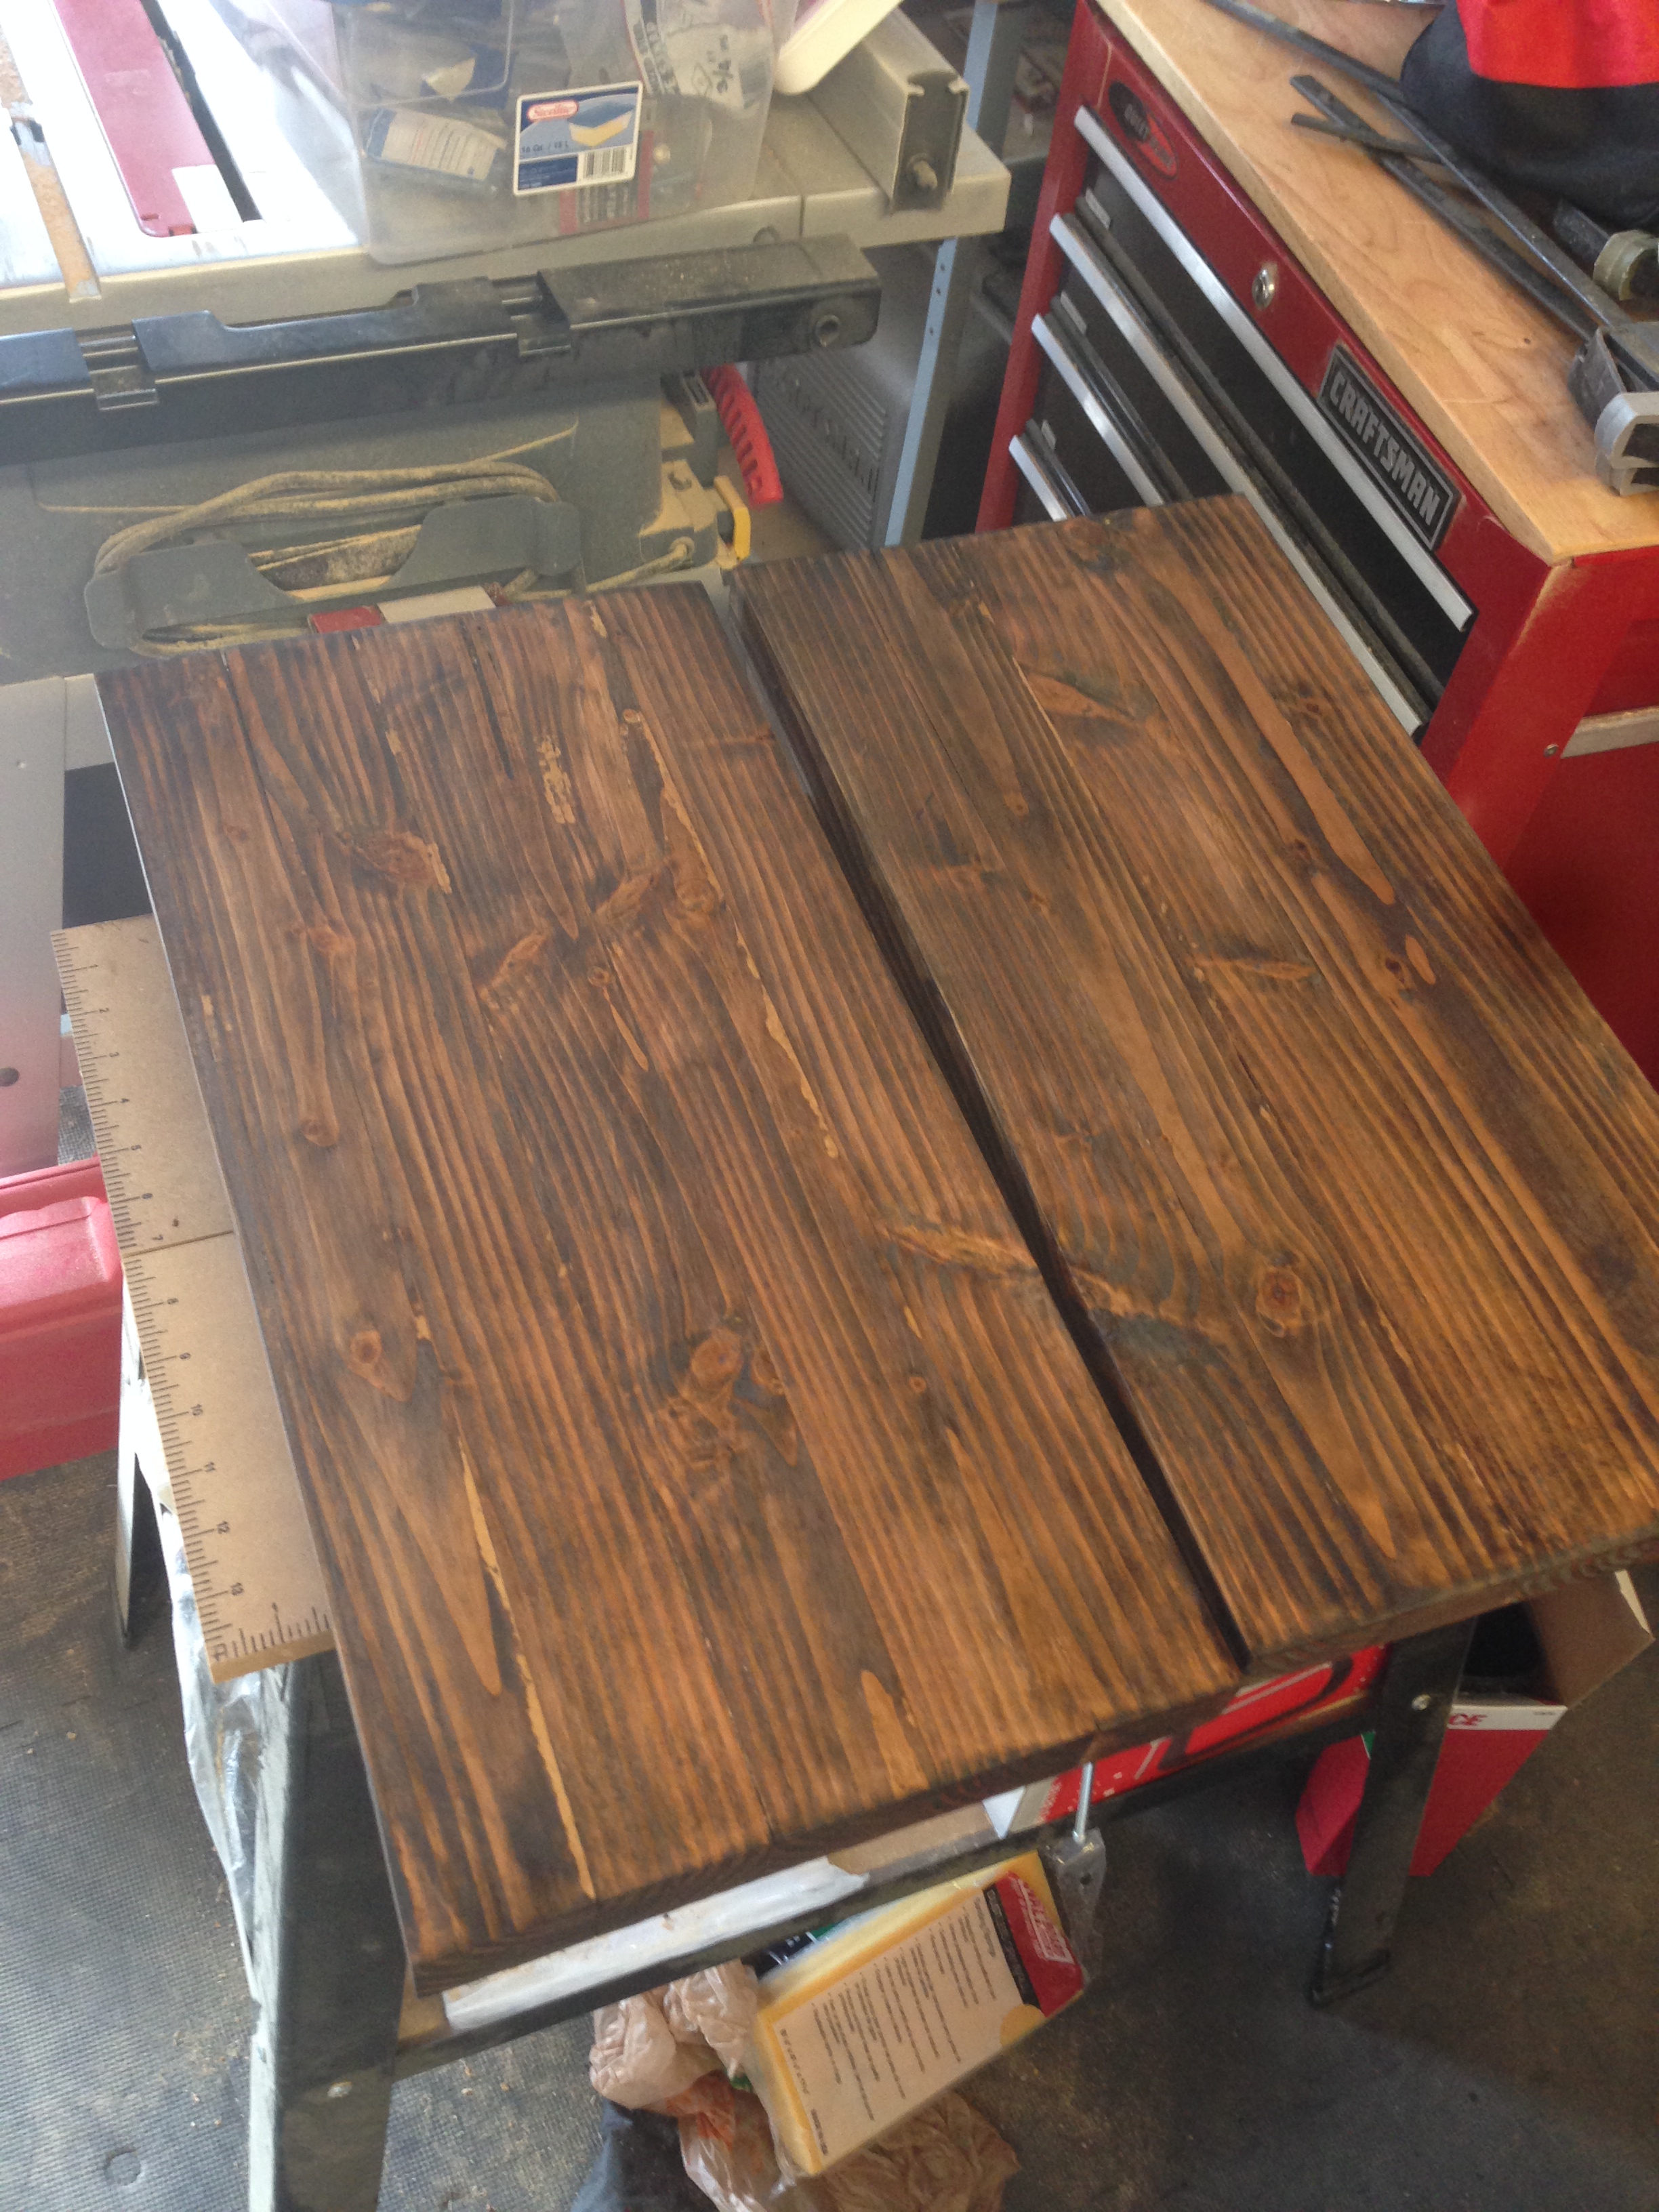
Stain came out perfect after a couple coats of clear
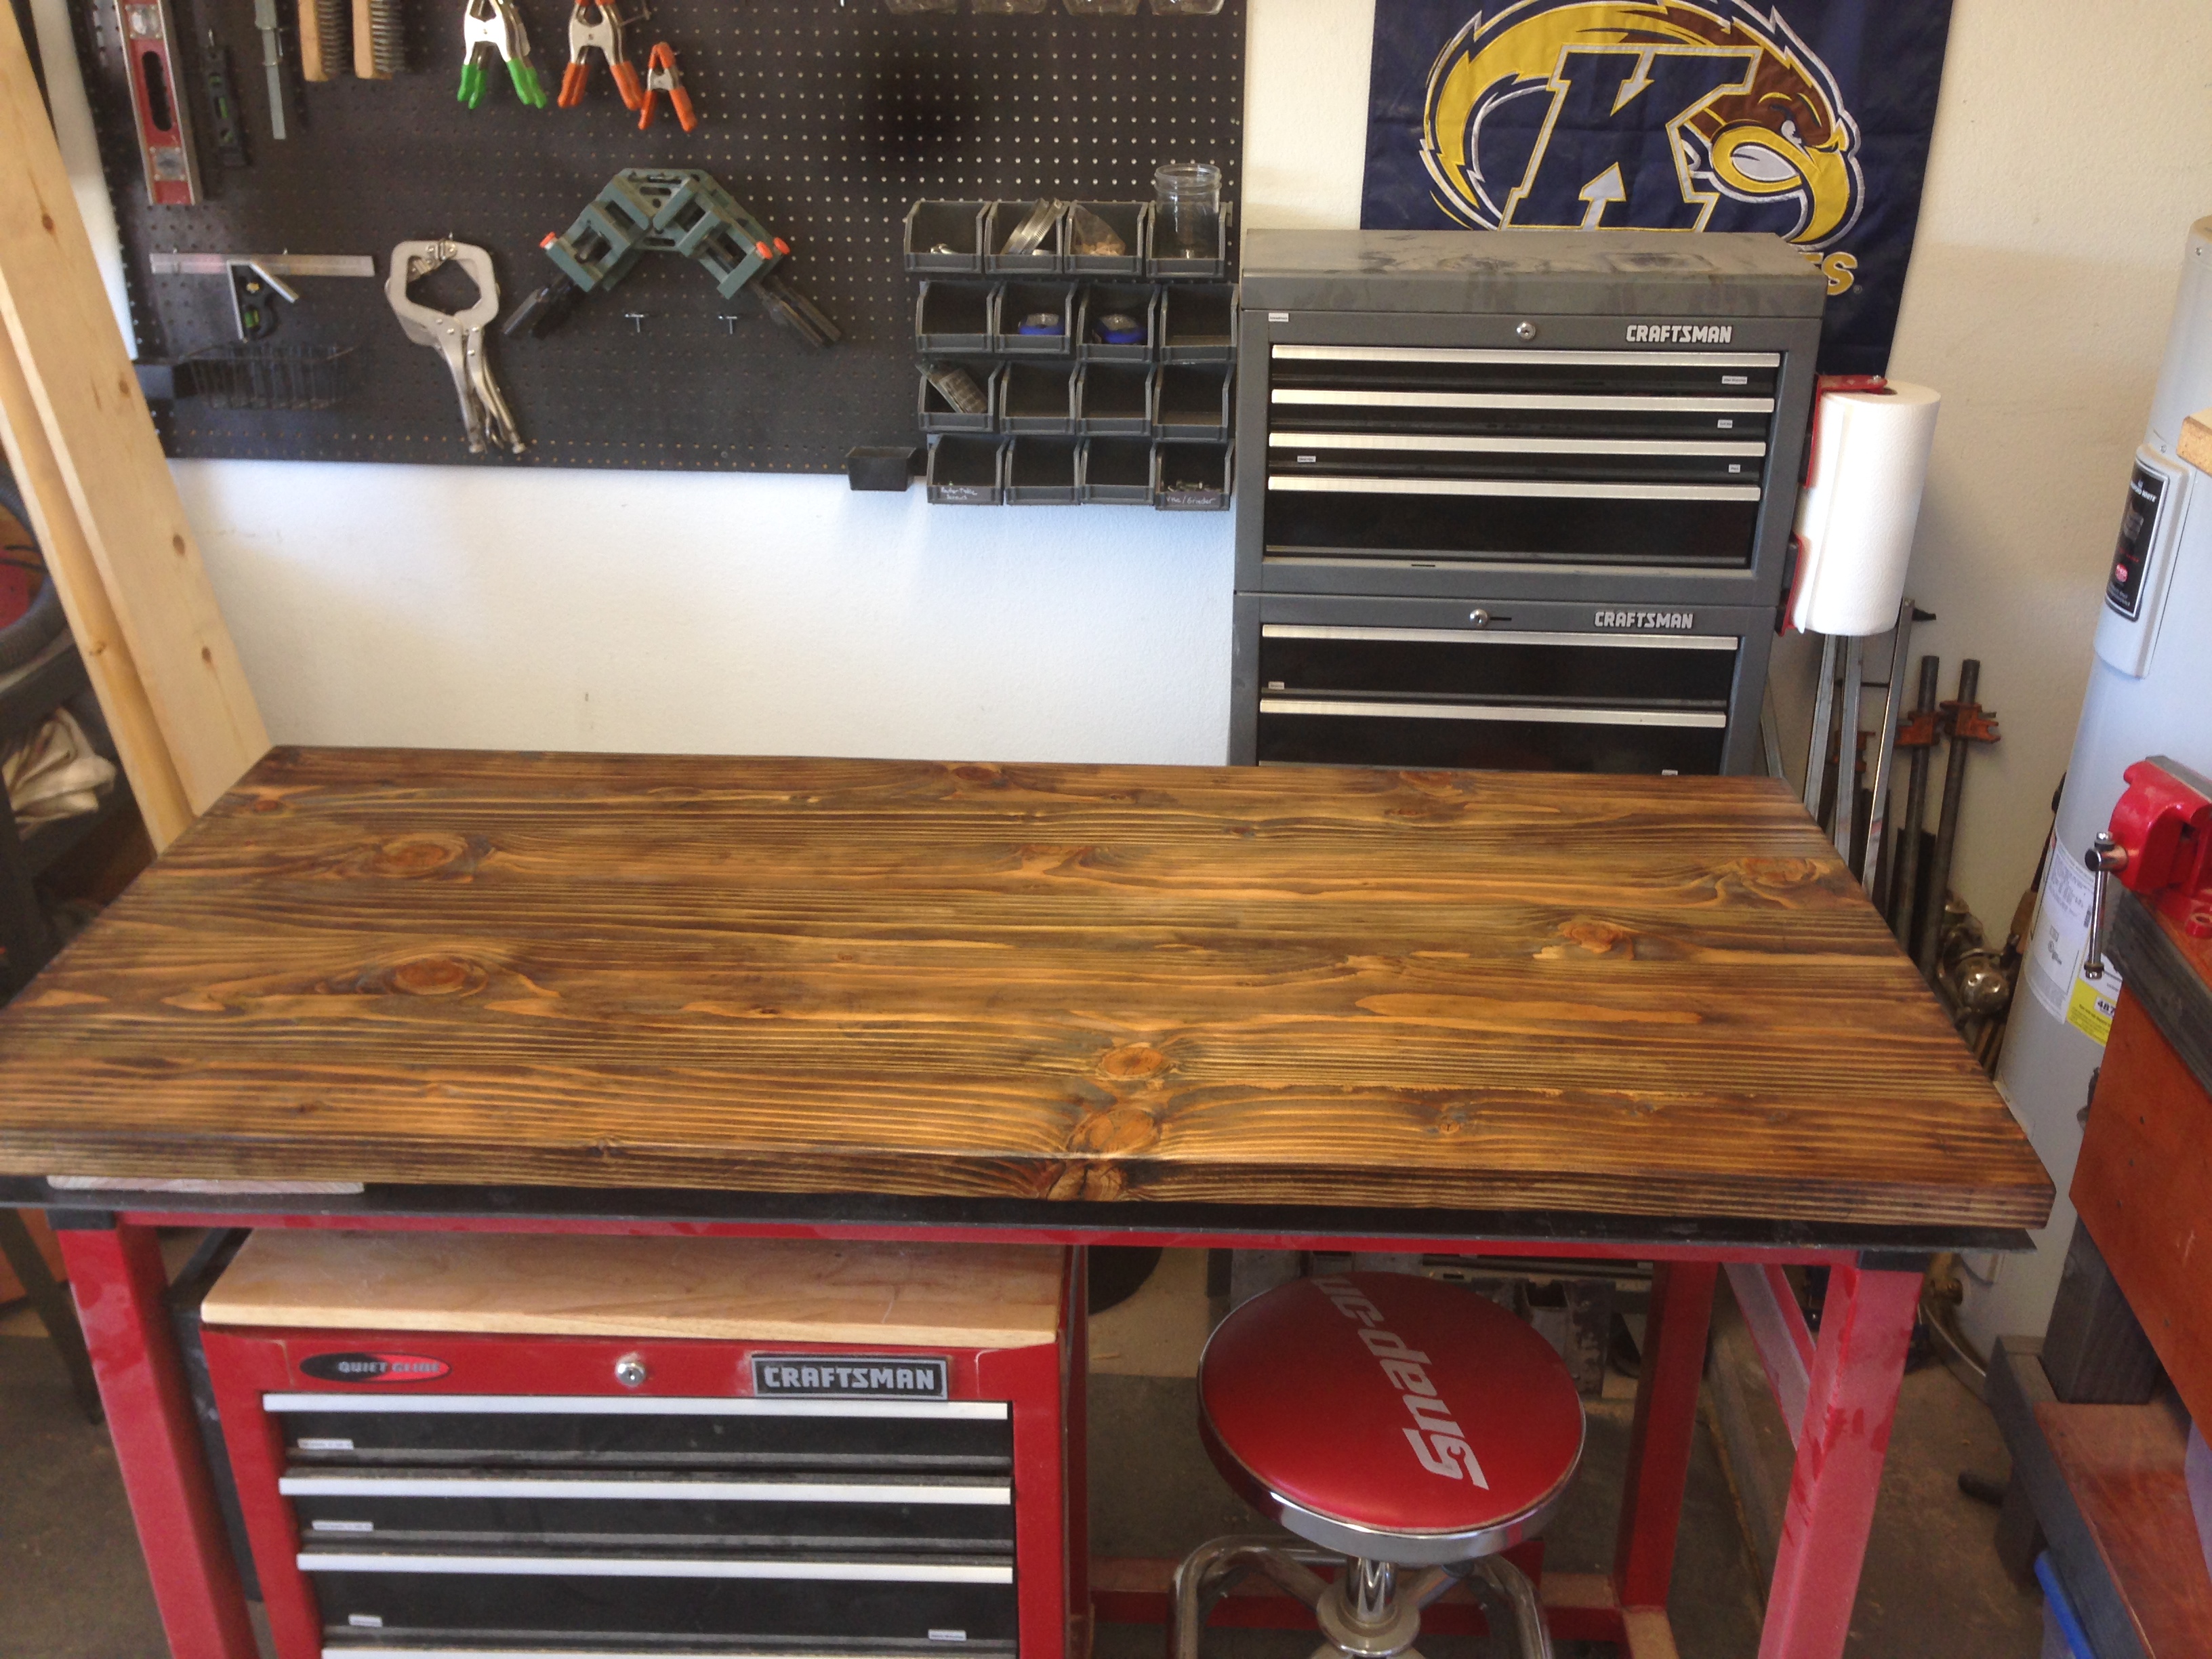
The desk top with stain and clear.
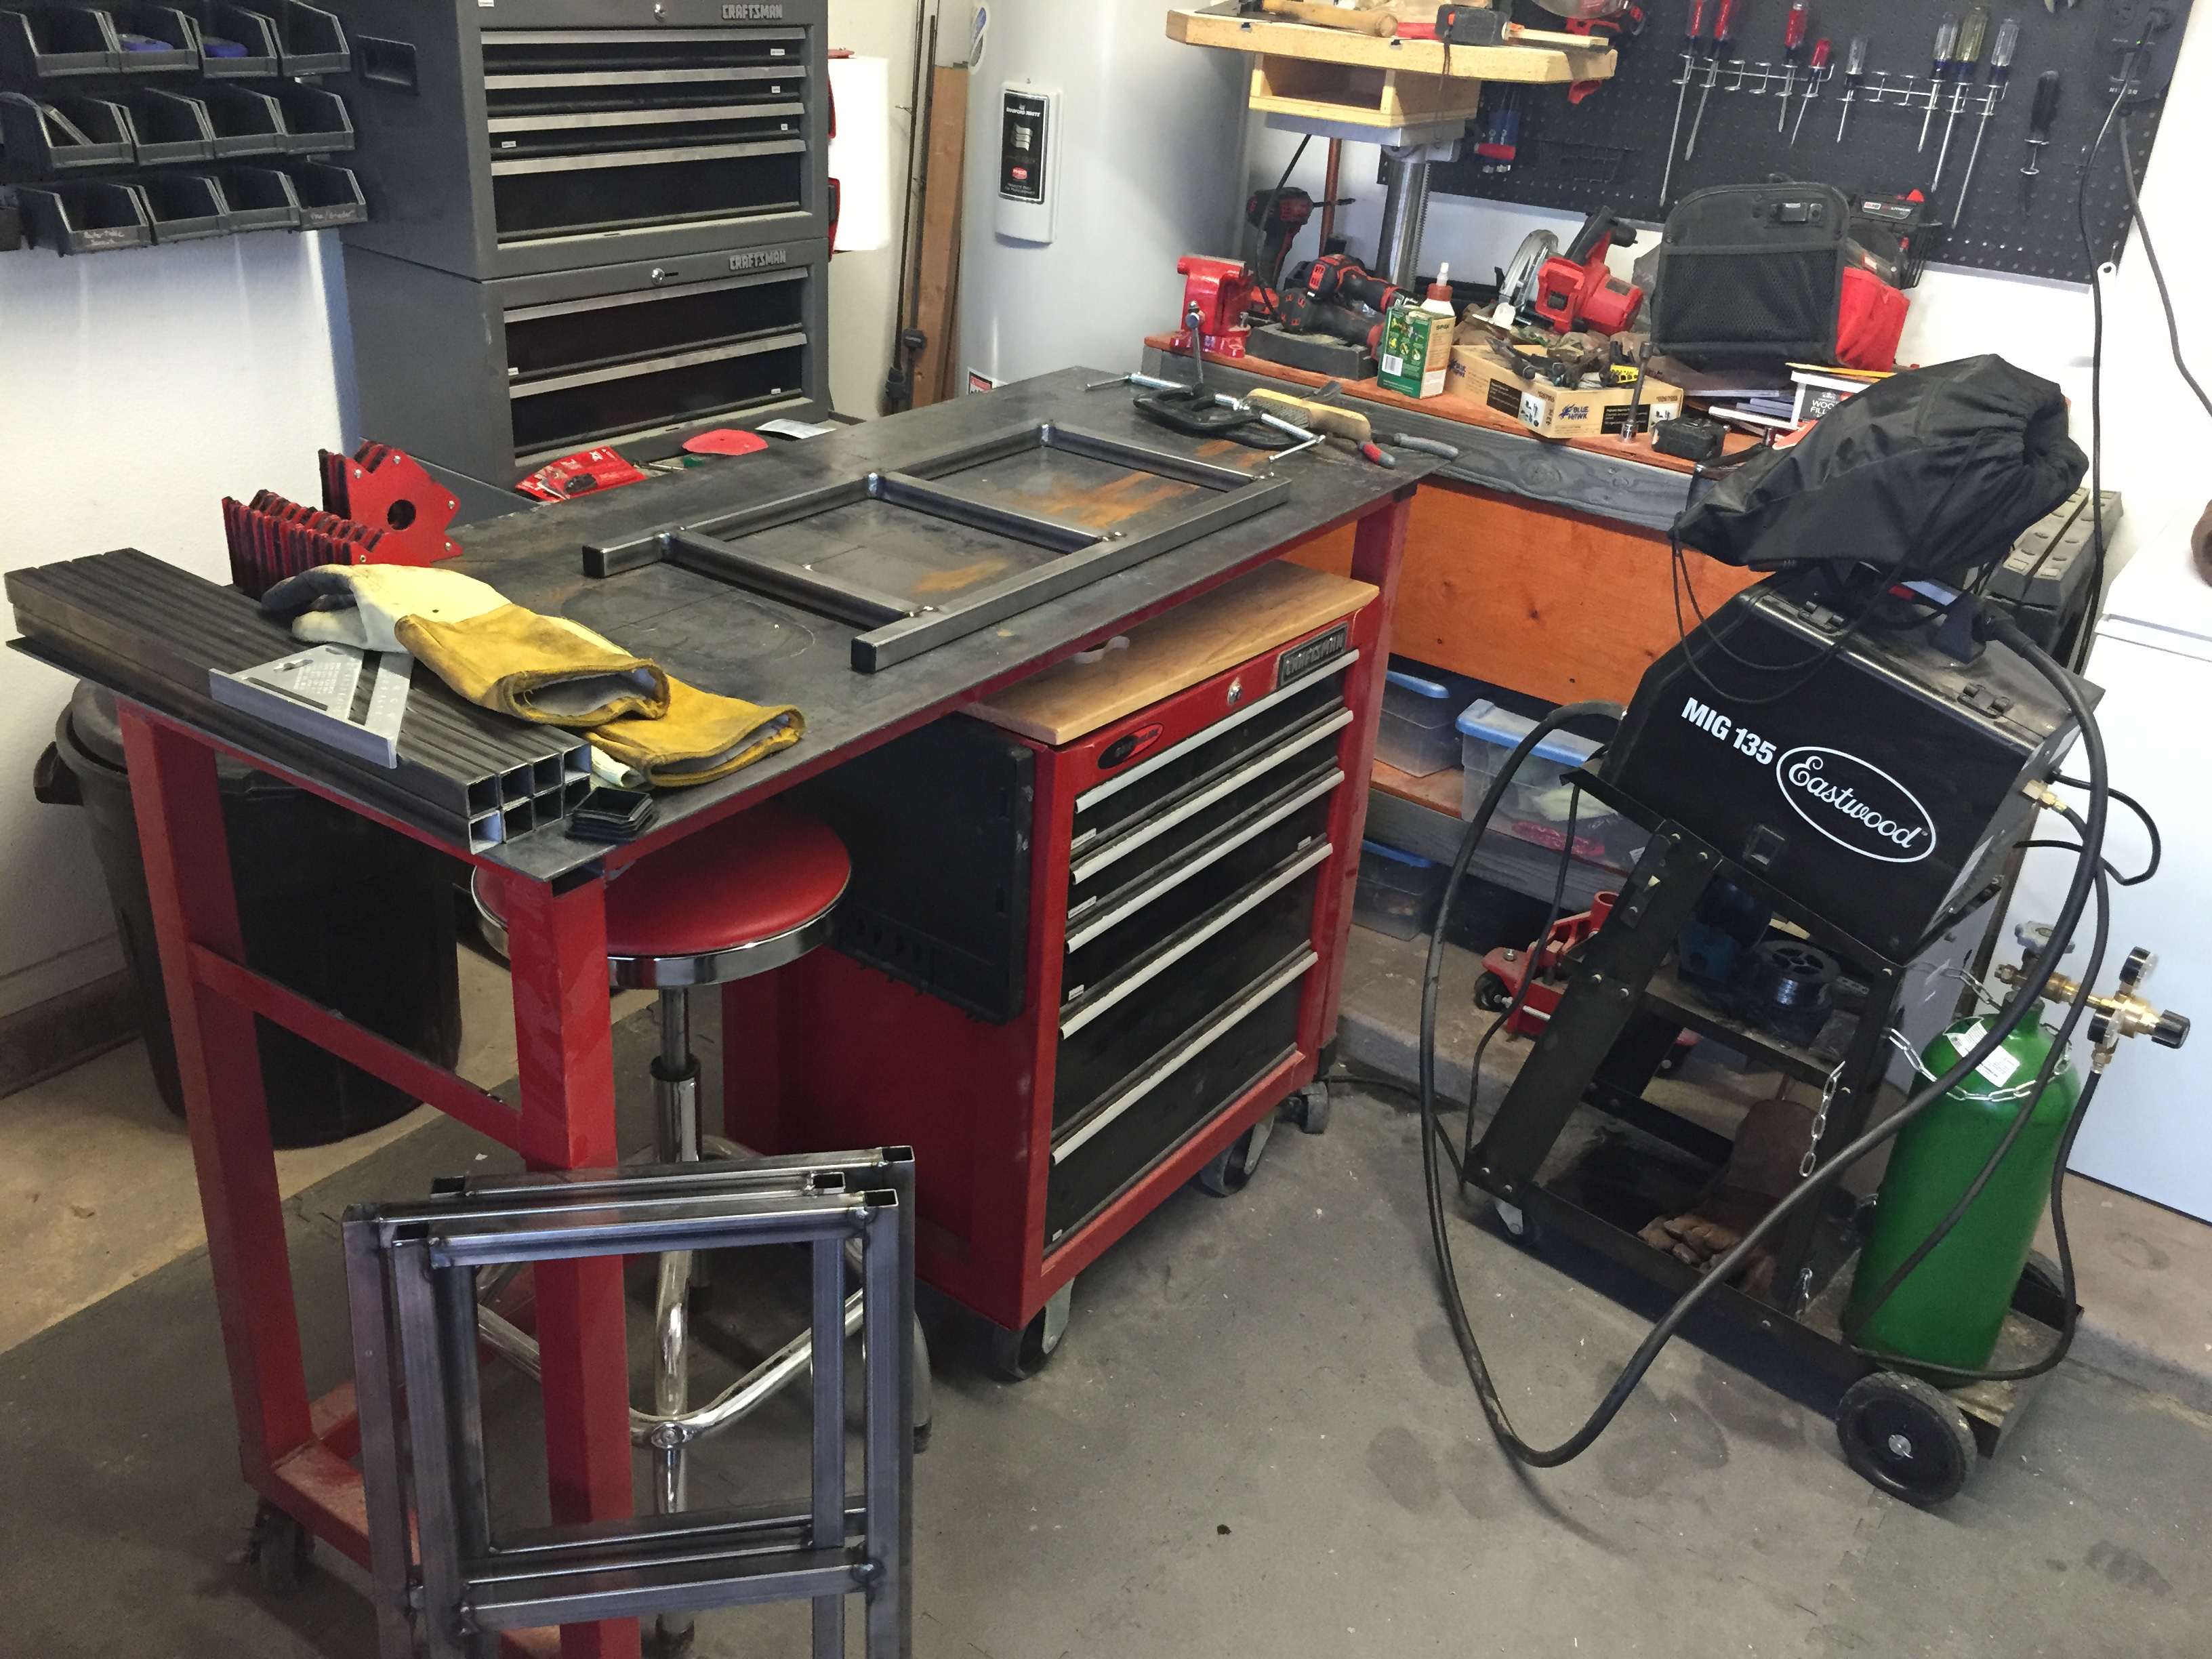
With all the wood complete for the desk it was time to get the metal cut, welded and painted.
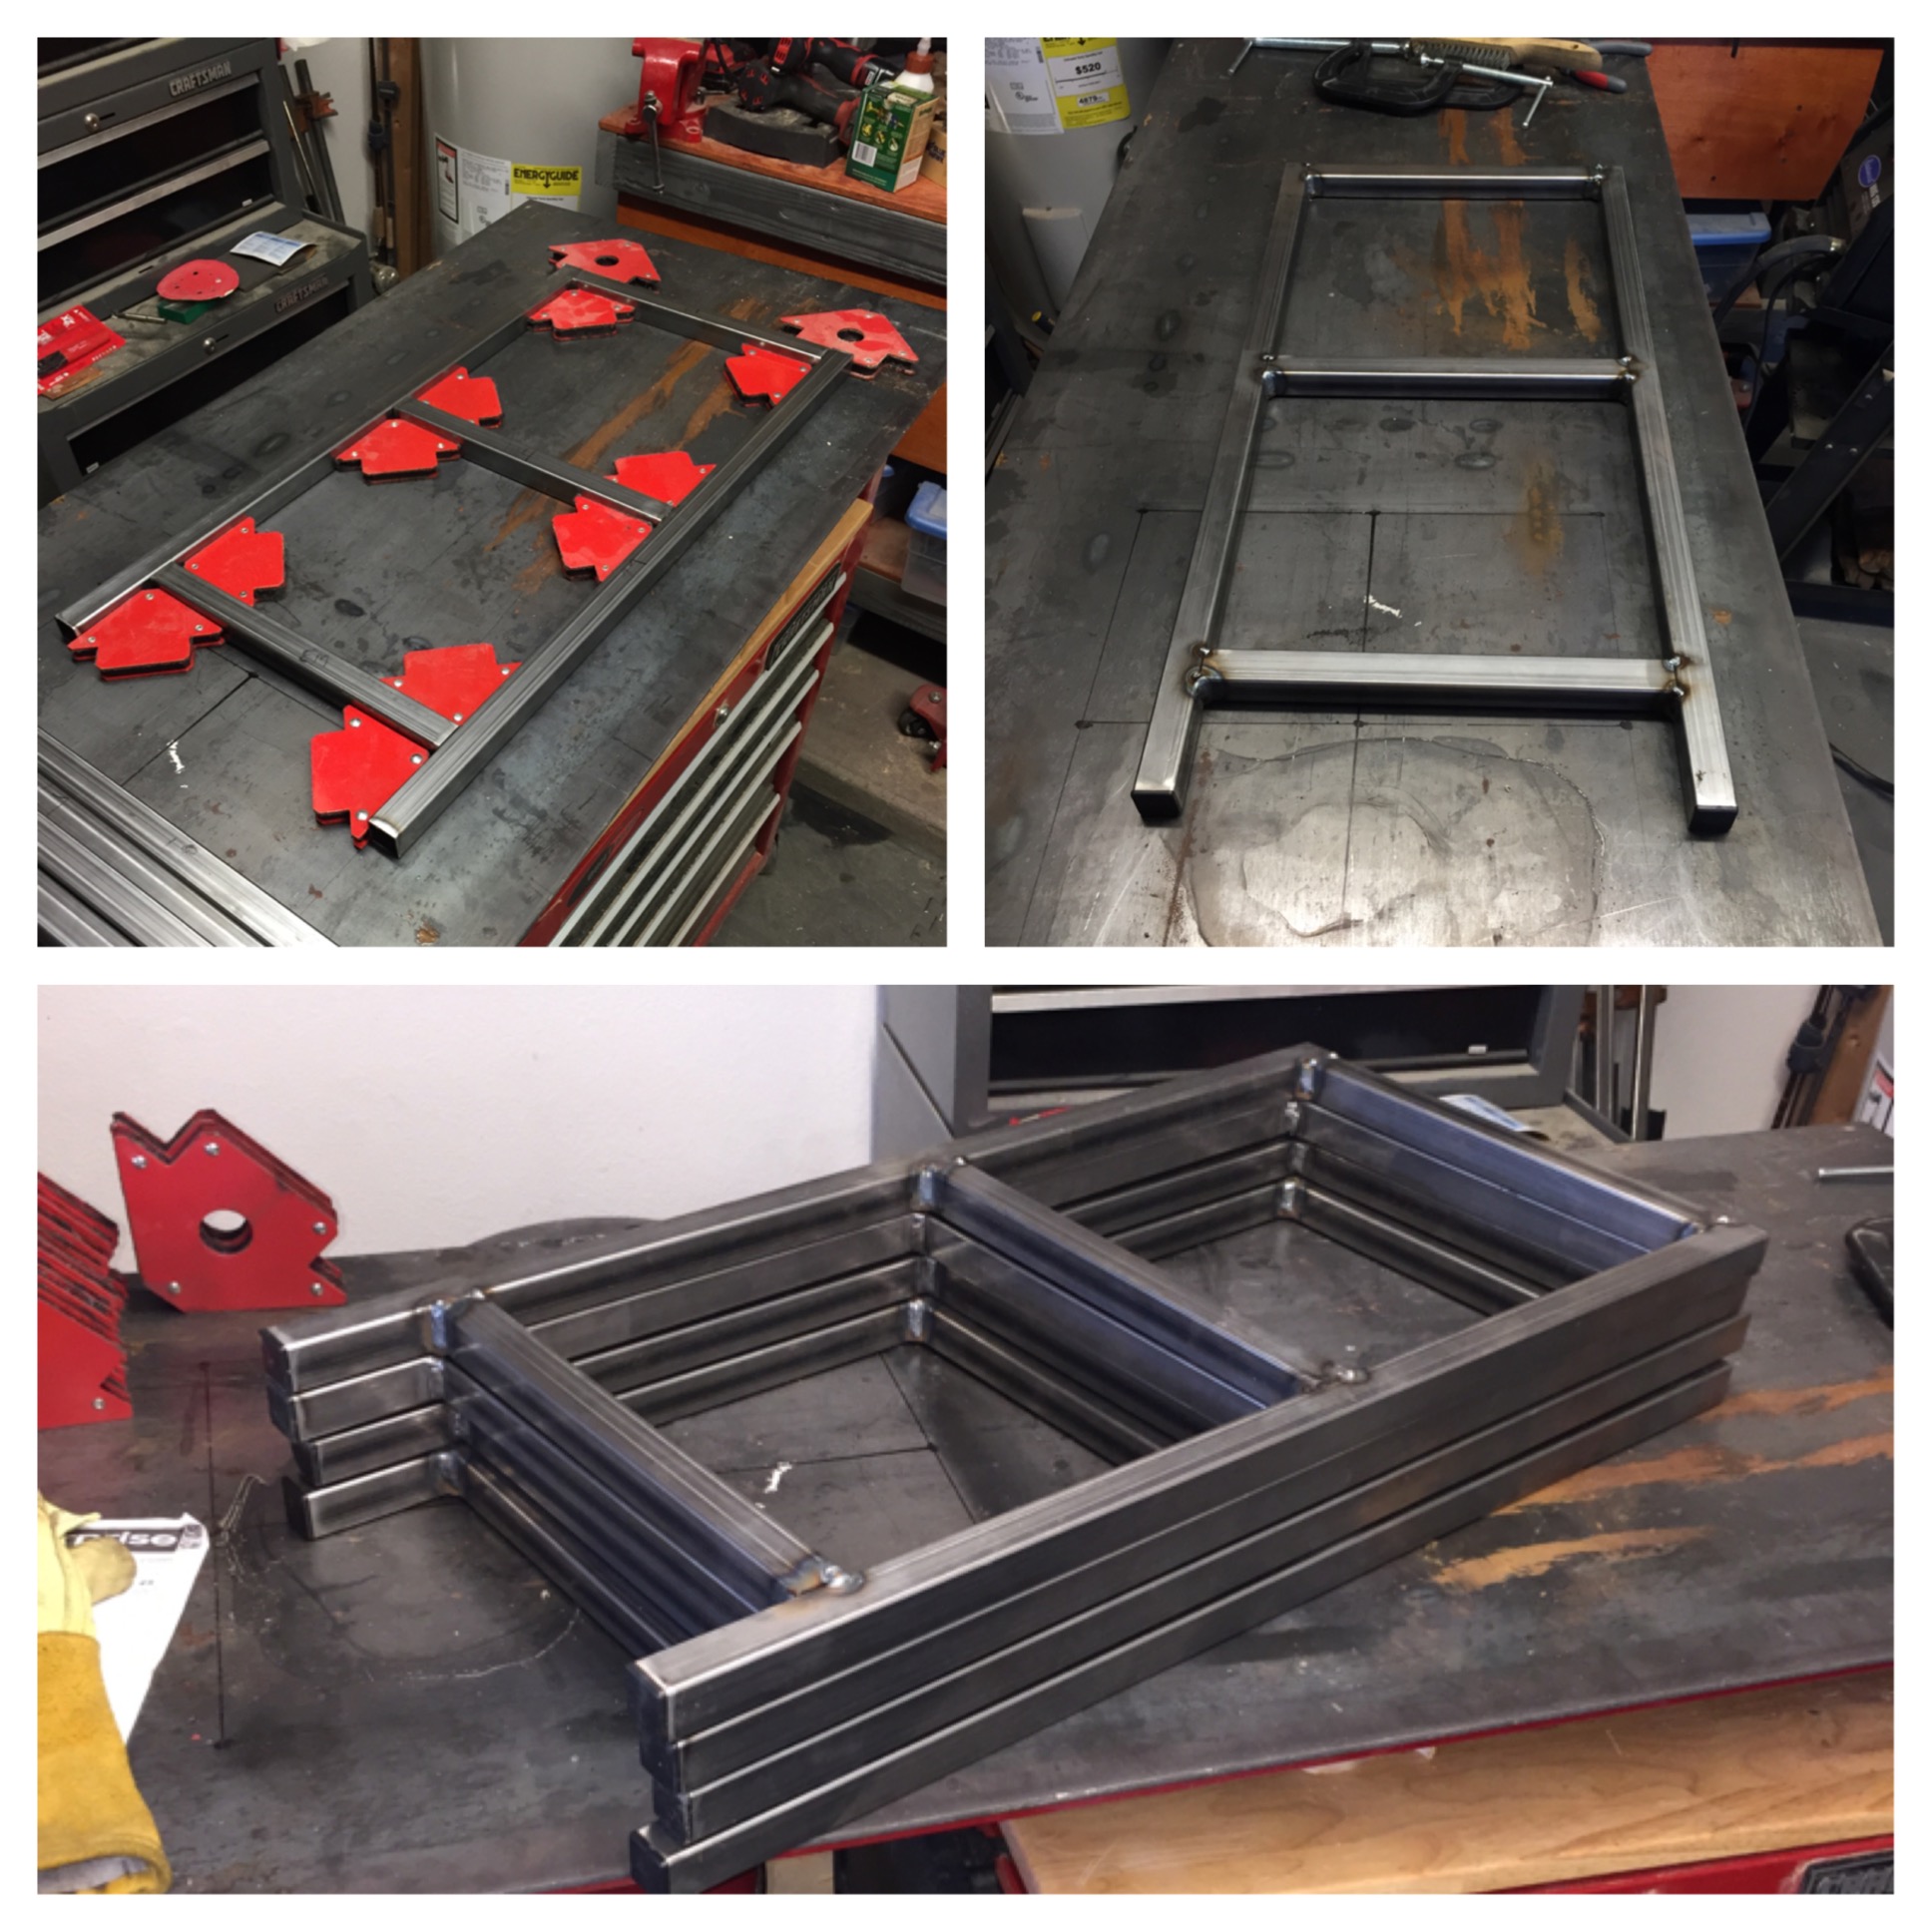
Fitting up the shelving frames
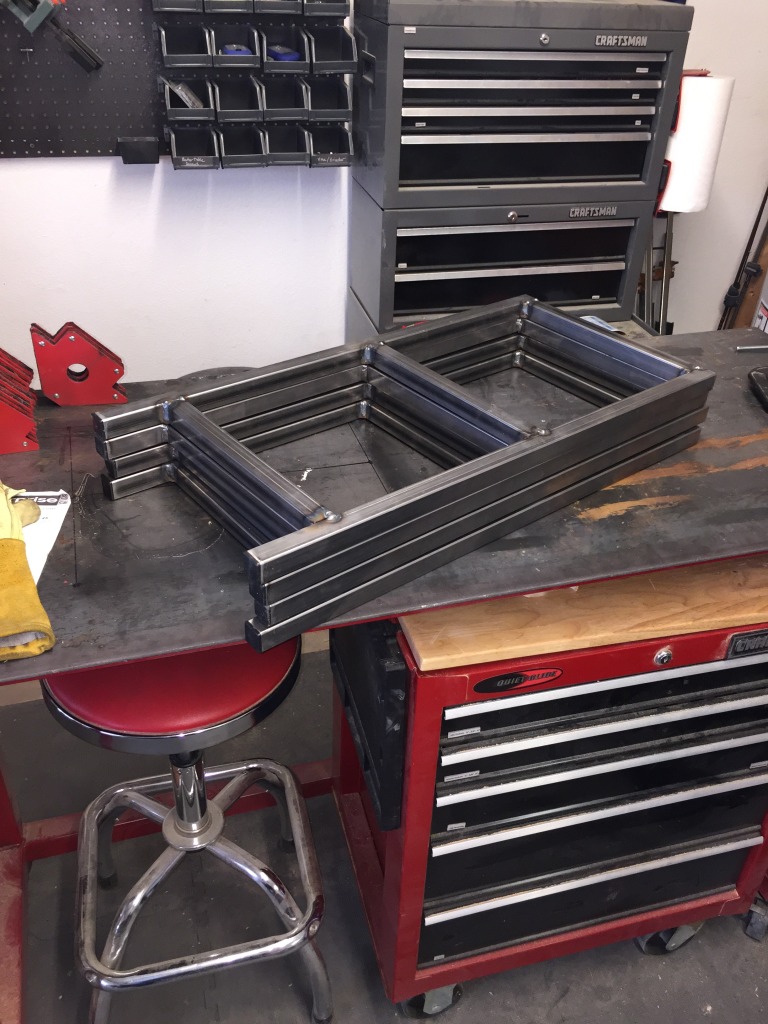
Once the front and rear leg frames were welded, I welded two together with four braces to make the two shelving frames. At this time I also drilled holes through the metal frame where I planned on securing the wood top and shelves . Then using an angle grinder I went over all the welds and holes to make them smooth.
I took the tow frames and added the wood elements to see the contrast of the metal on wood colors before painting
I decided to give the desk the next look possible, I would paint the metal frames. For my paint choice I decided to go with the Rust-oleum Universal Flat Metallic Soft Iron Color. I let the paint dry over night before attaching the wood top and shelves. I chose to use Spax 2″ hex lags to join them together. I pre drilled holes in the metal frame before painting to secure the wood to the metal from underneath. I had to measure out the lip on the front, back and sides before attaching the two metal frames to the wood top. After the top was secured I attached the top two shelves while the table was right side up. To complete the two bottom shelves I flipped the entire table over to secure the final shelves.
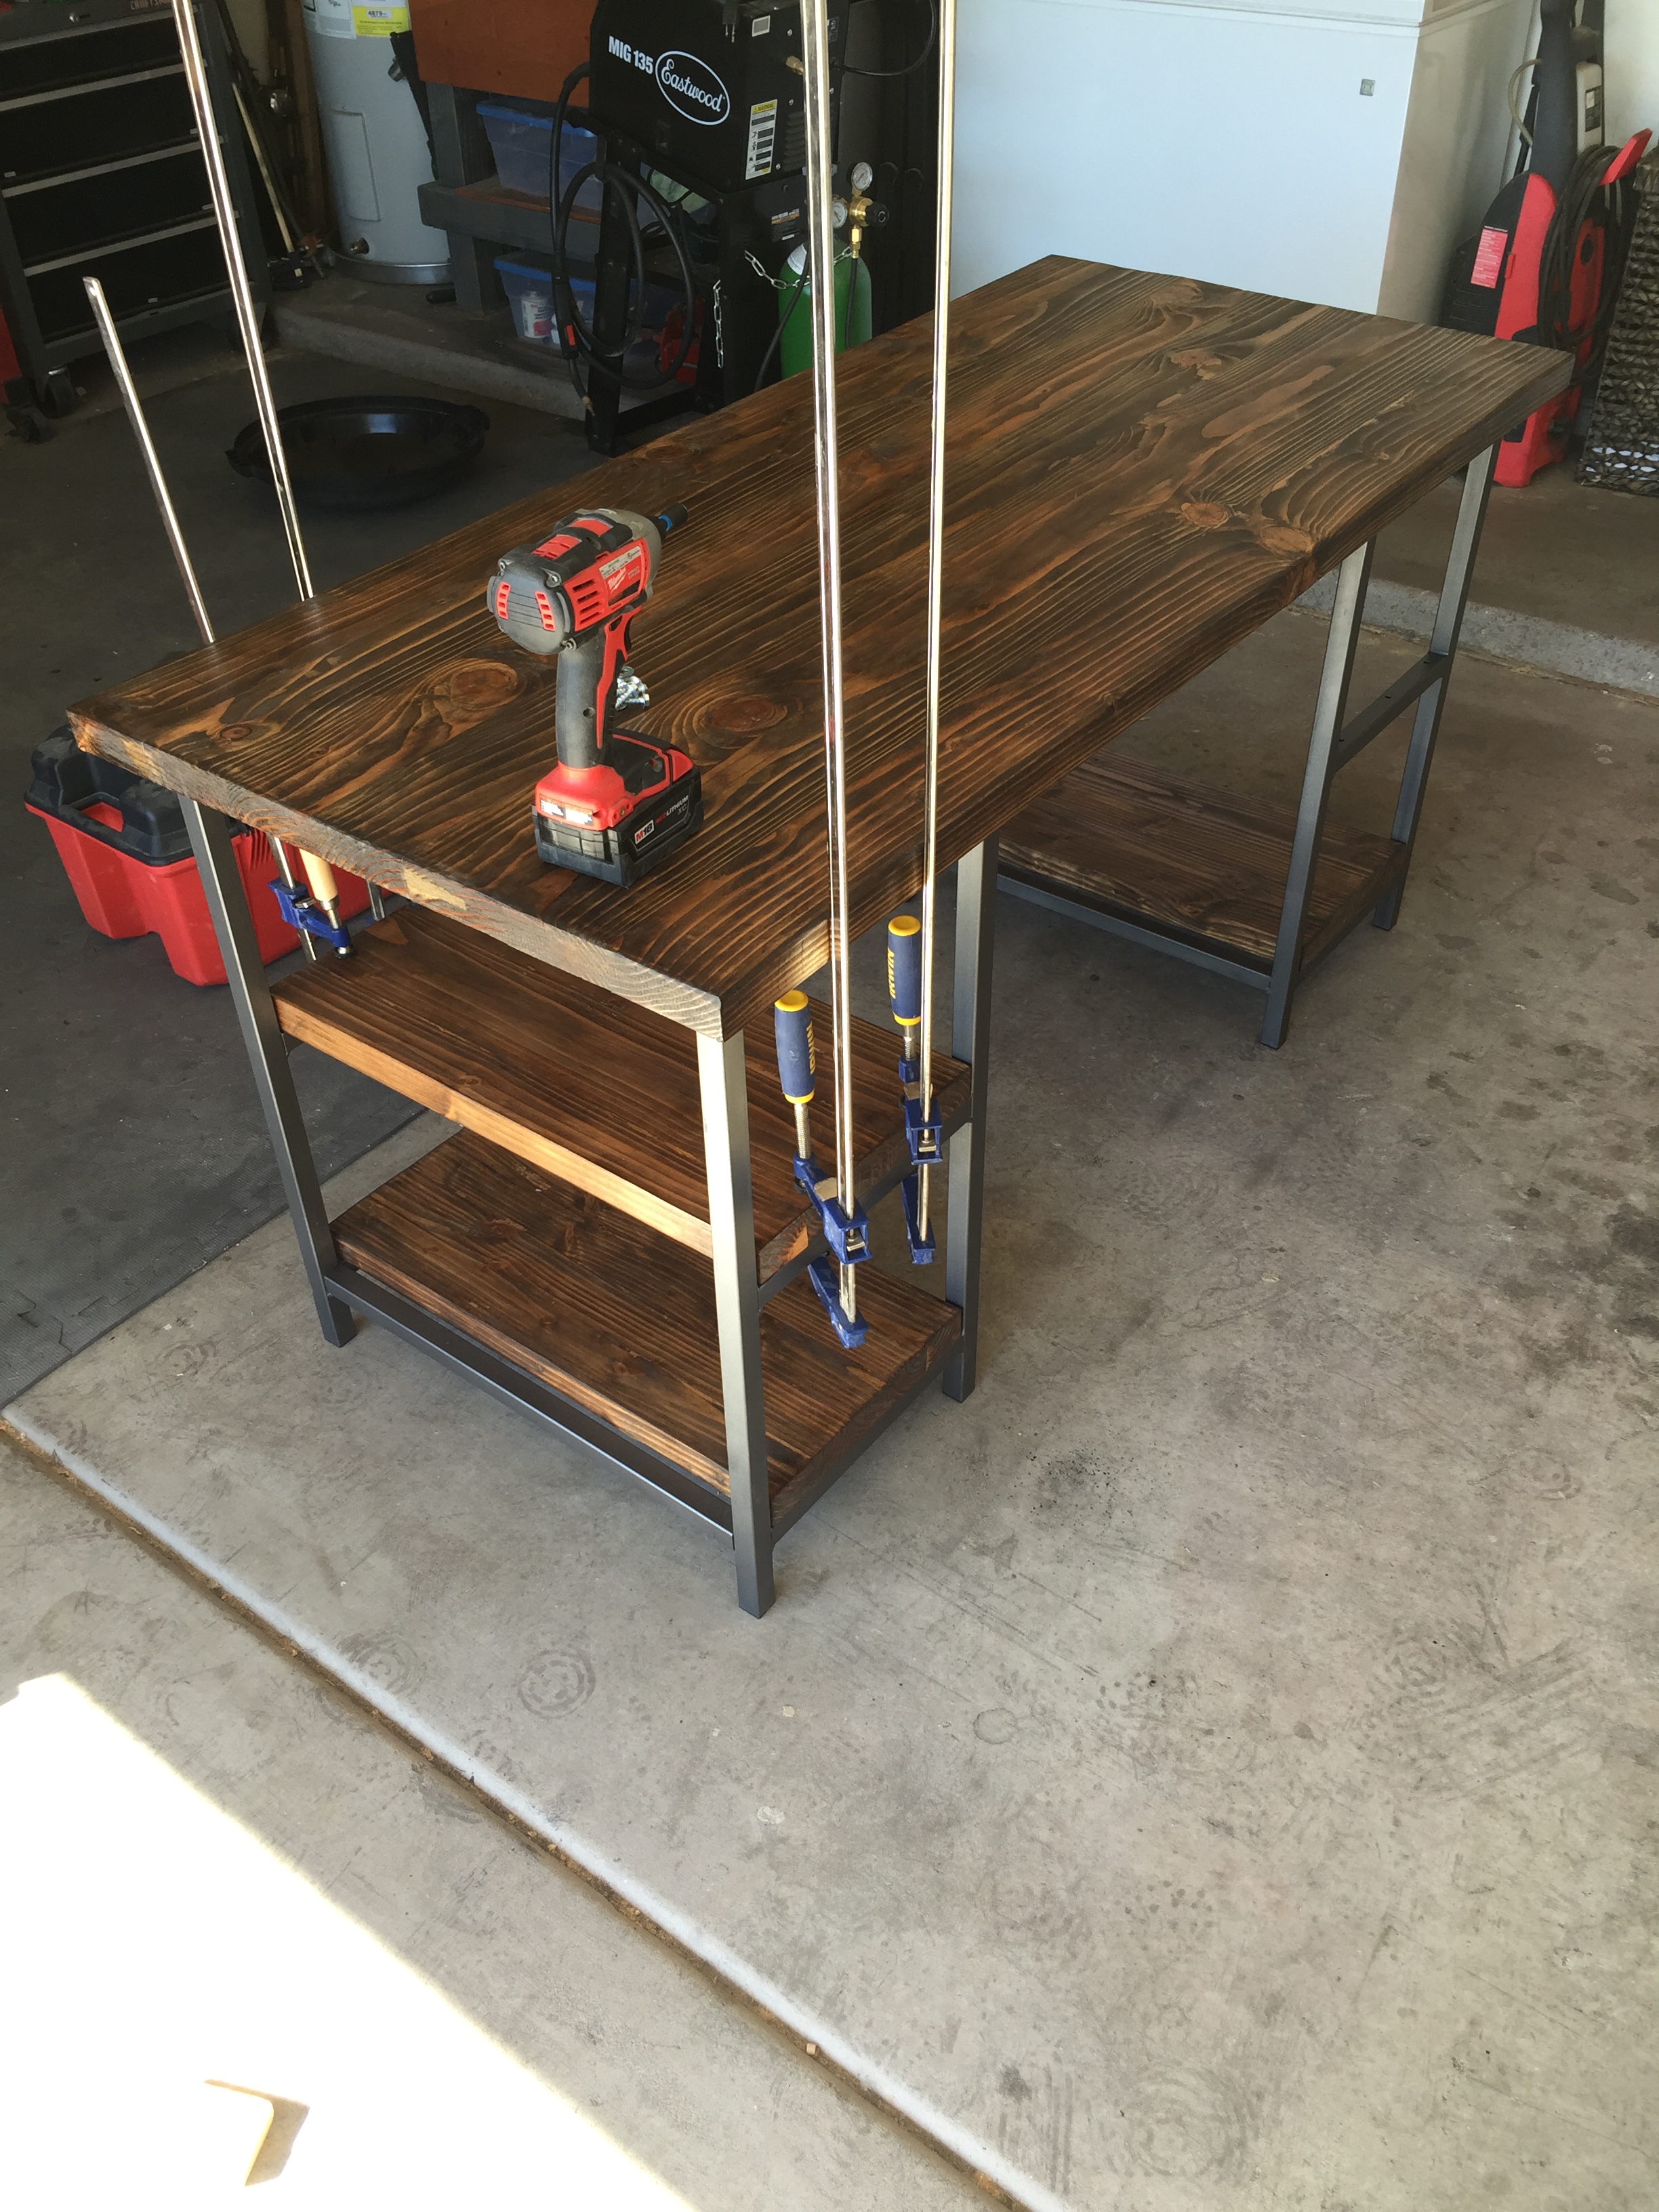
After the paint on the metal frames was dry I used hex lags to attach the wood shelves and top to the metal frames
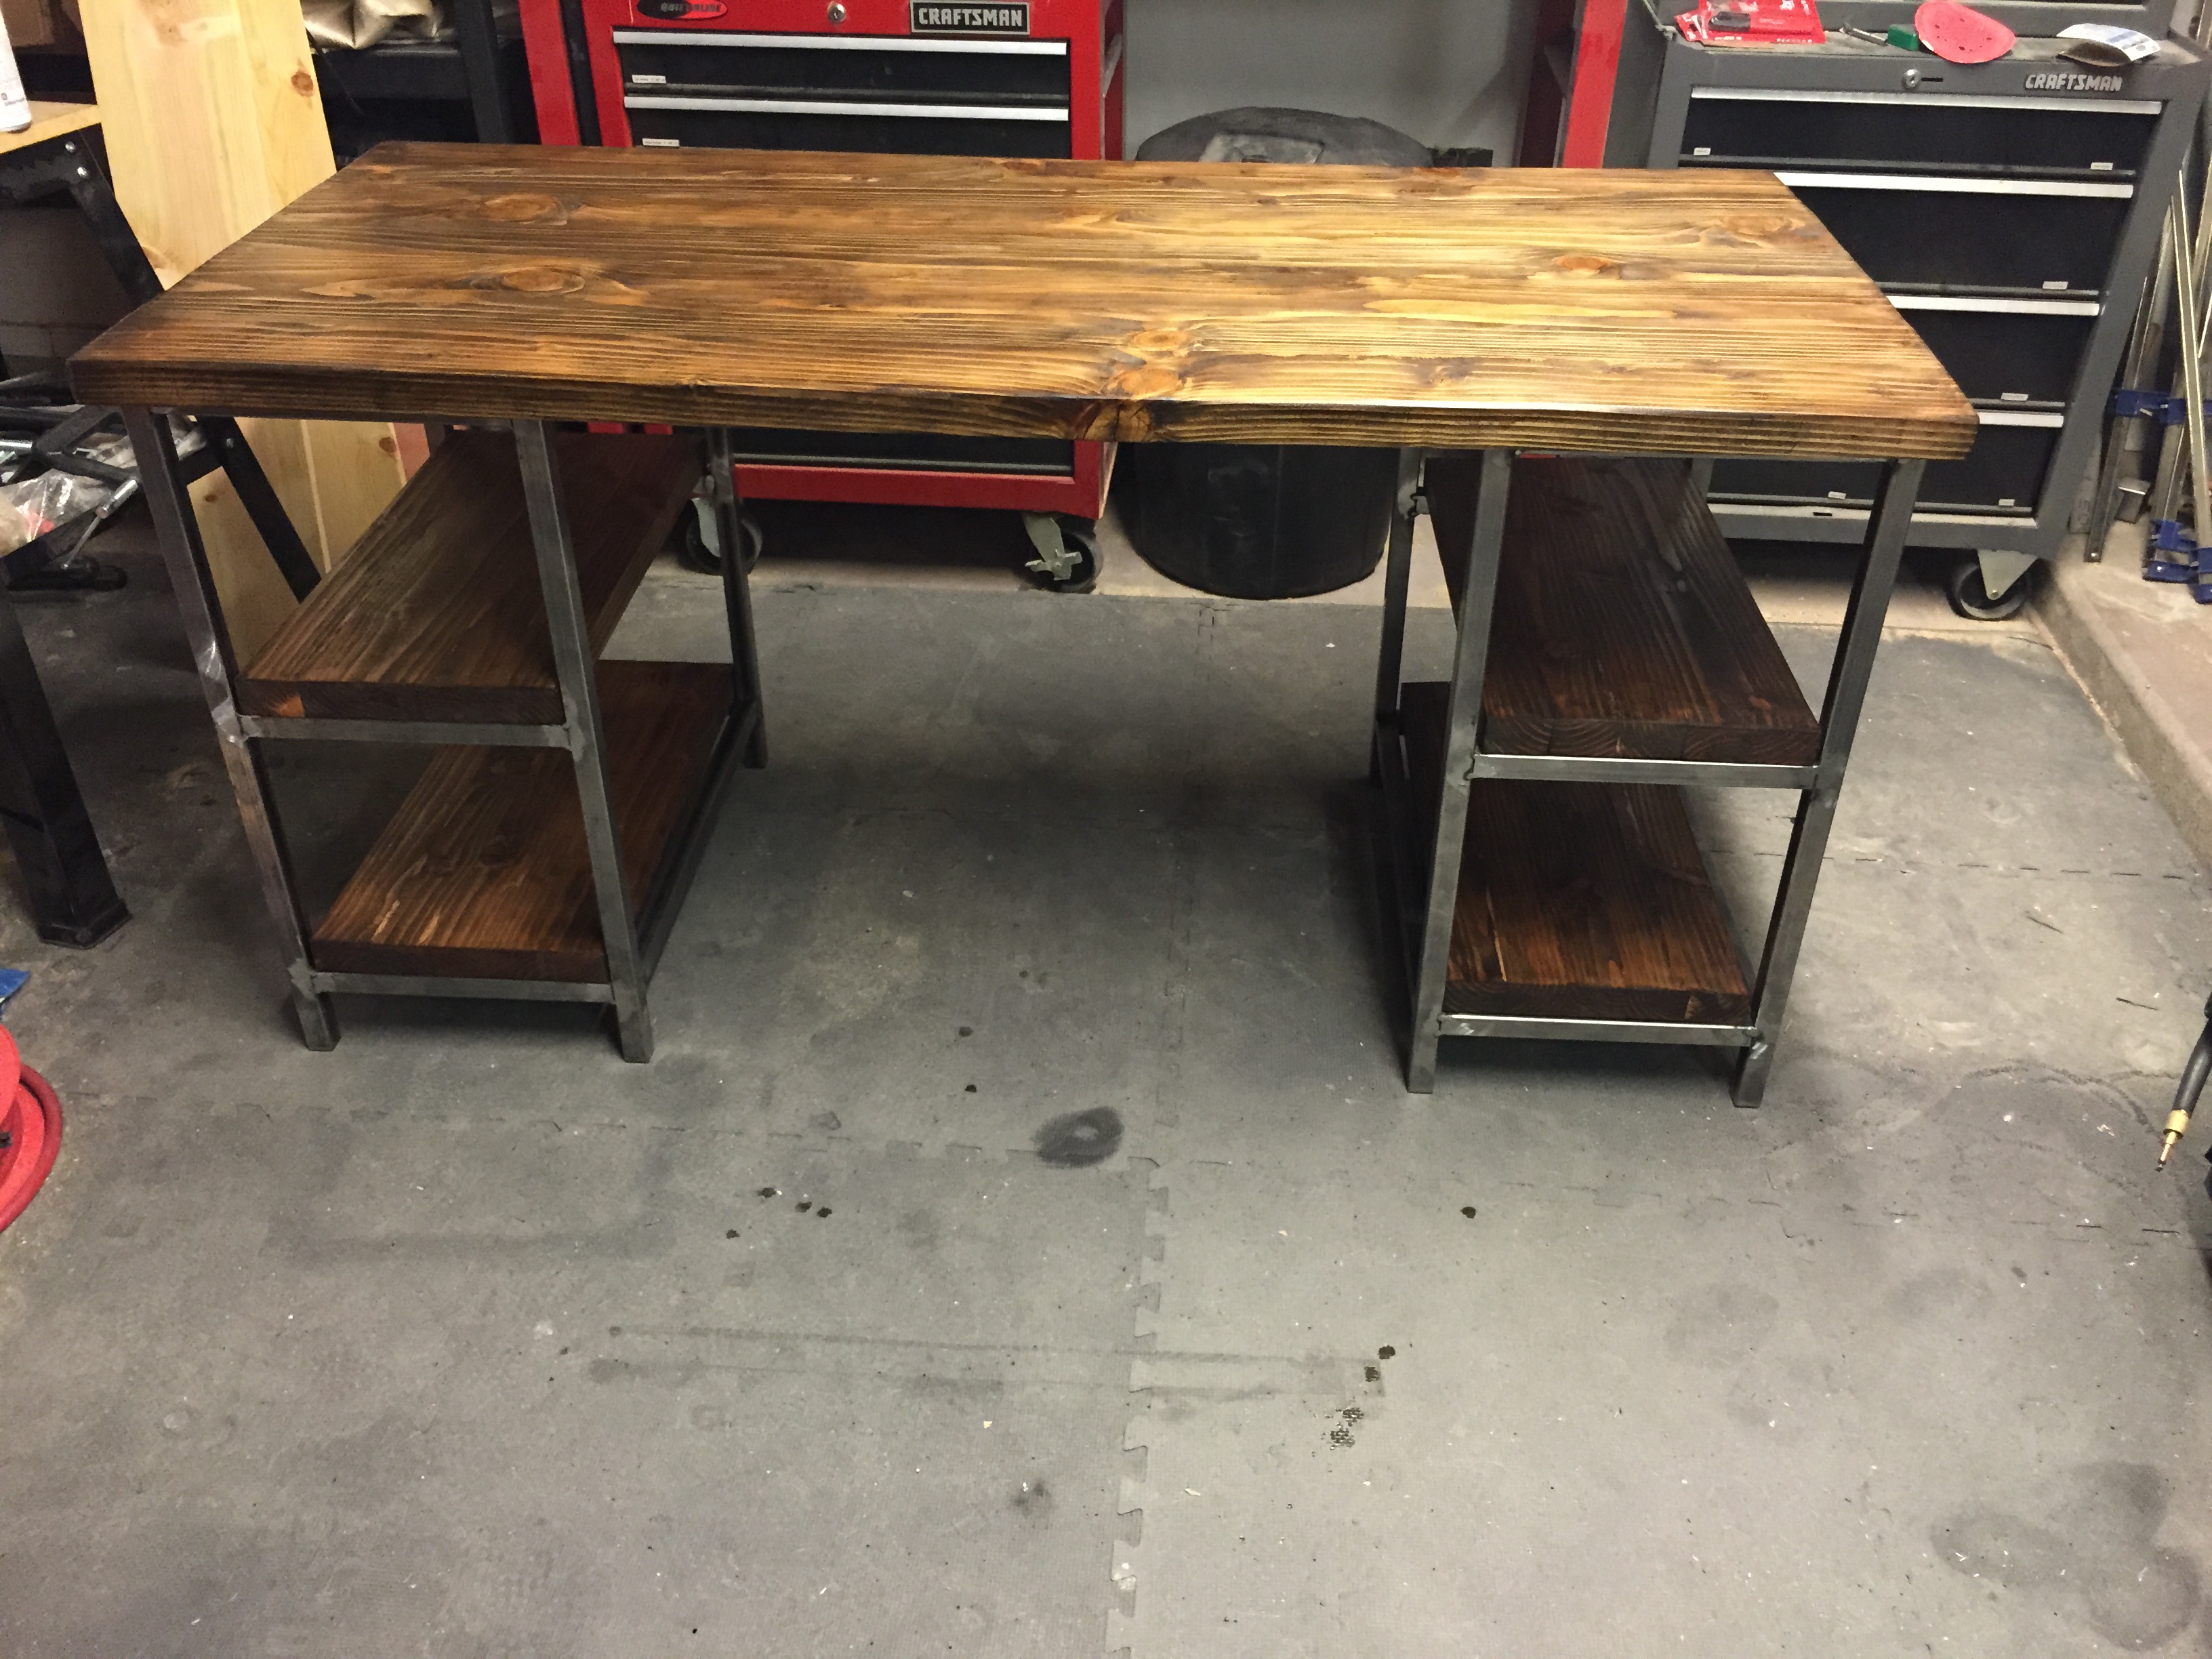
And after the last lag bolt was secure, I was finished! Here are a couple shots after it was completed.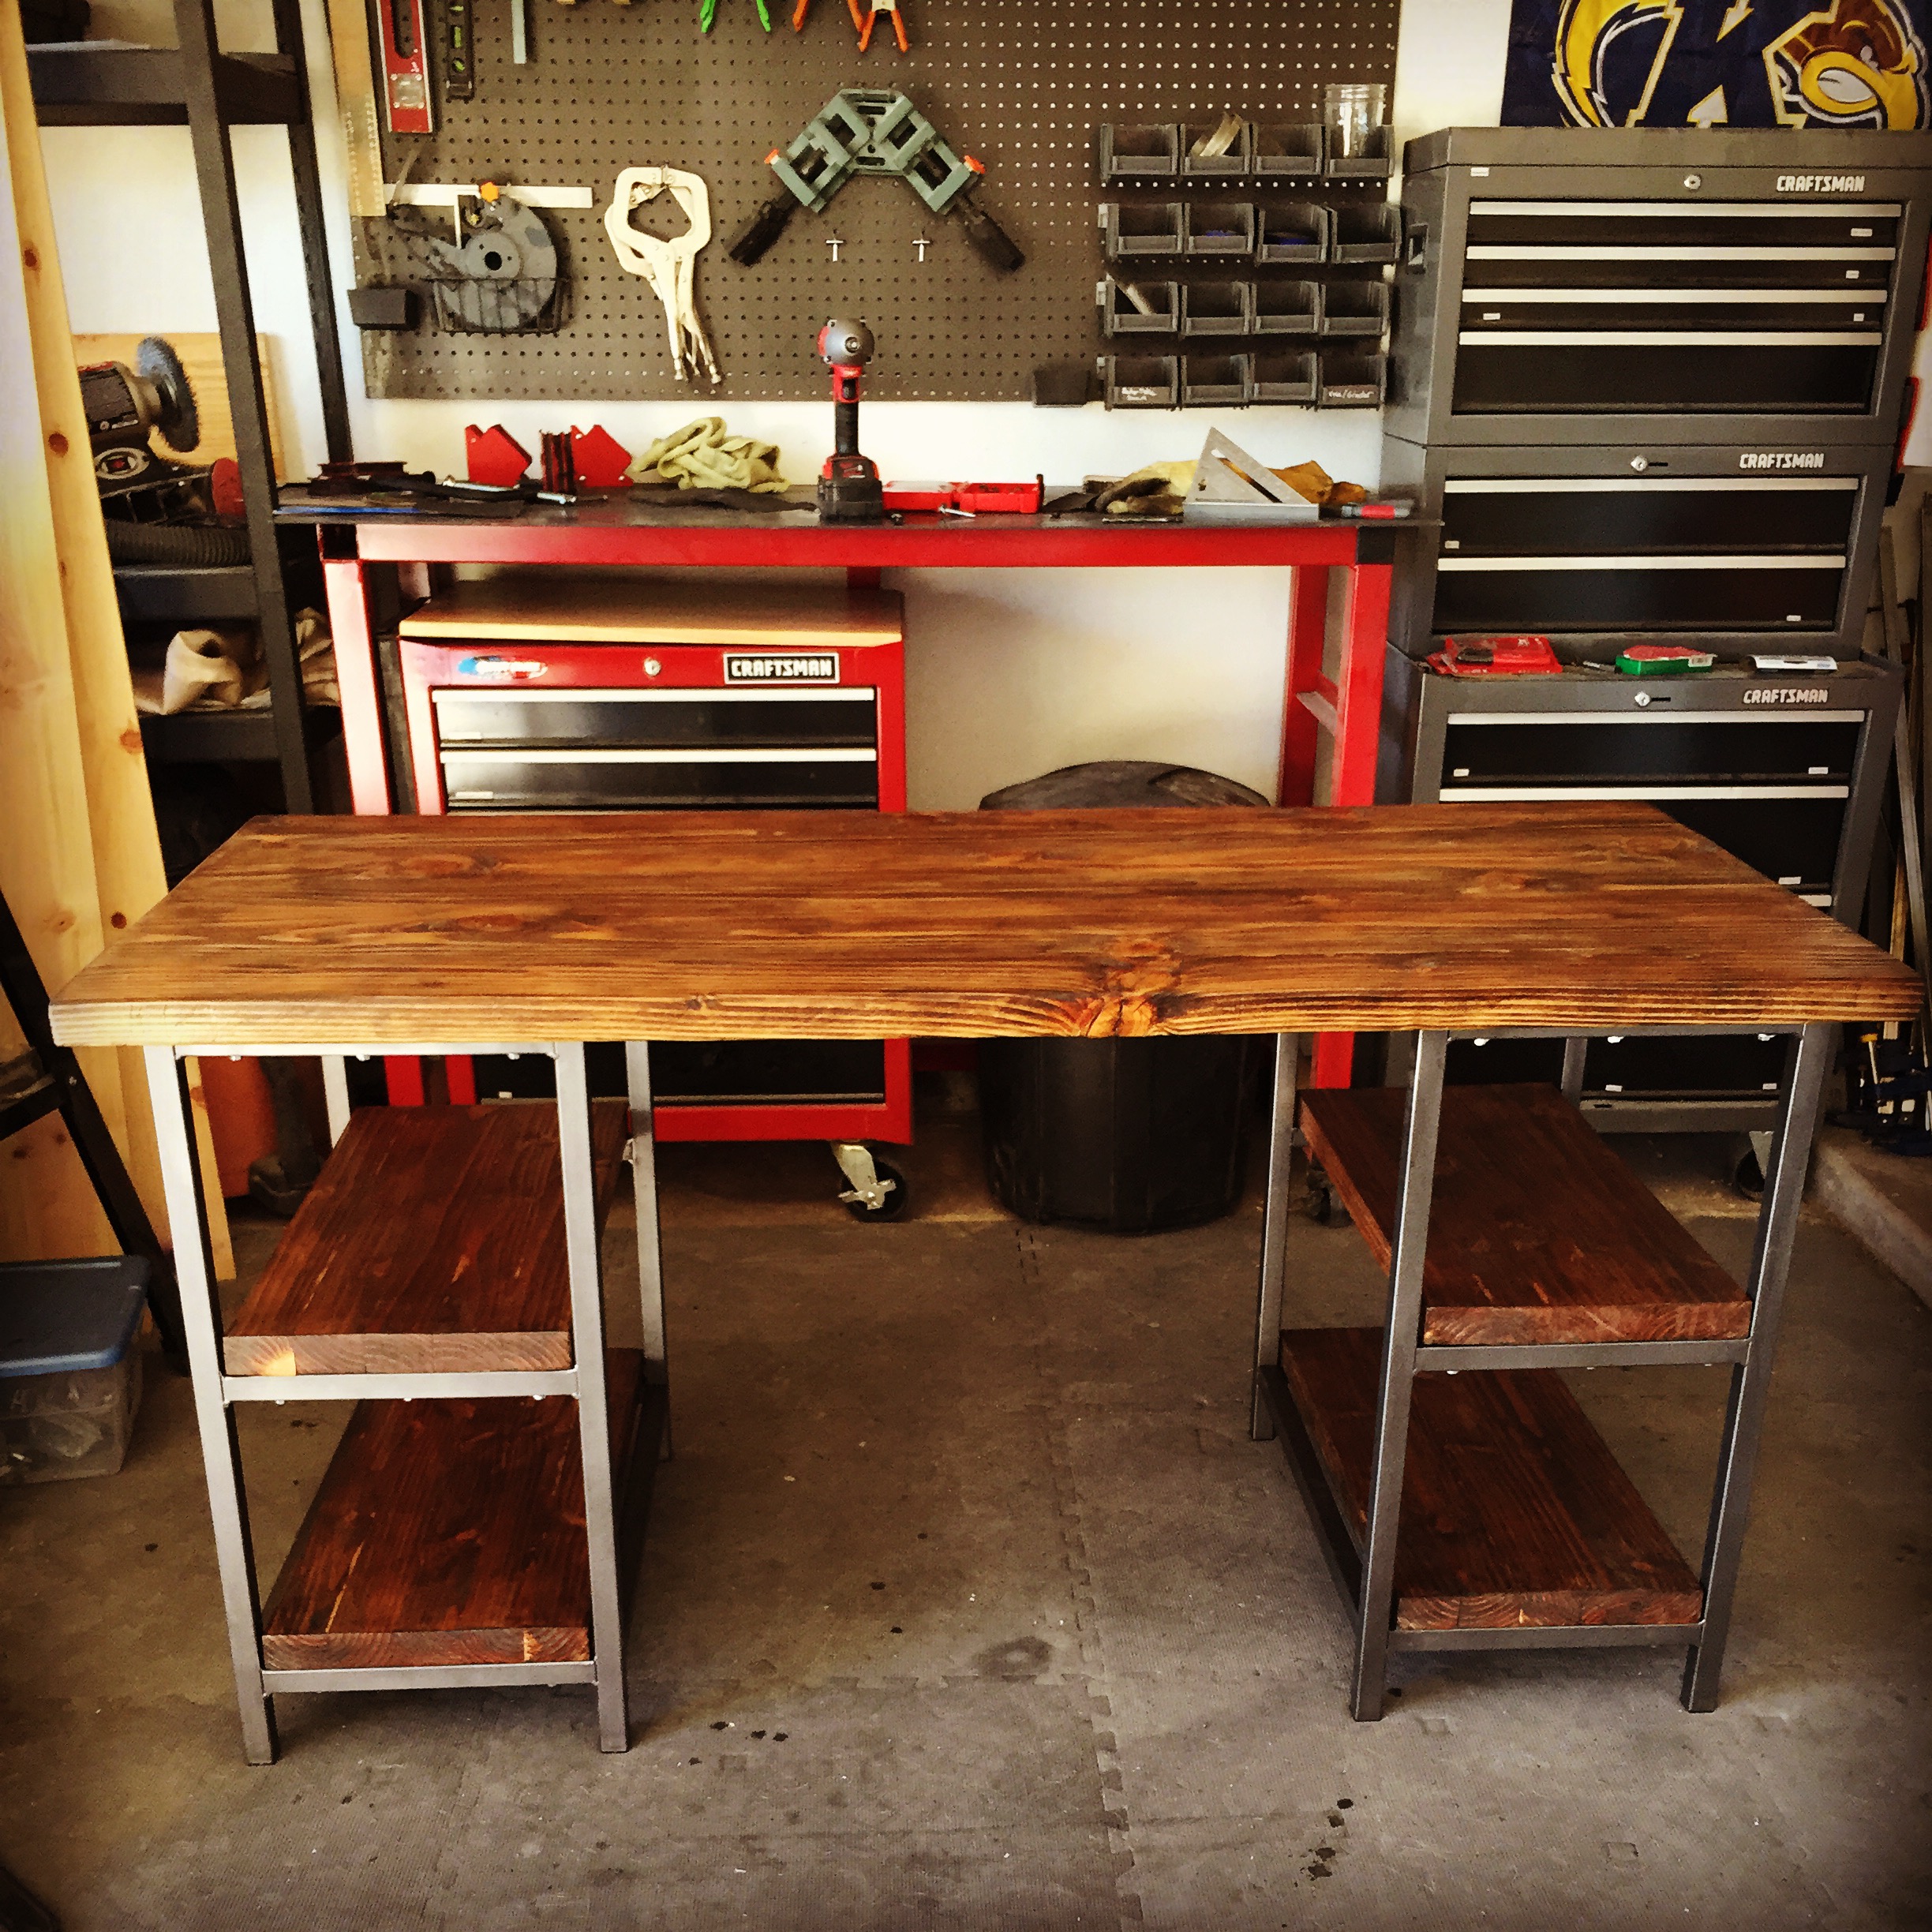
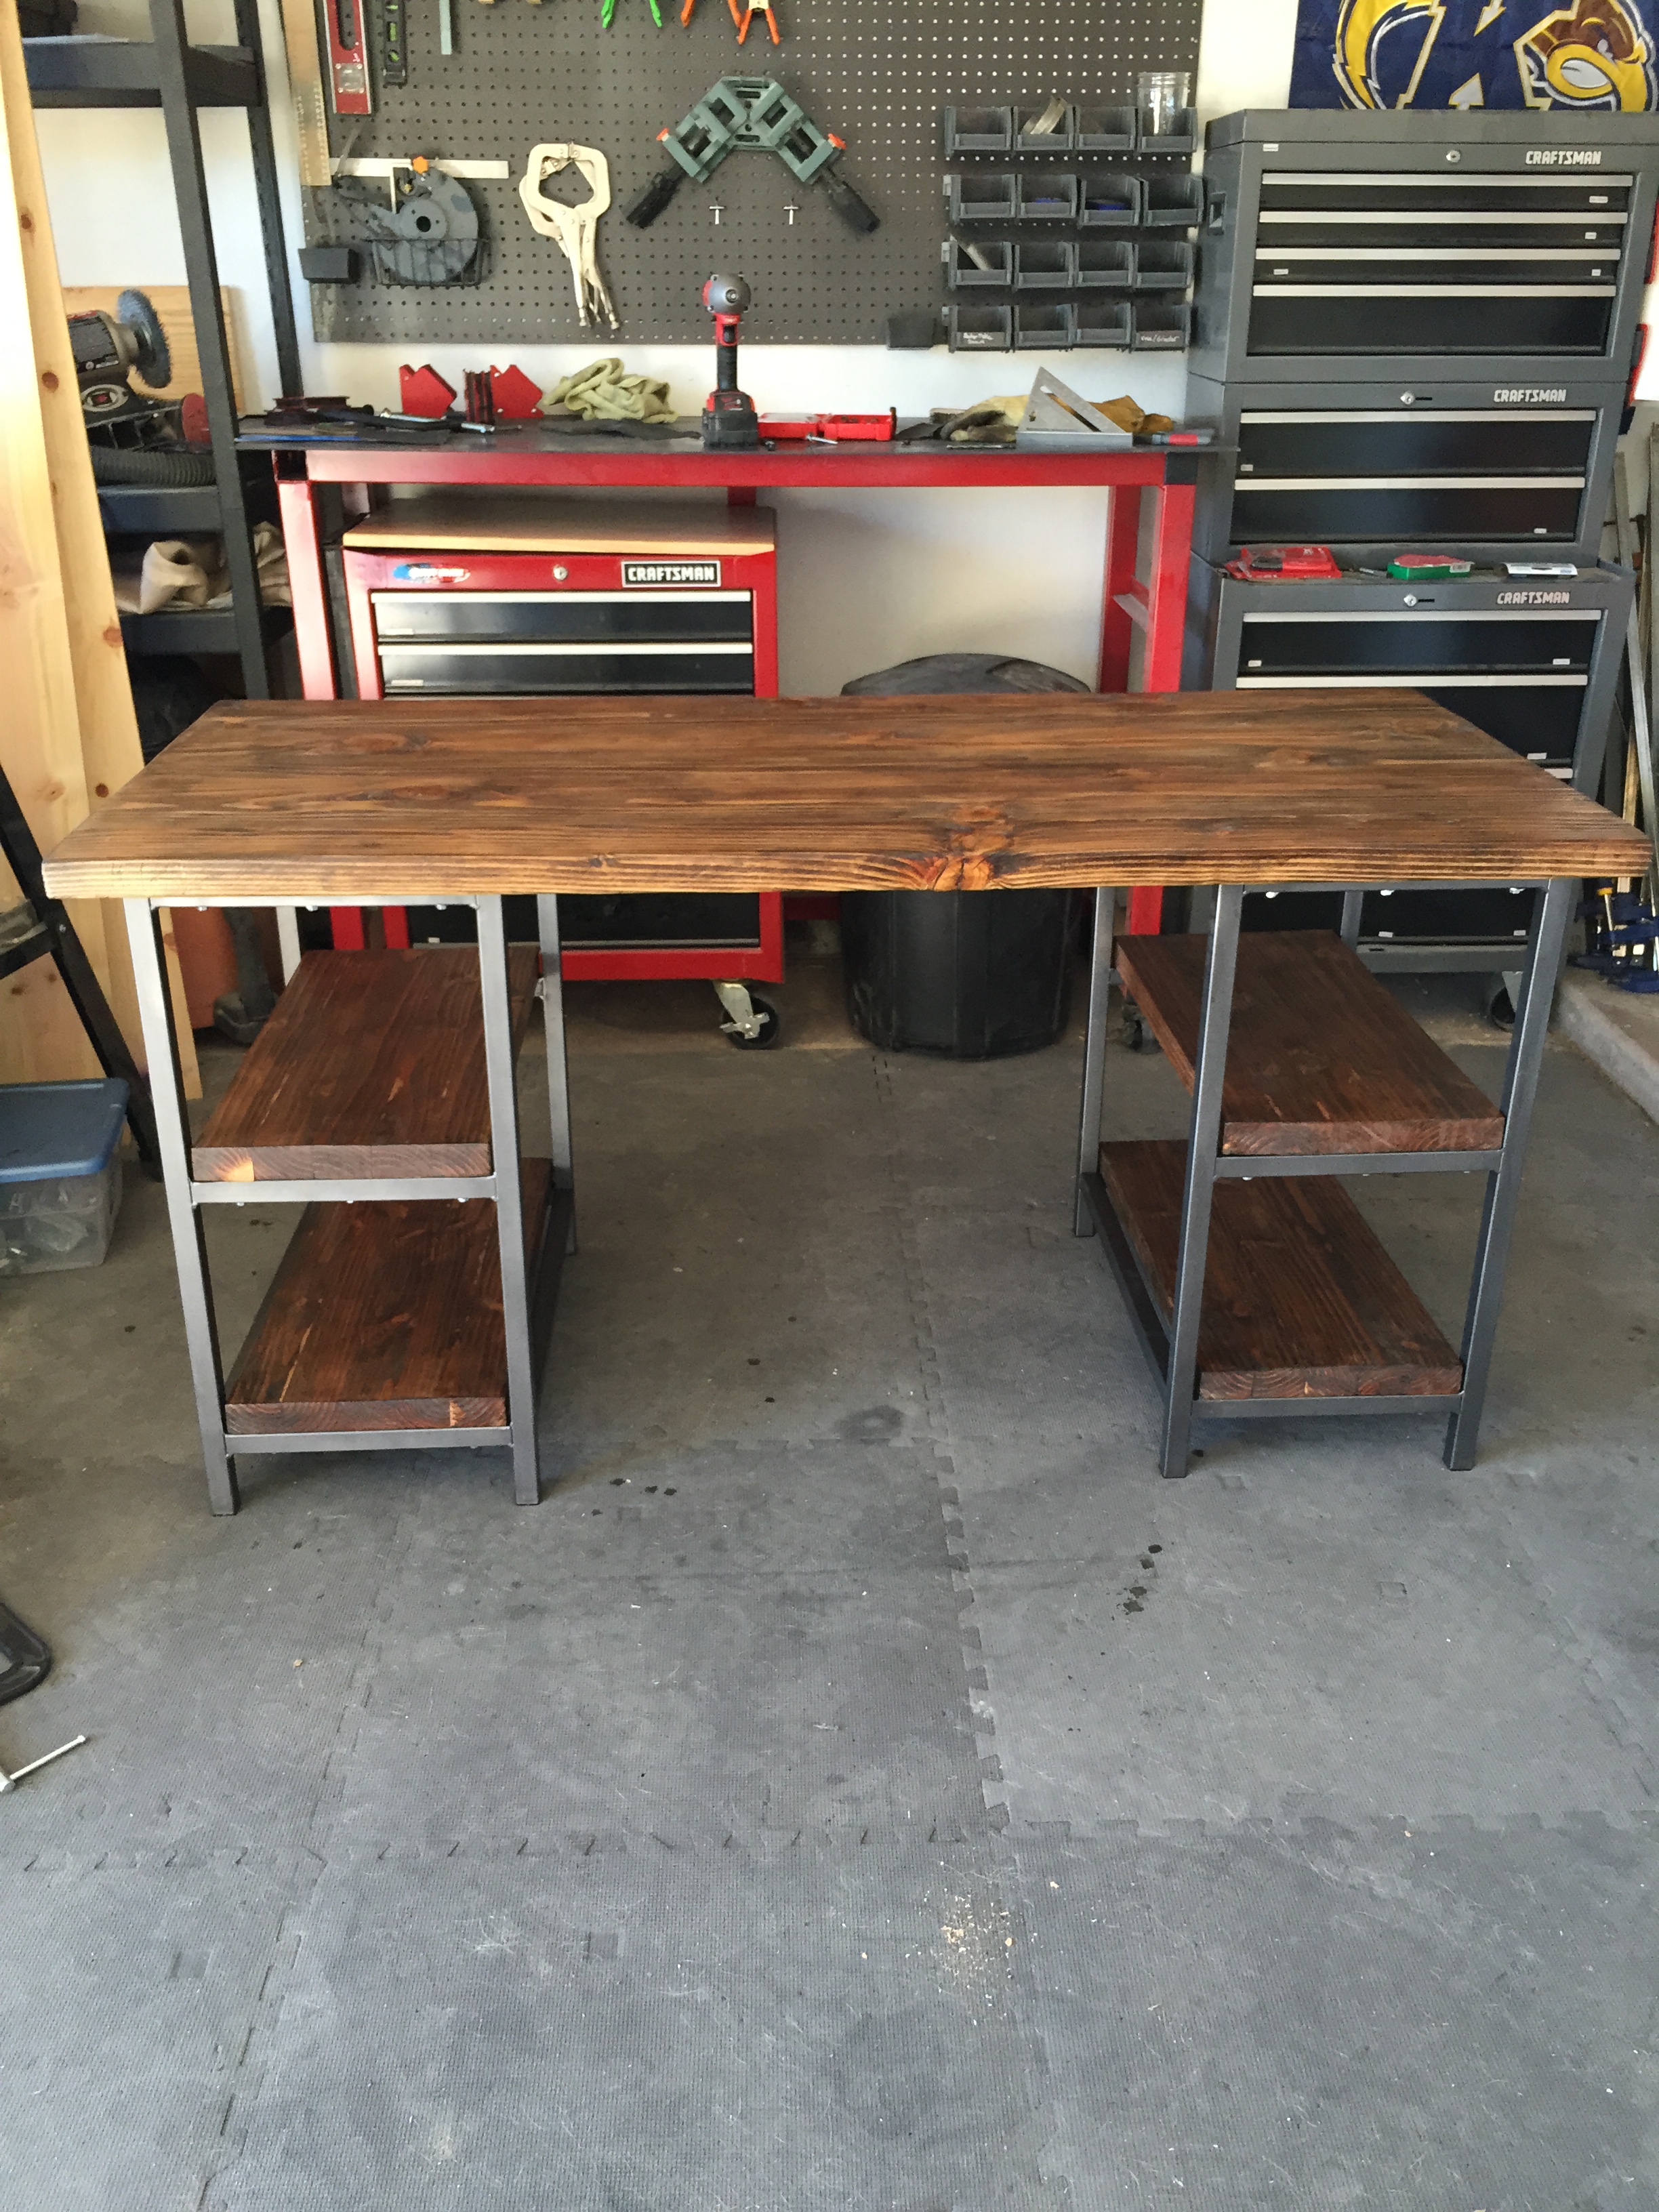

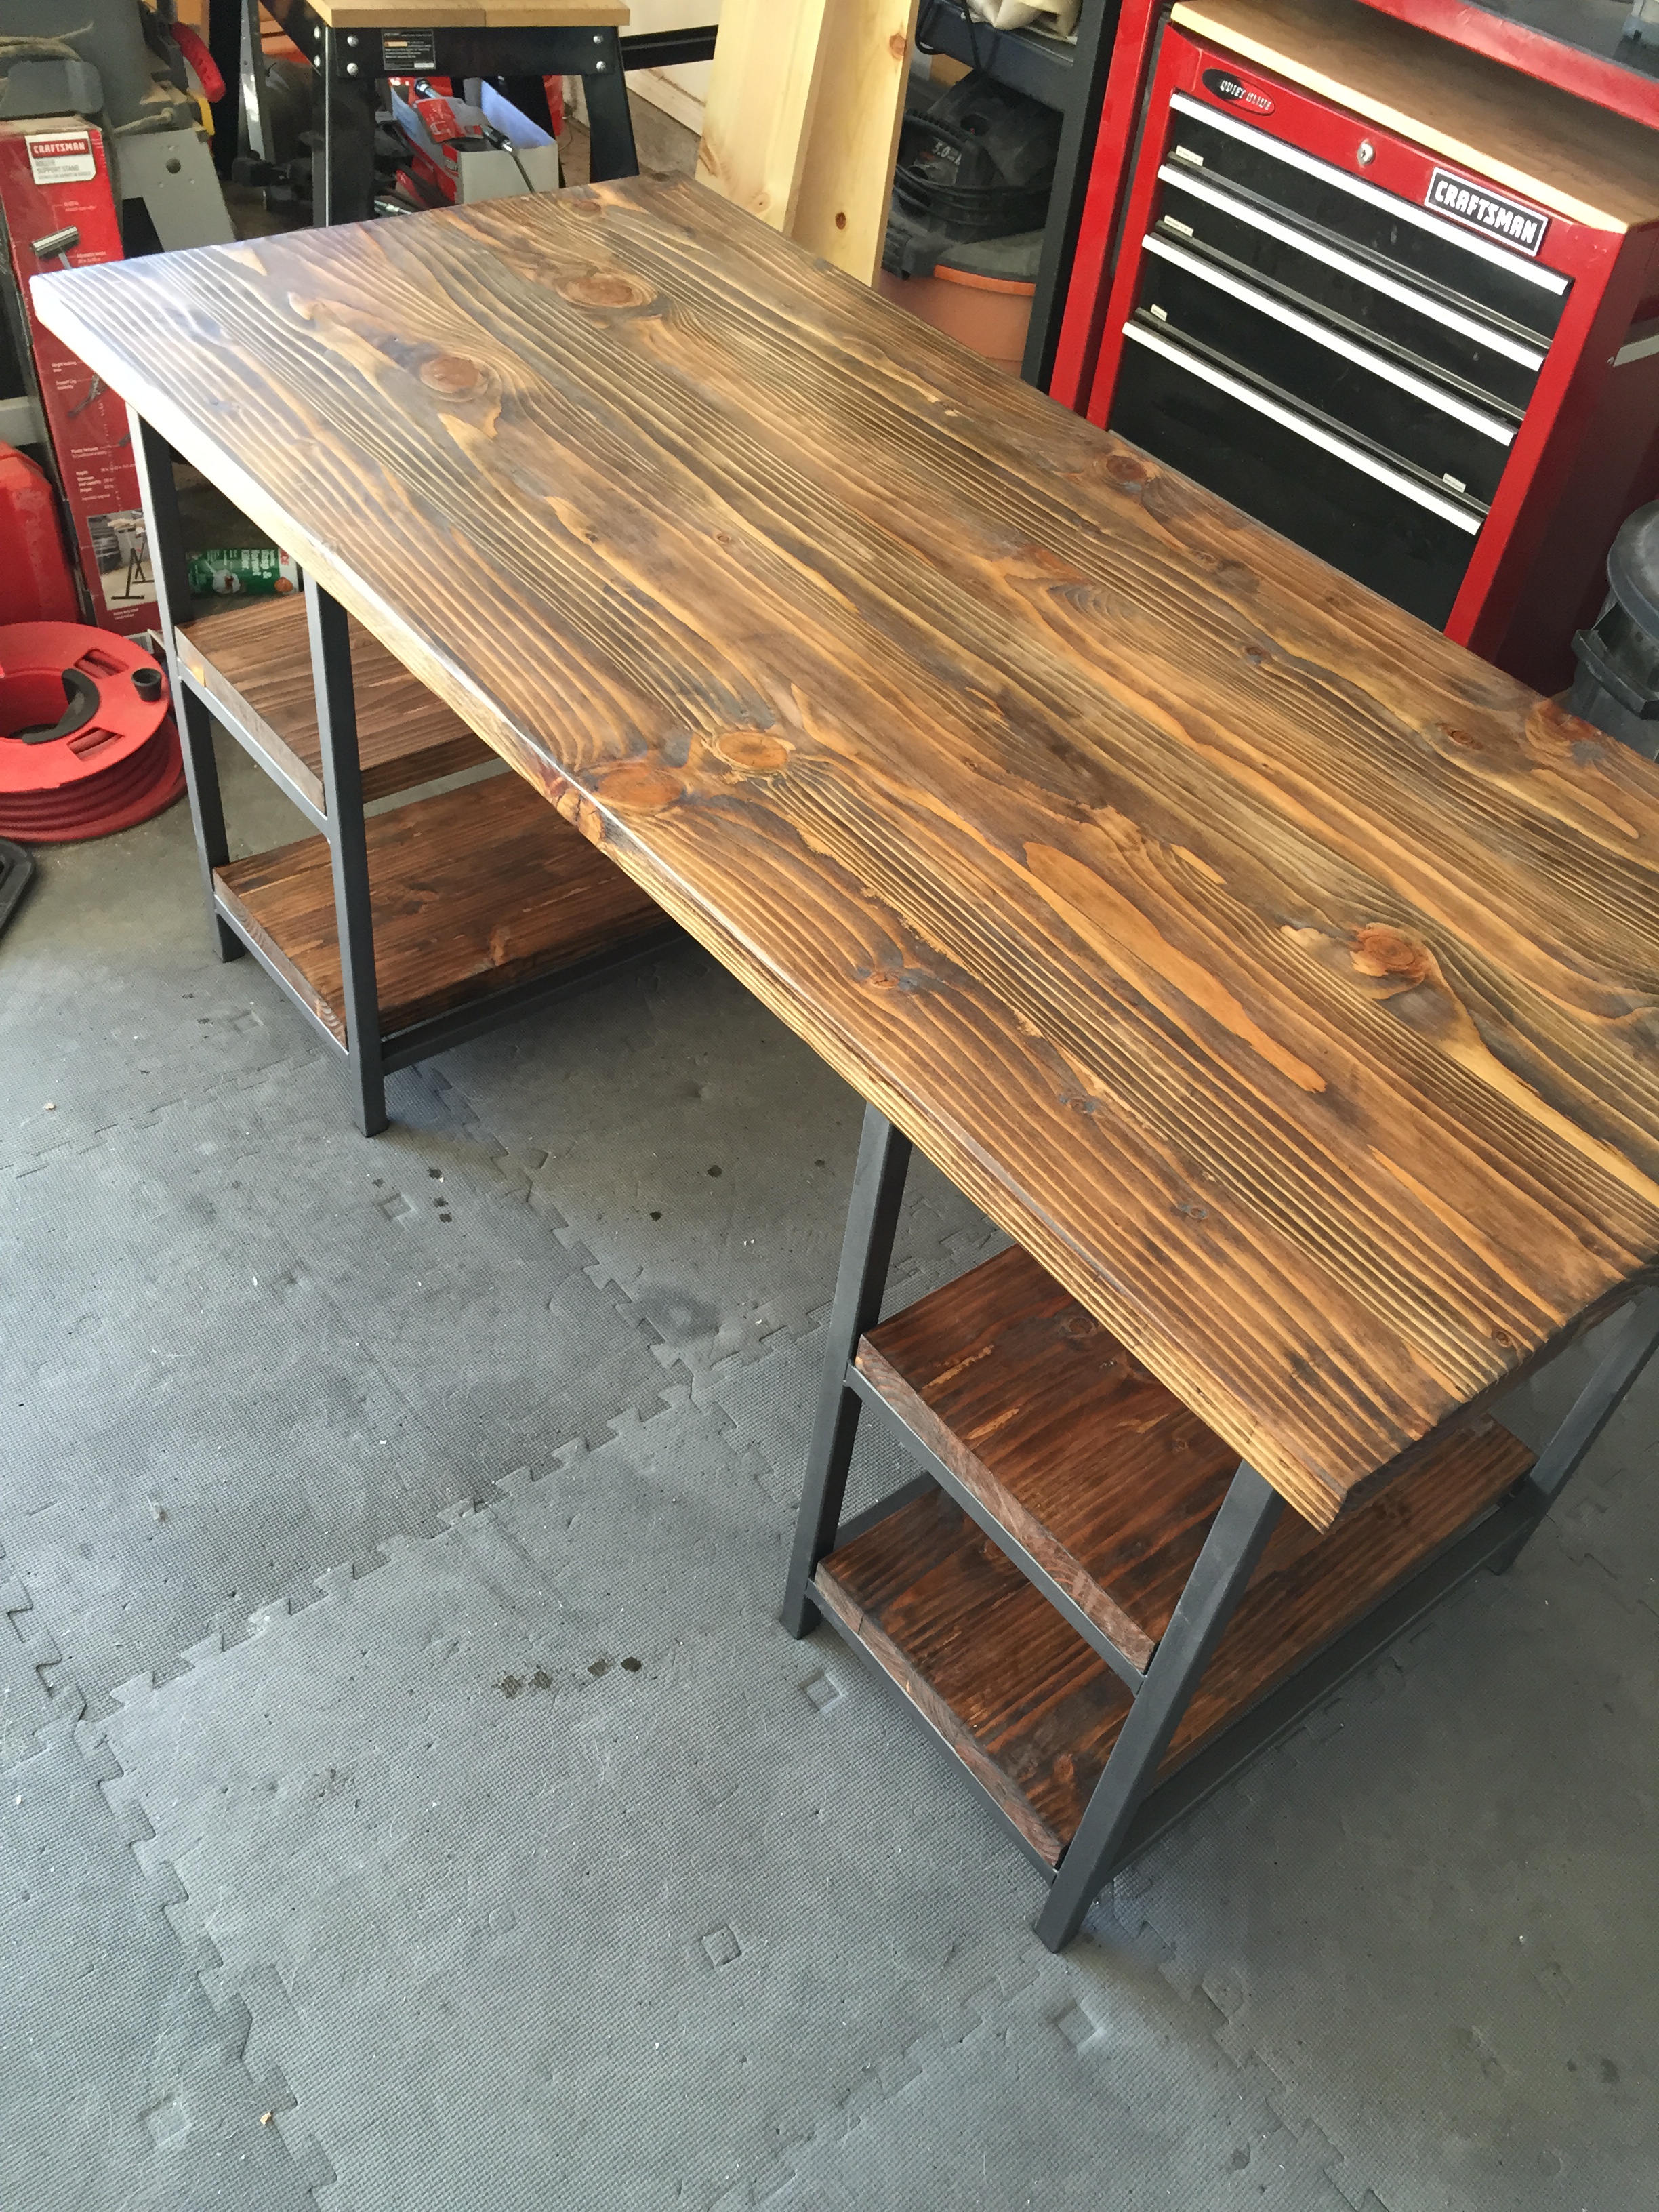
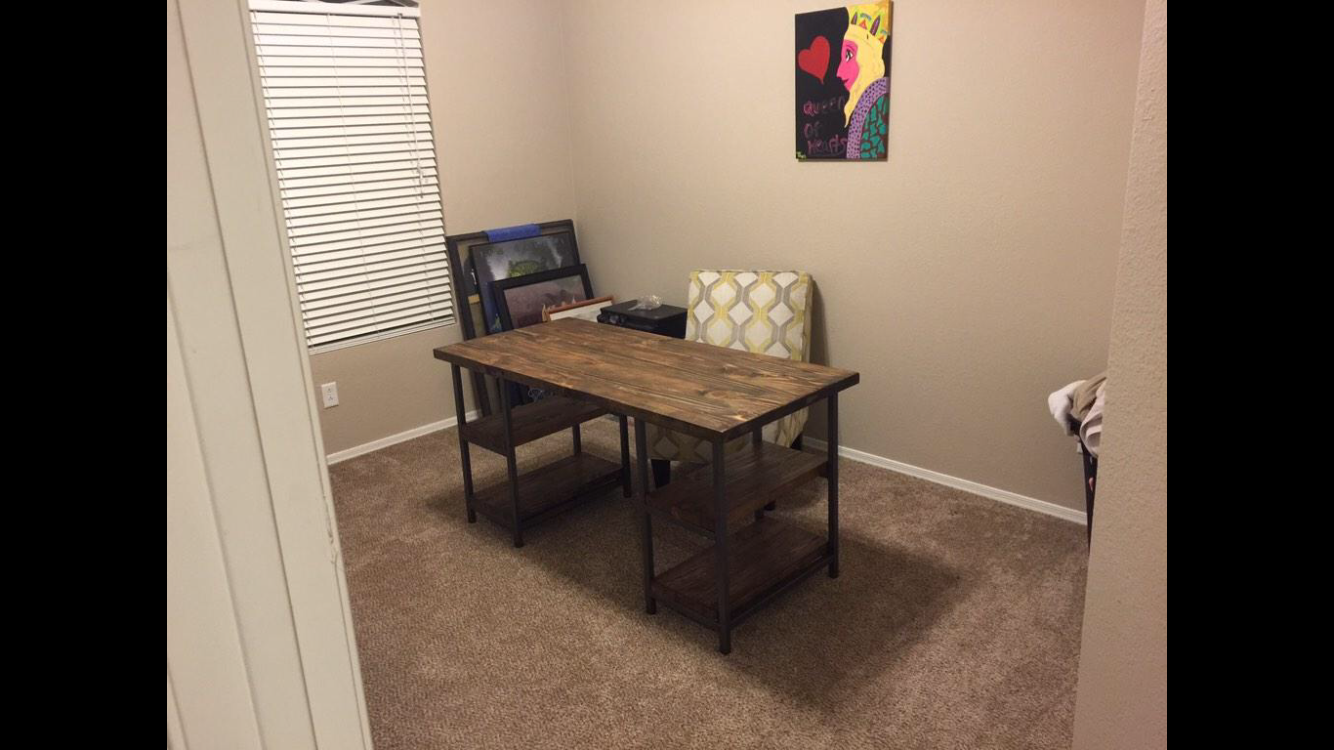
The start to a new home office
This is excellent! I was looking high and low for a photo of what was in my head to better visualize what I wanted to build and this is it! My biggest question was “How am I going to attach the top?” Do you have any suggestions to mounting a bit differently? I’m not sure I want the lag screw heads visible. I saw one method of drilling a larger hole on the bottom of the steel tube to get to the mounting screw….but that sounded like punching pretty big holes to get the screw head to go through.
Fantastic work. I’m teaching myself to weld in the process so I figured, why not make some functional furniture. (Guessing with the Eastwood 135 you’re a car guy?)