
At the end of 2013, my workshop was starting to grow and so were the projects I was trying to tackle. I was on a garage forum page, where other garage enthusiasts such as my self share pictures and stories on how their garage shops were built, when I realized that I wanted to start to learn to weld. Available at the time was a welding class at the local community college that I enrolled in to learn the basics. After a semester I had a solid foundation in varying types of welding and I decided that I was ready for my own MIG welder.
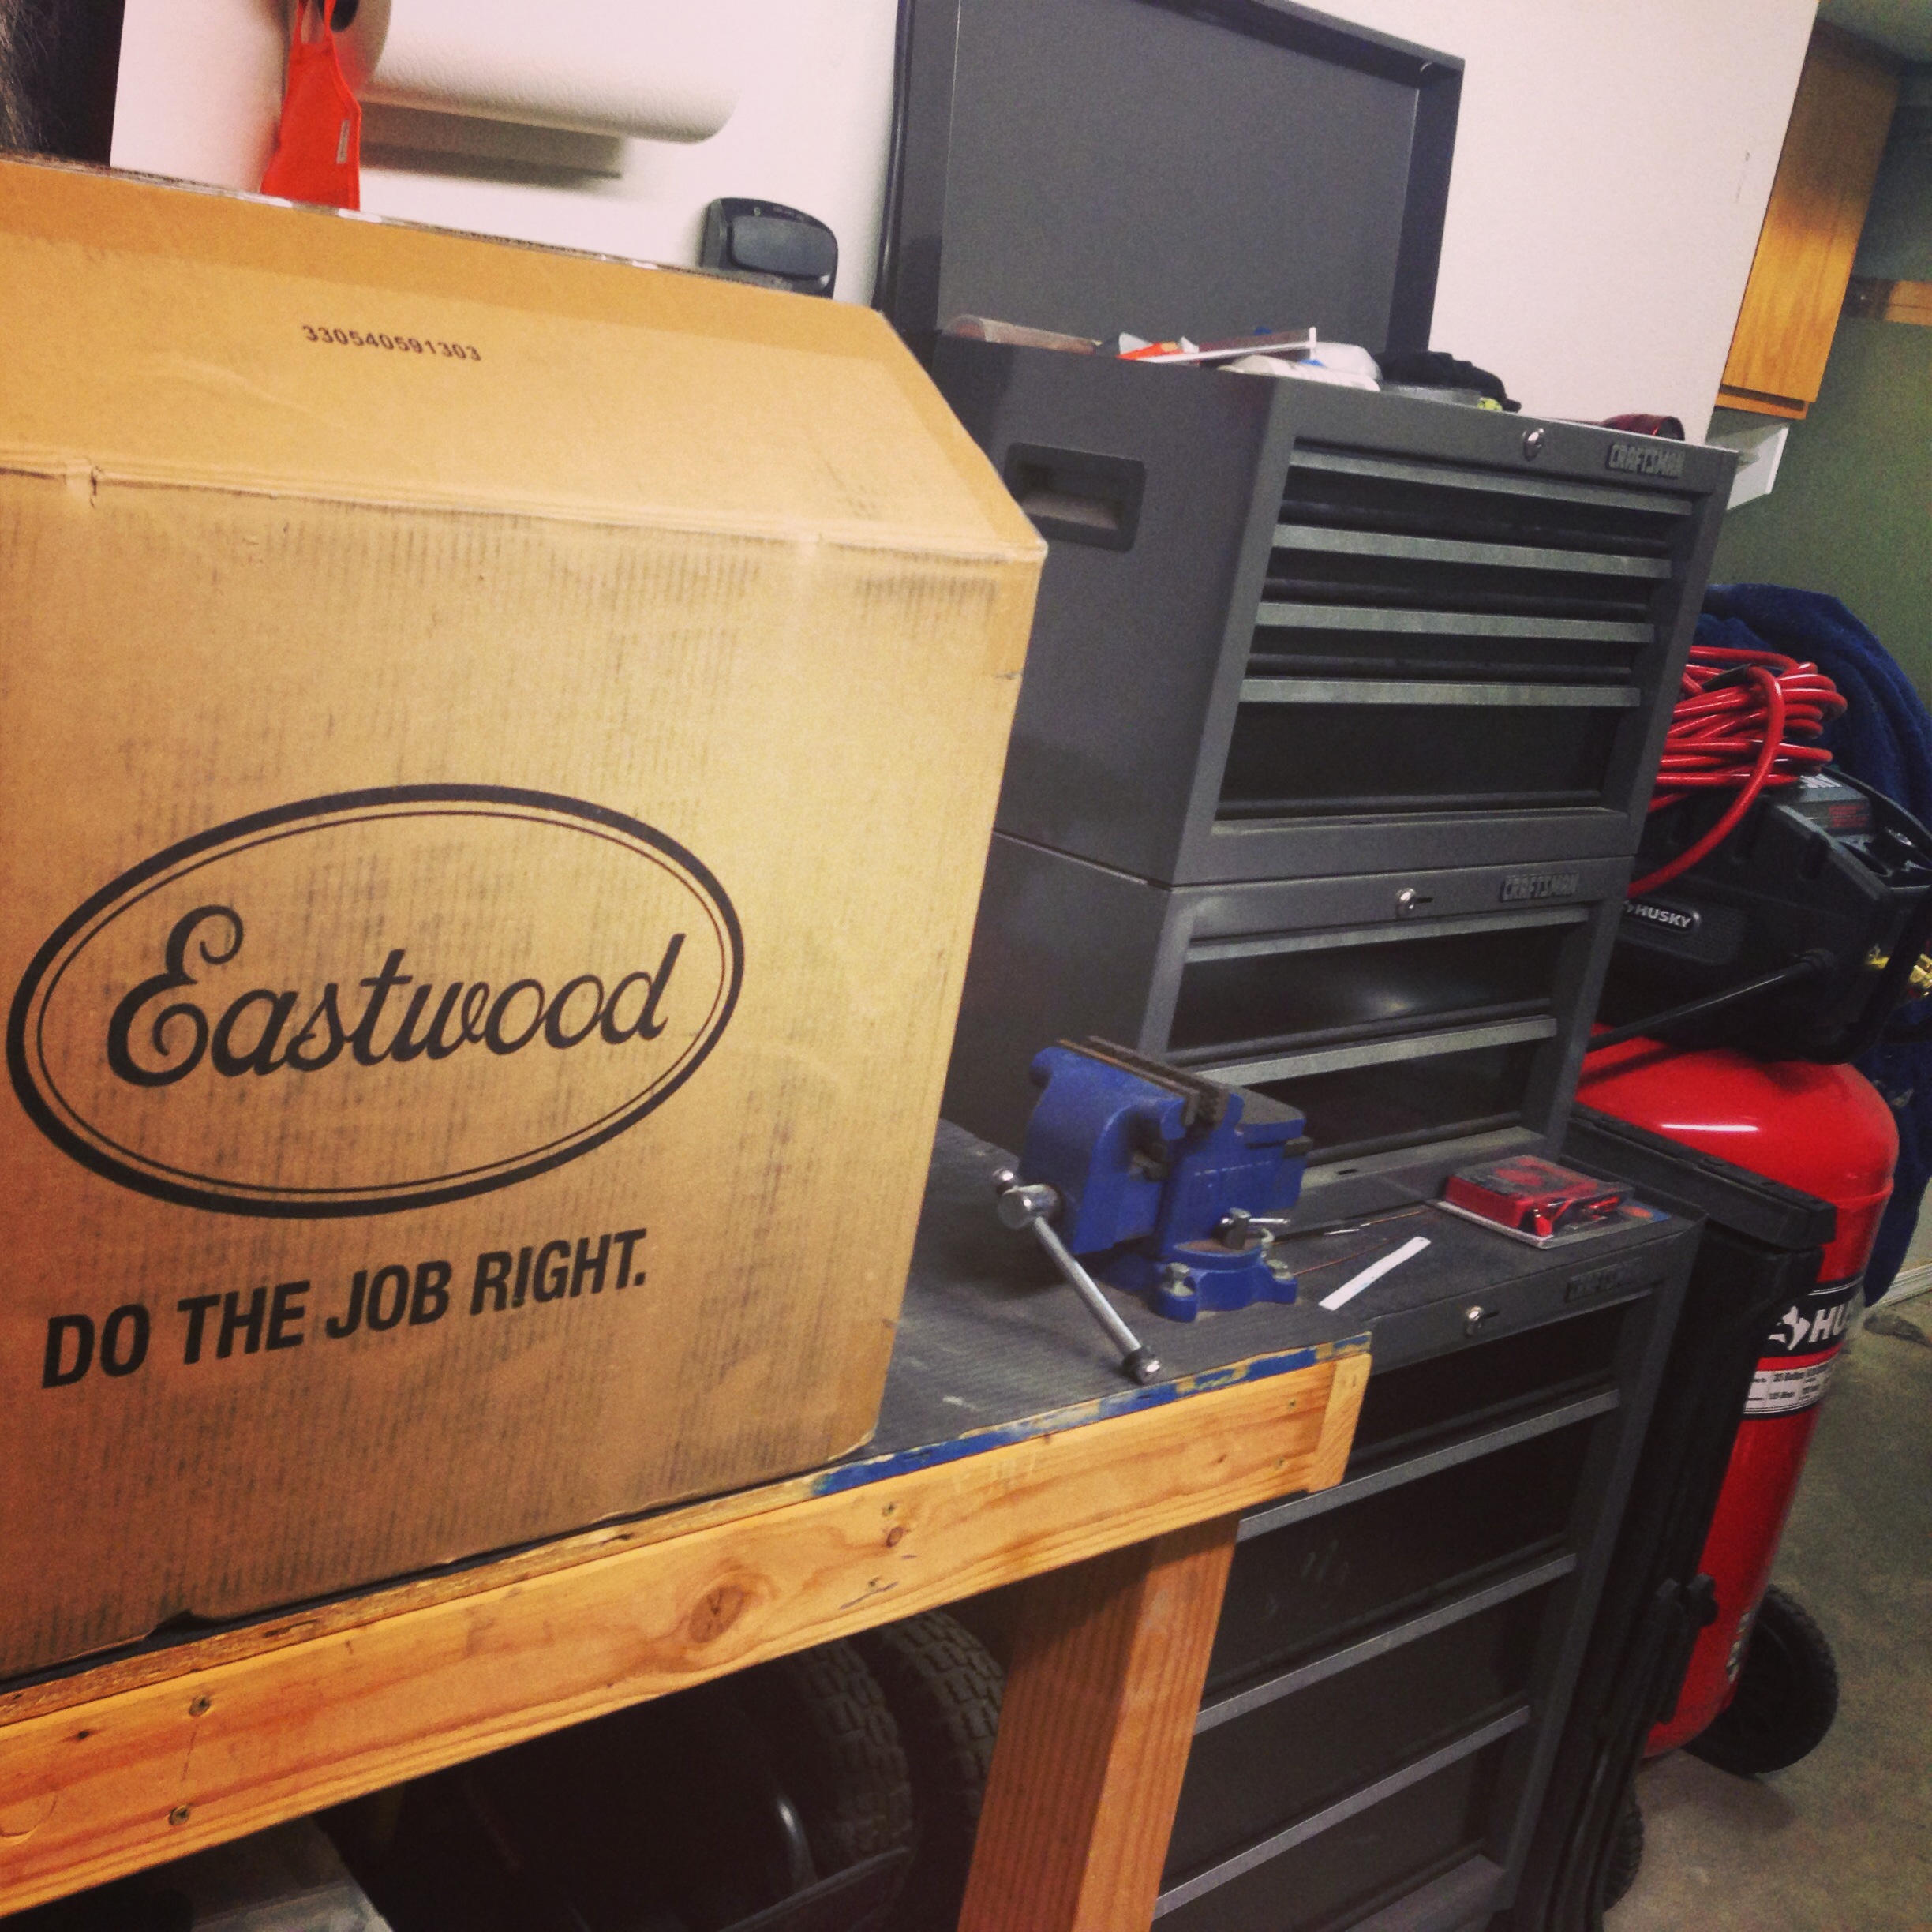
After scrounging through craigslist, eBay and hardware stores for a good deal I was starting to think that a welder of my own might be out of the picture. Then I found Eastwood. I was so happy to see that a company was making tools geared to those with DIY projects like myself. I had two restrictions in search of a welder, price and a 120V outlet. With those in mind I zeroed in on the Eastwood Mig 135. It was small enough to plug into a regular house outlet and powerful enough for all my do-it-yourself metal projects up to 1/4″ thick. The discounted price at under $300 was the best part for someone who was just starting out, like me. As I did some research for a simple project to practice with my new welder I came across the idea to make a welding fabrication table. This does two things: allows you to learn welding on a simple table design, and when completed will give you a metal welding table for future work. The biggest reasons you need one of these tables is you want to work on a surface that will not catch fire from the heat created while welding.
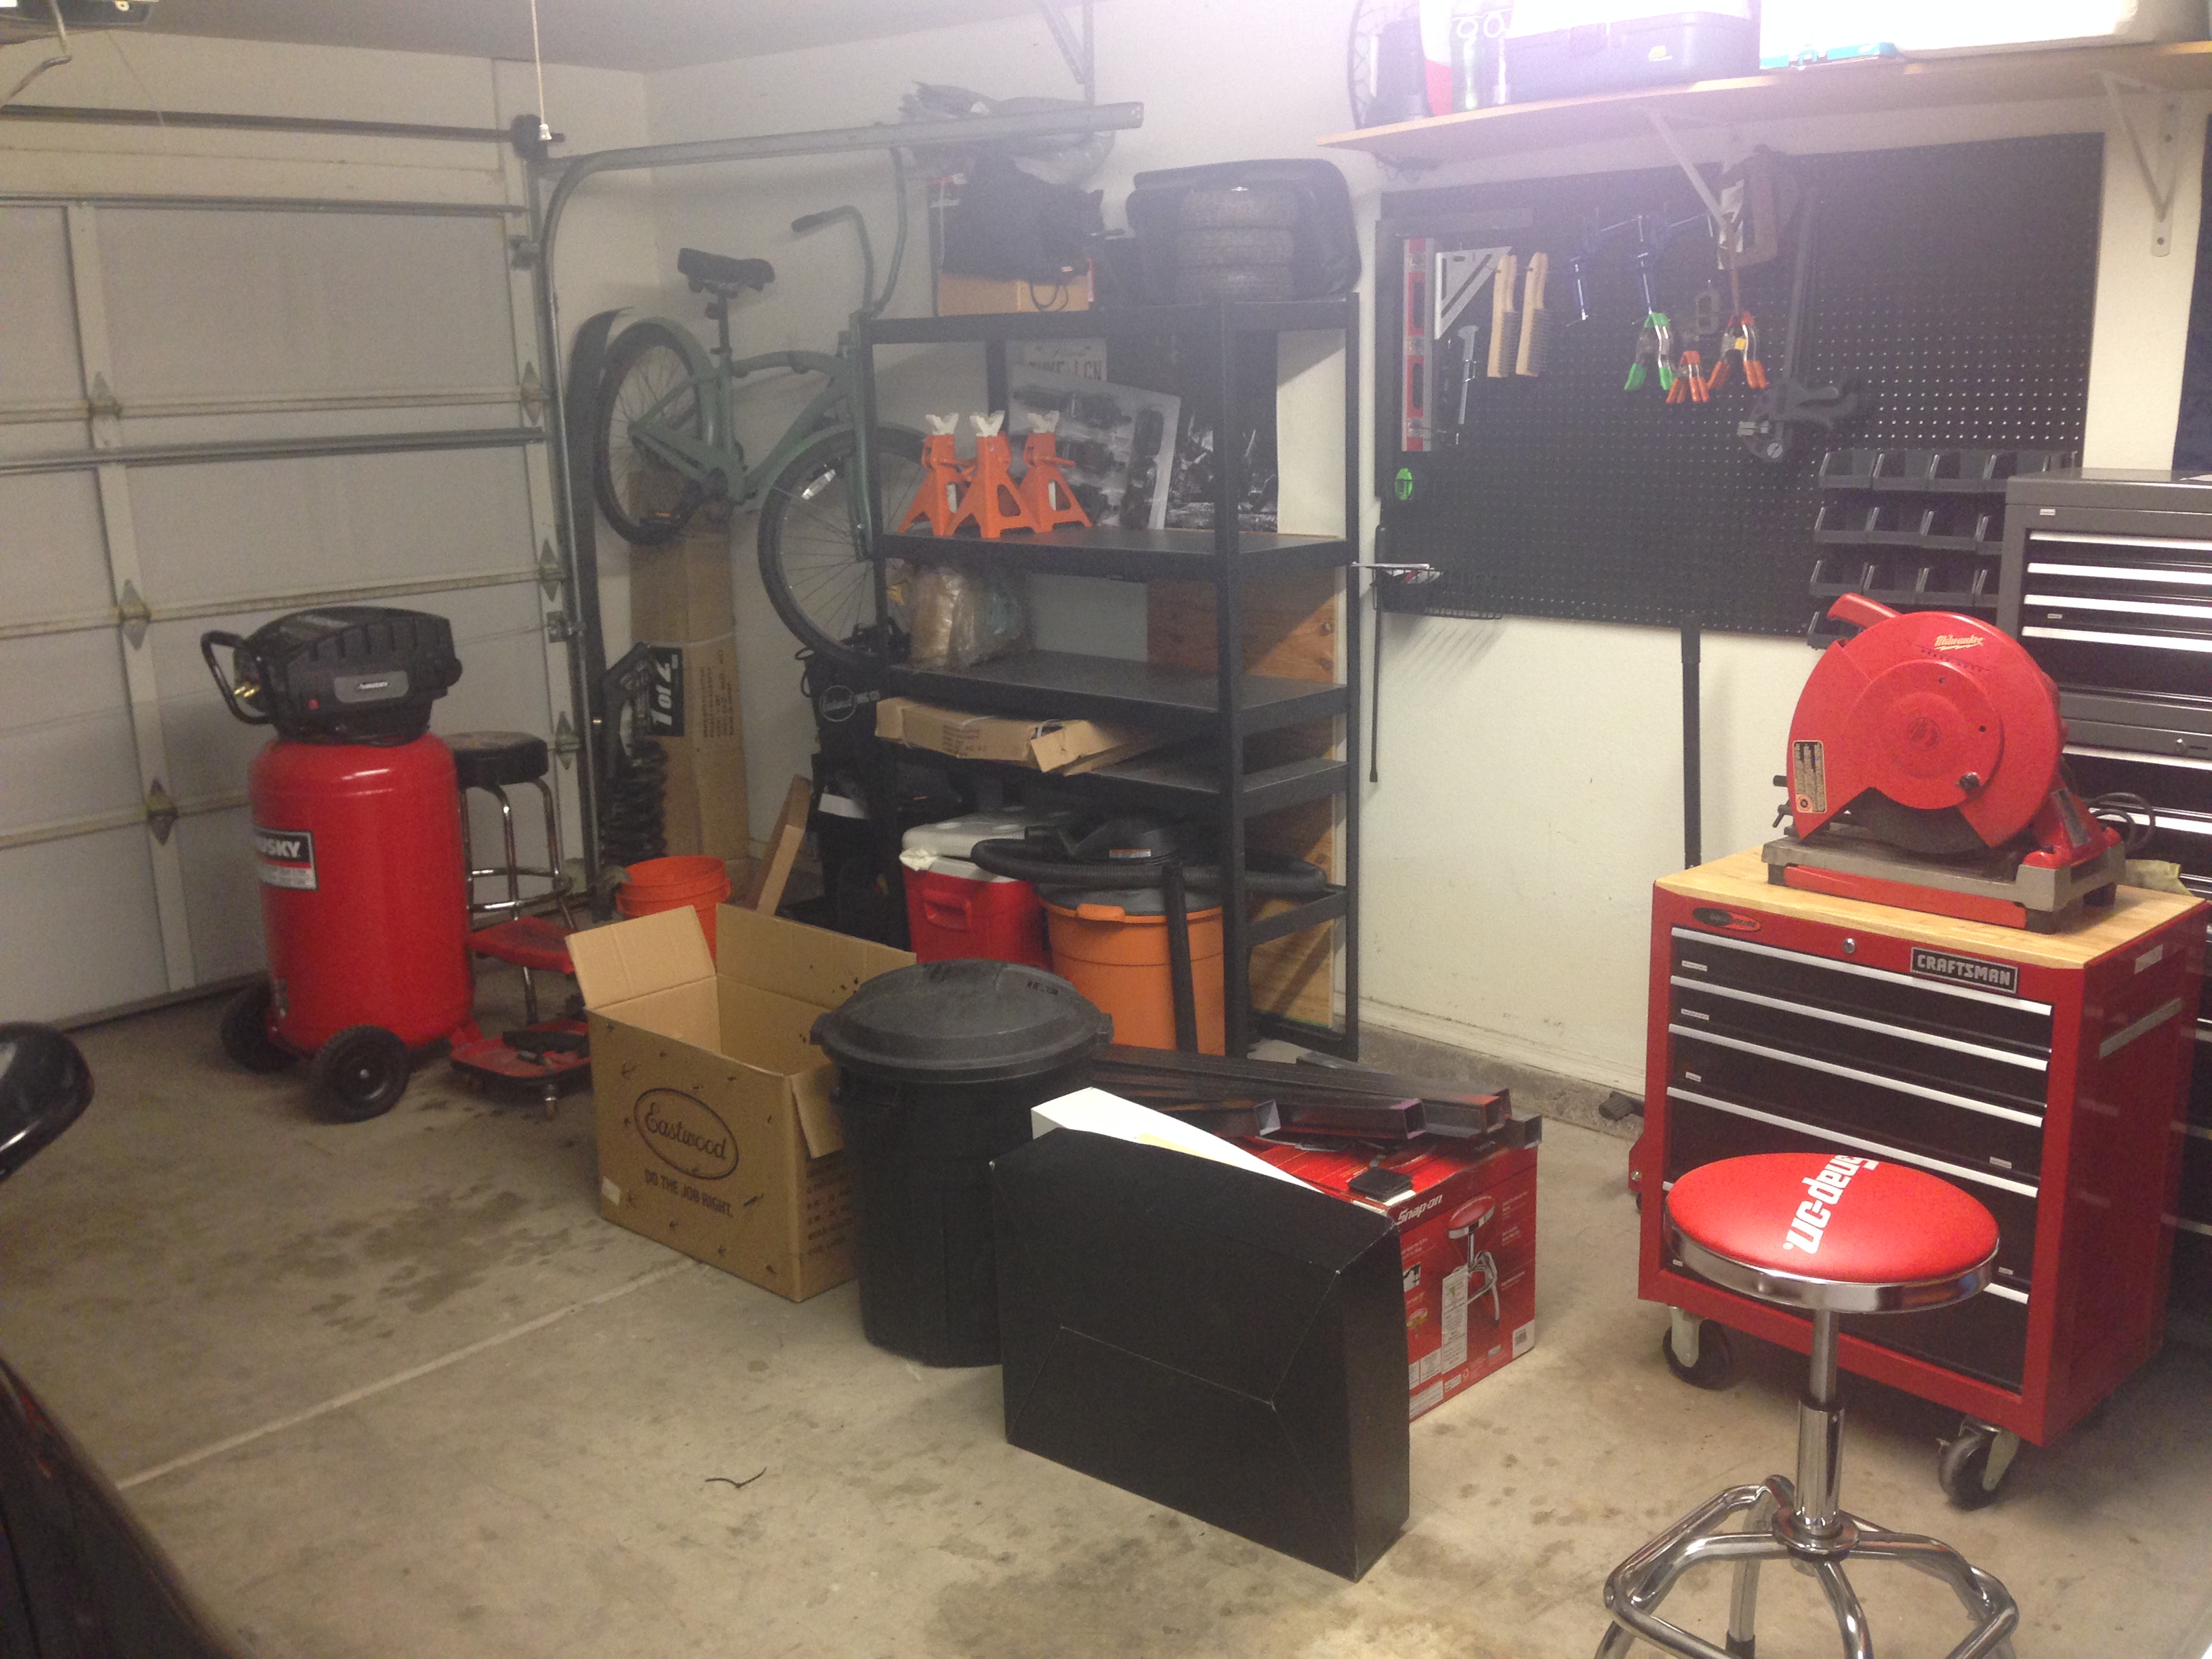
This was my garage after I cleared a place for the fabrication table.
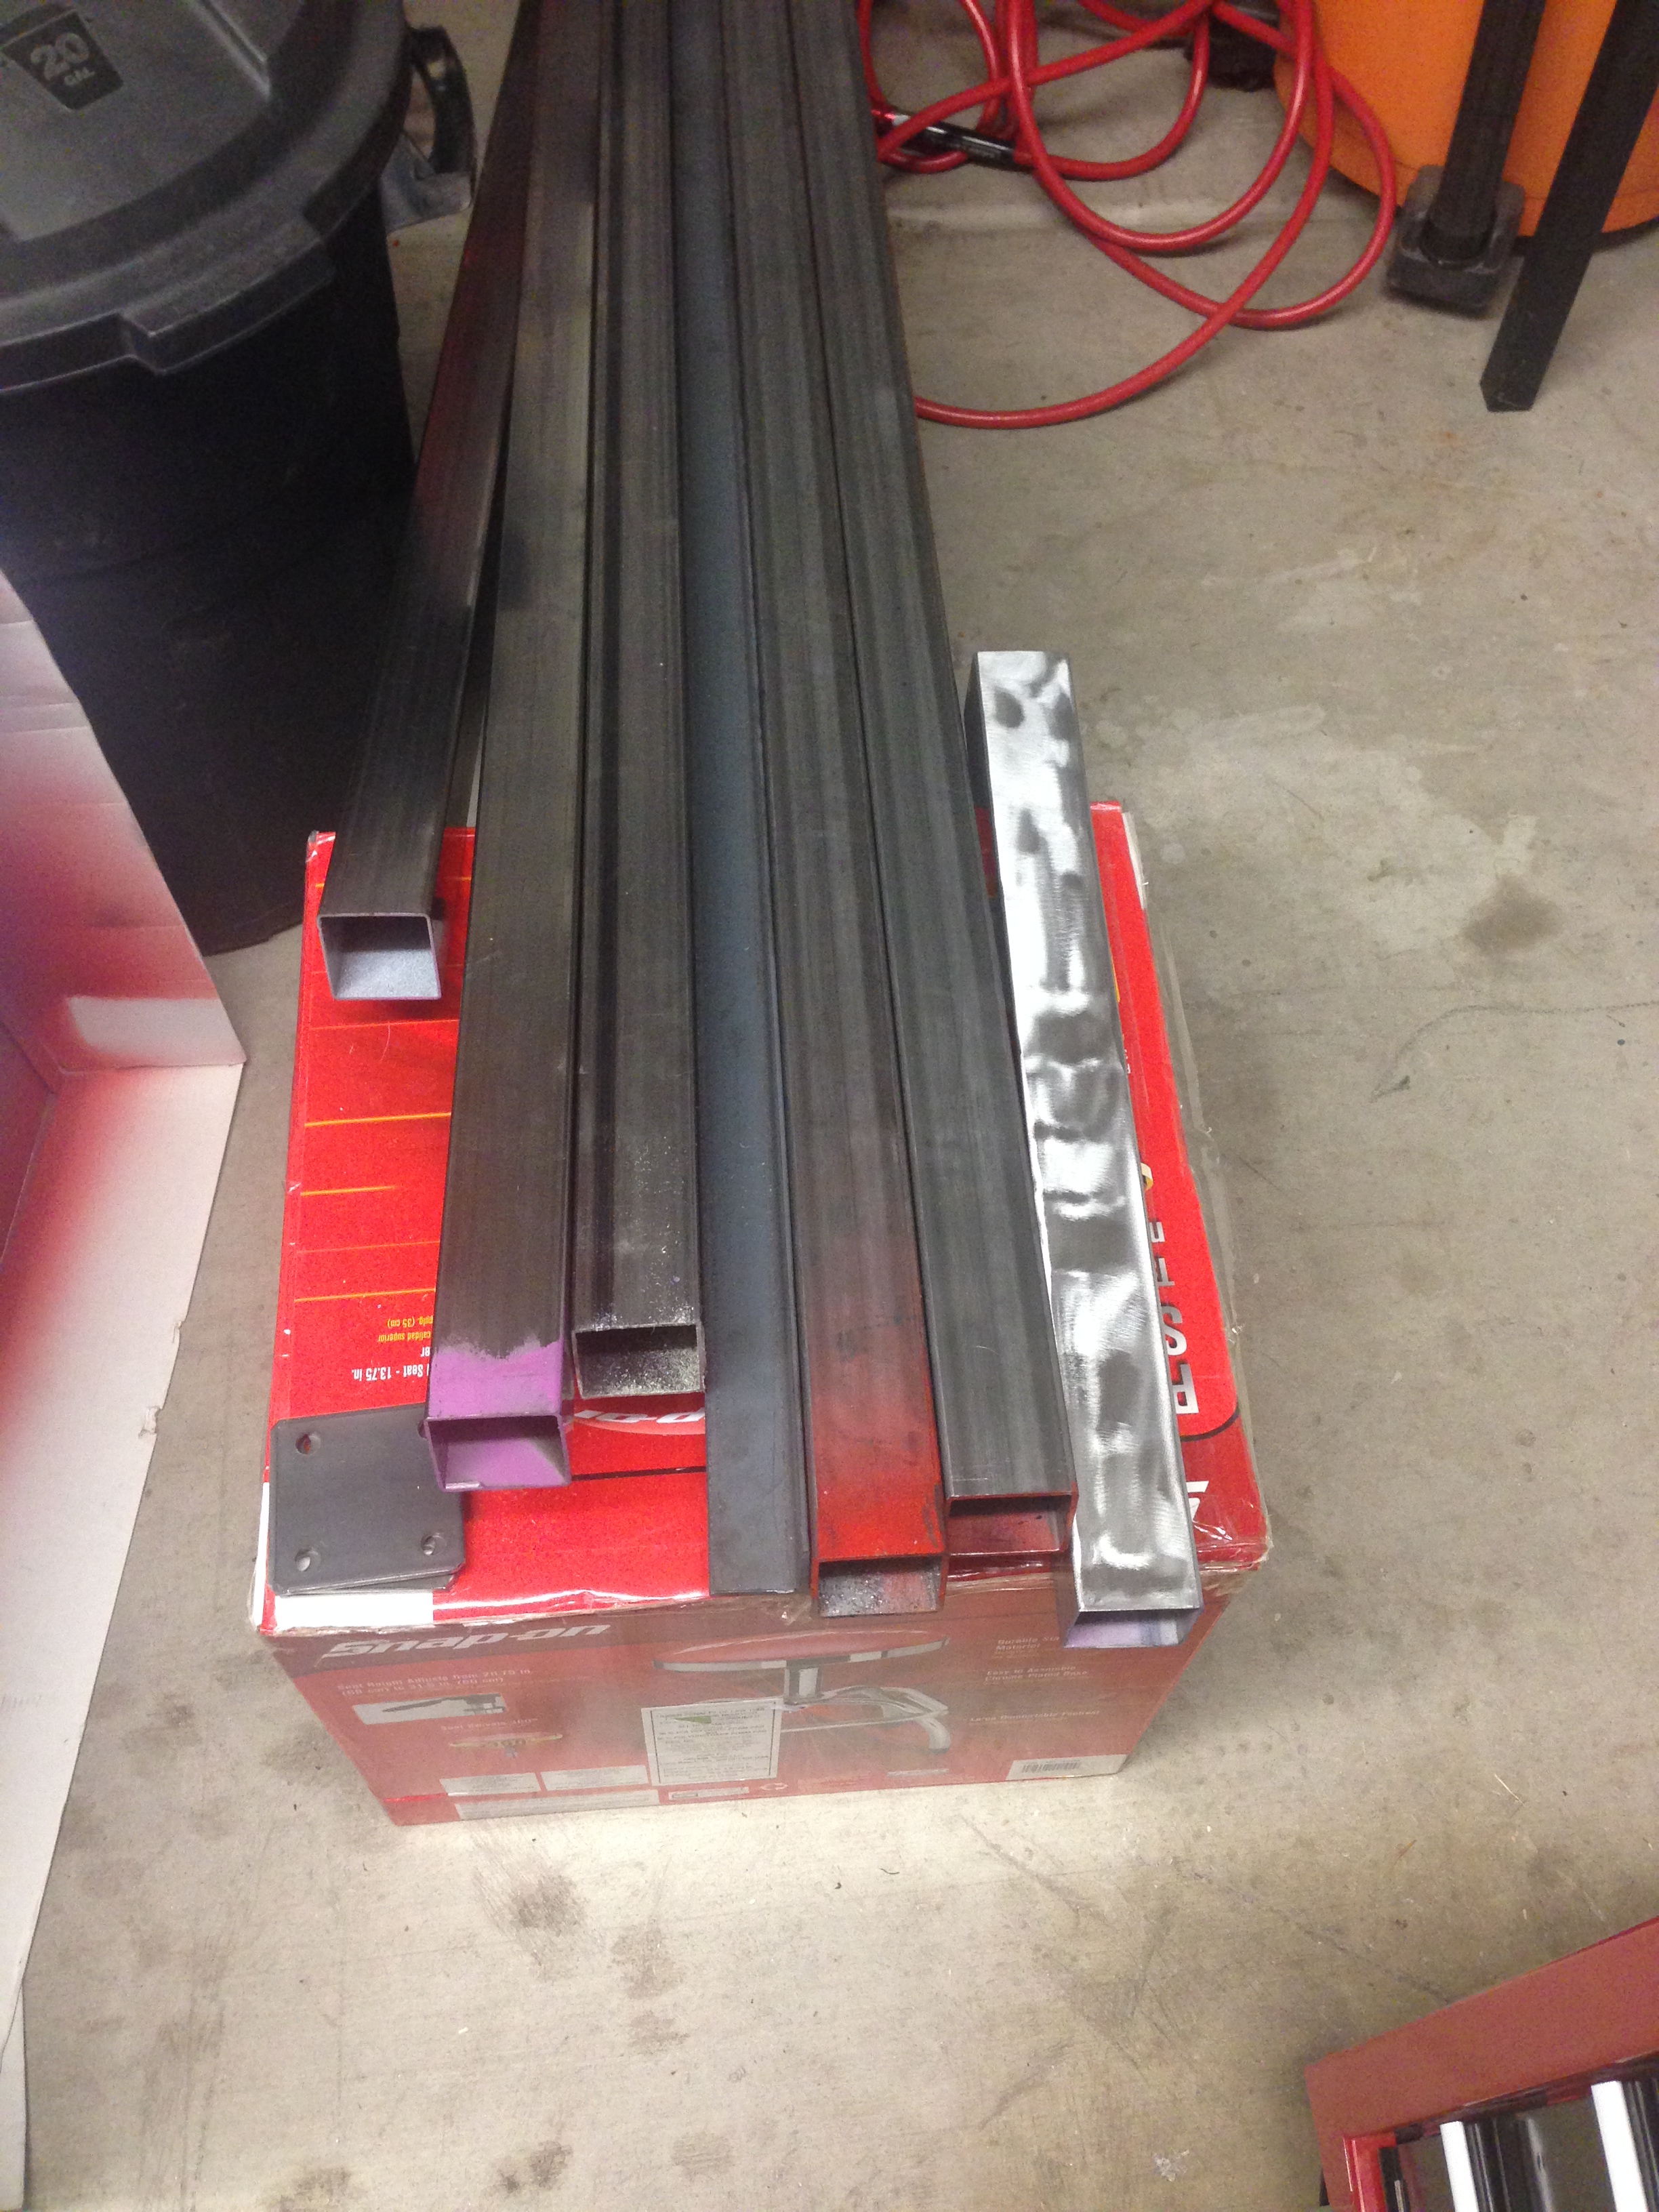
Here are the materials I started with for the metal fabrication table. As you can see from the picture above I have a Milwaukee metal chop saw to cut through all the metal tubing for the table.
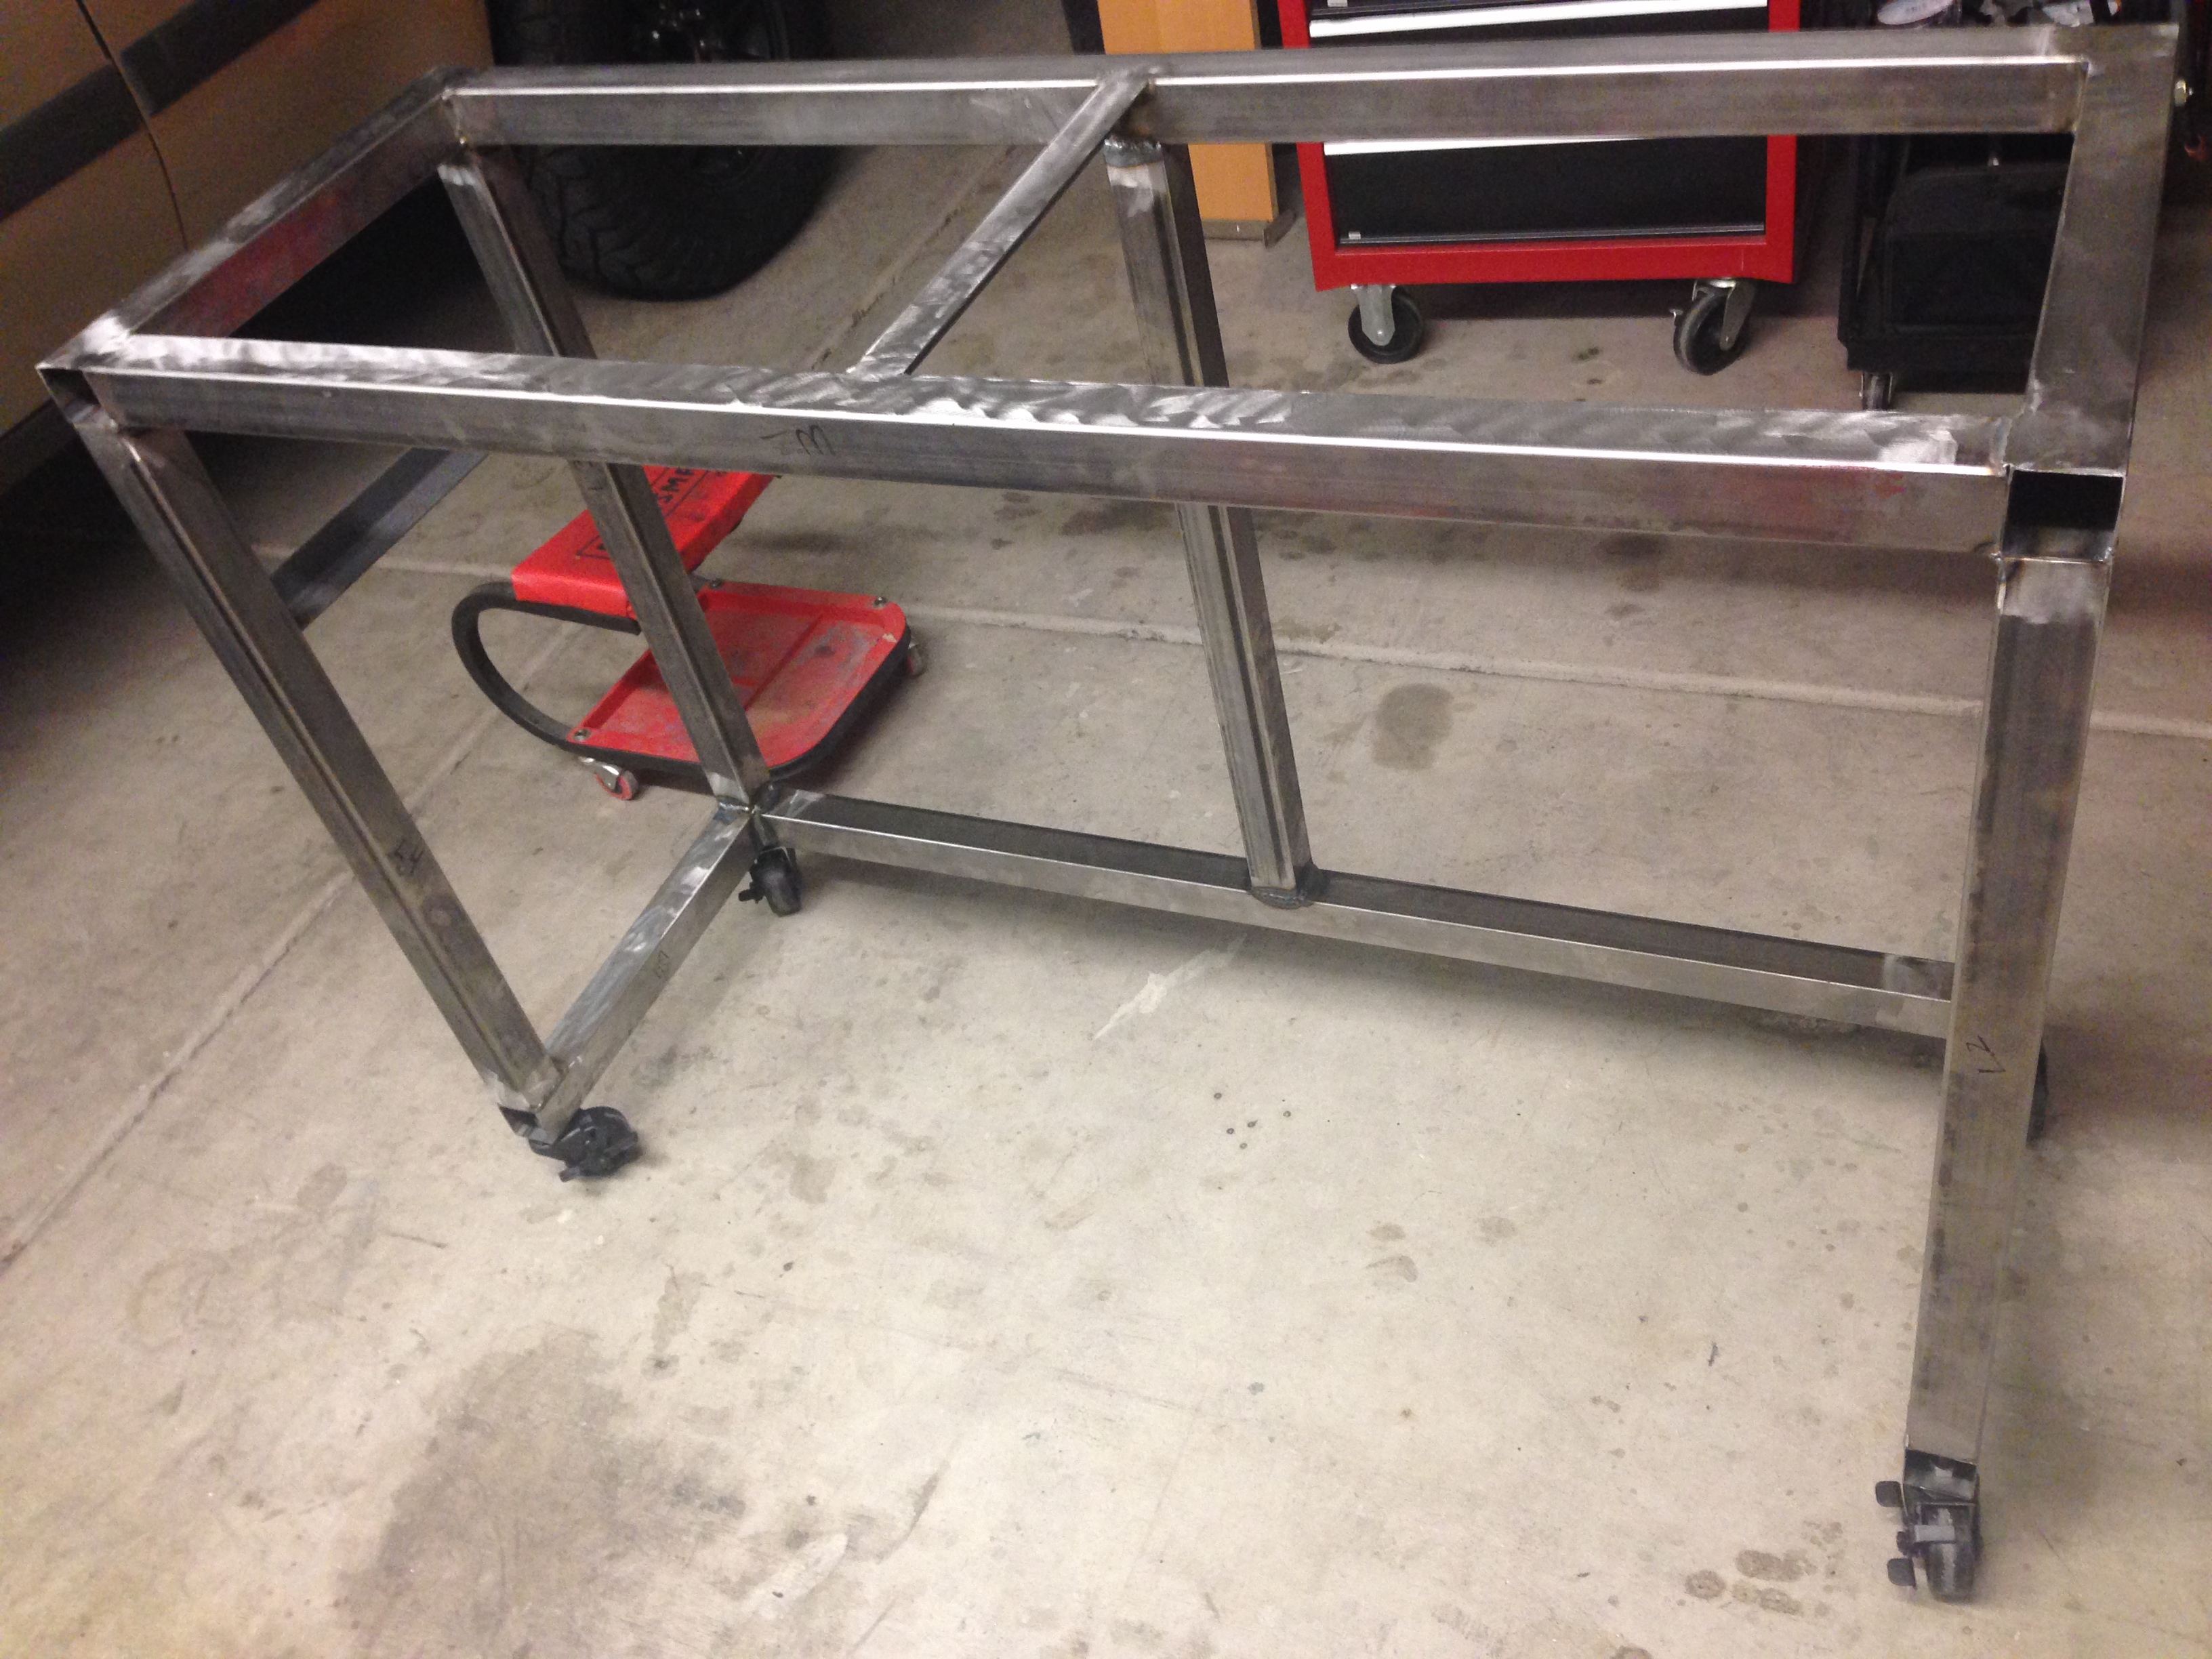
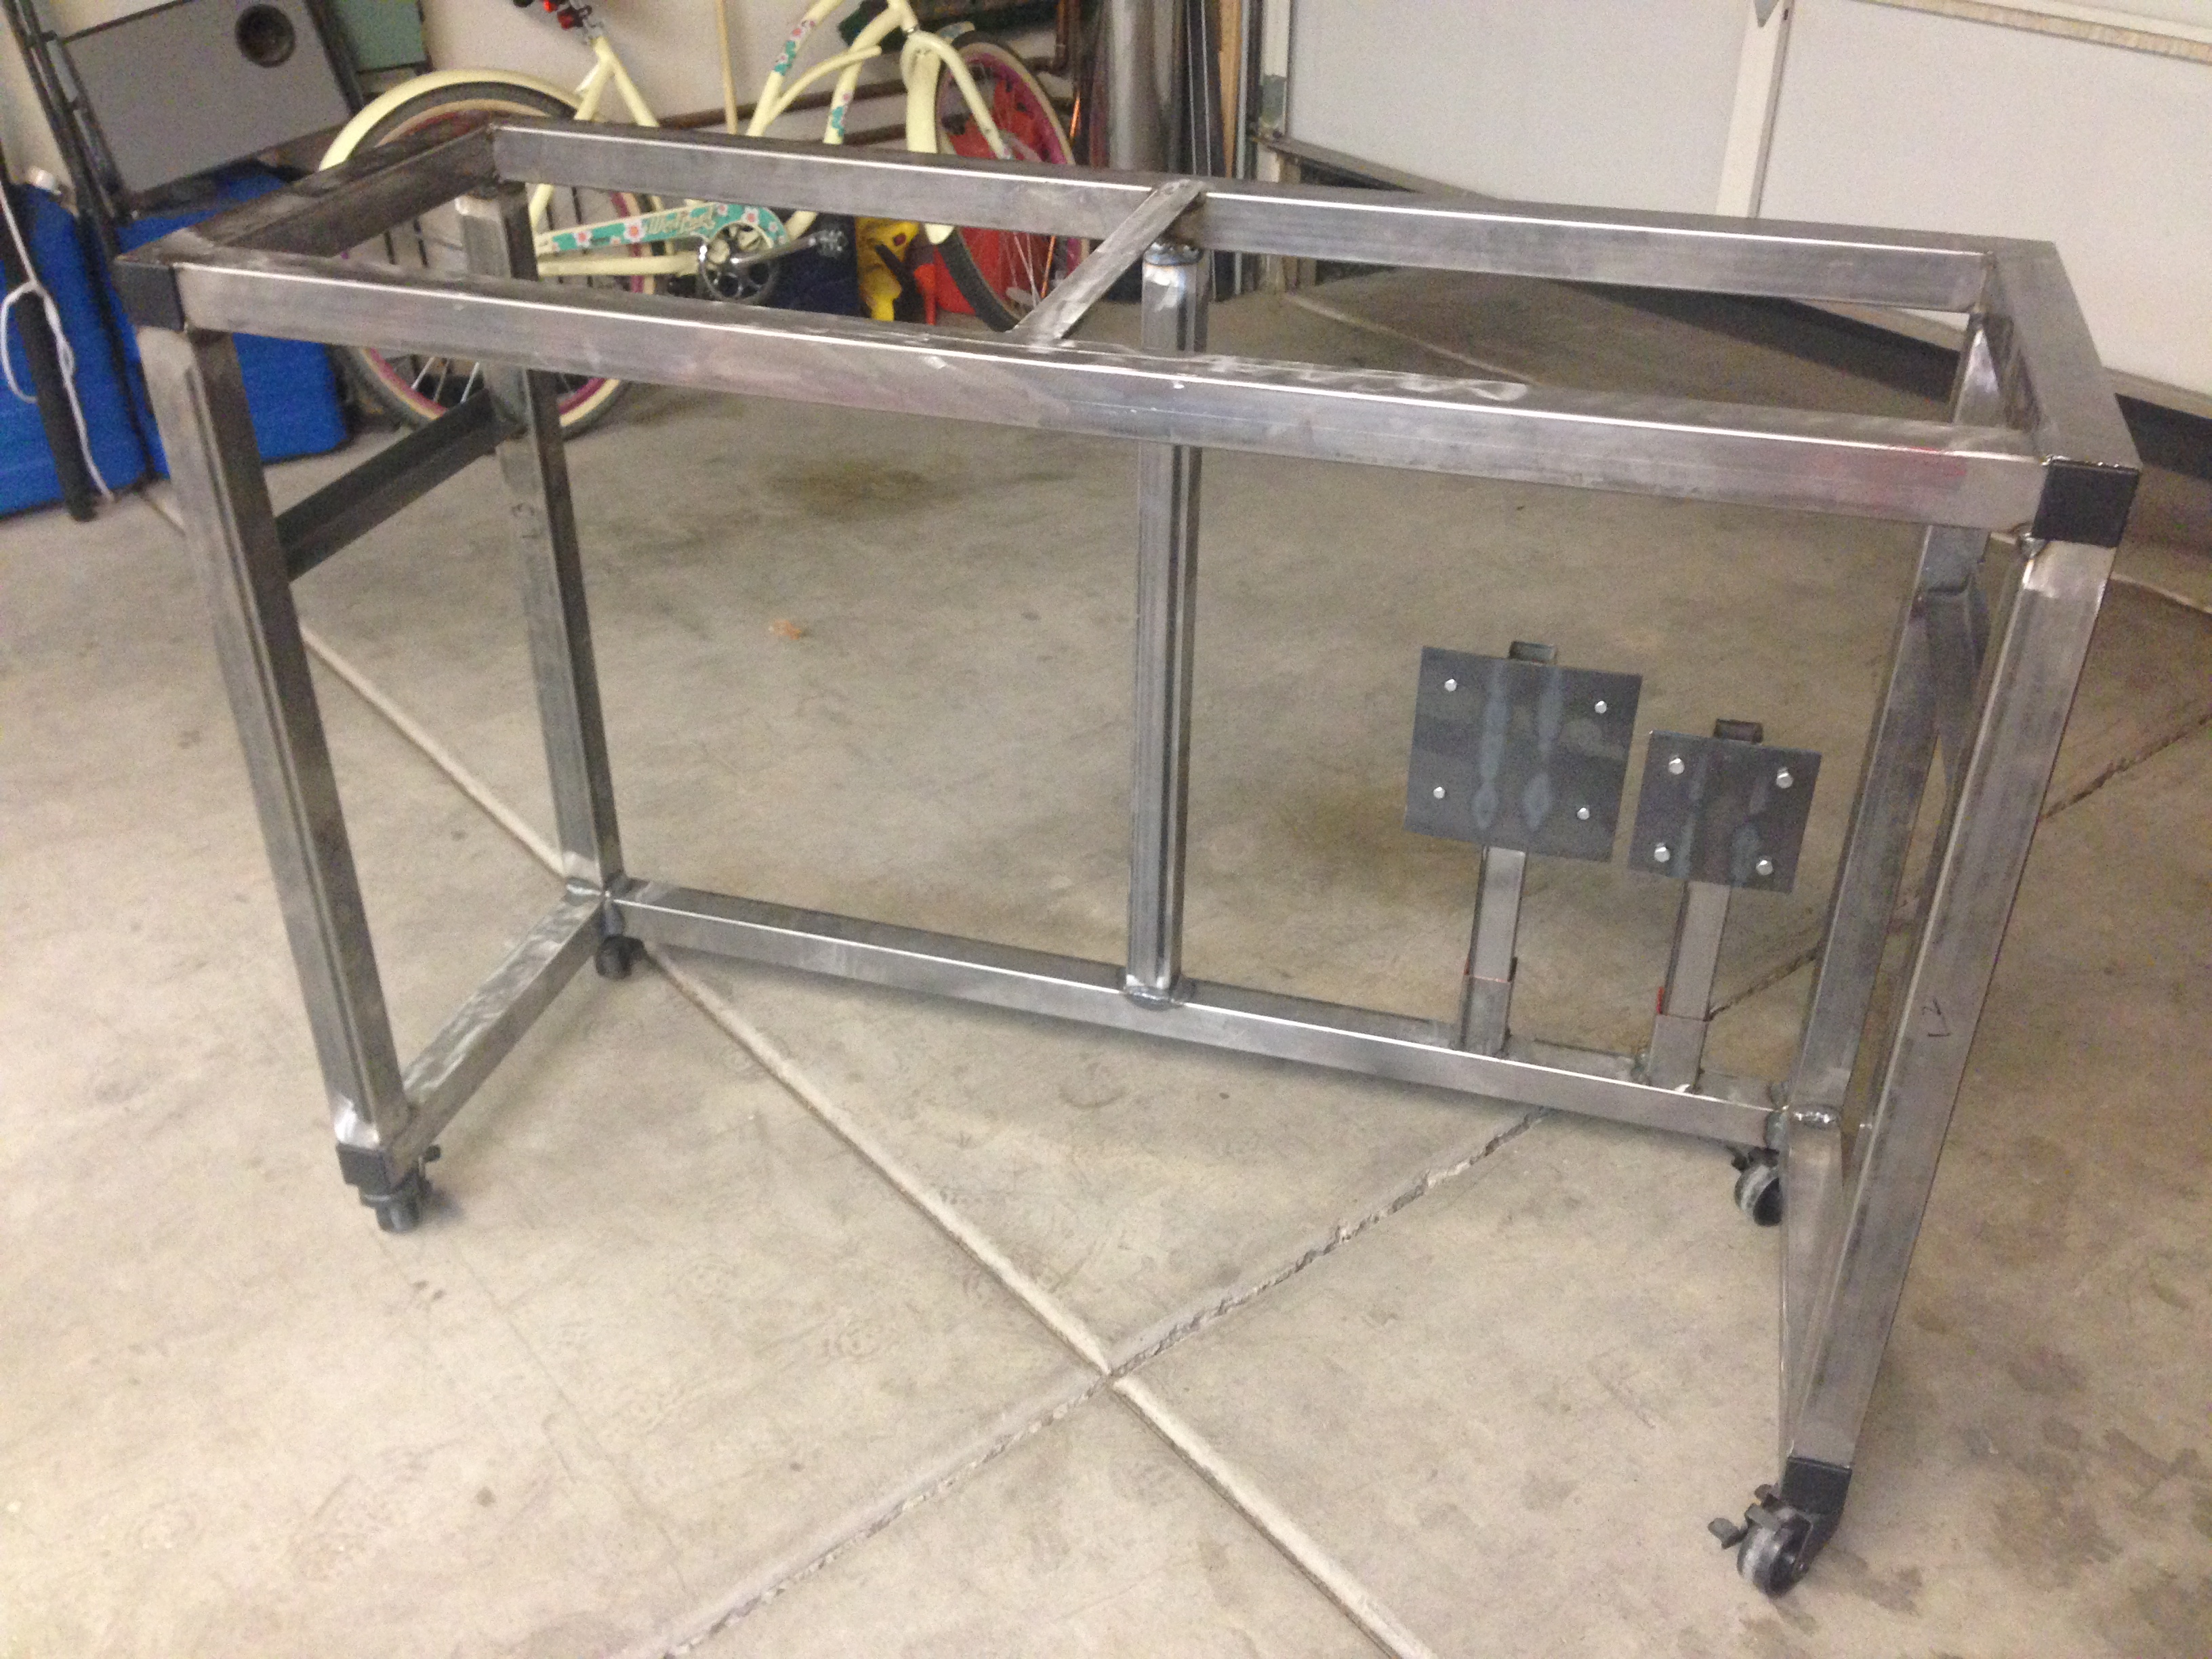
Below you can see the beginning of the table frame. To begin, I created the sides, or legs, to make it easier to build the frame. I used magnetic clamps to hold the rectangle base while I tacked the corners to create a free-standing structure. Then, I added cross supports on top and a middle crossbar for strength. On the sides I placed angle iron to hold metal grinders and clamps.
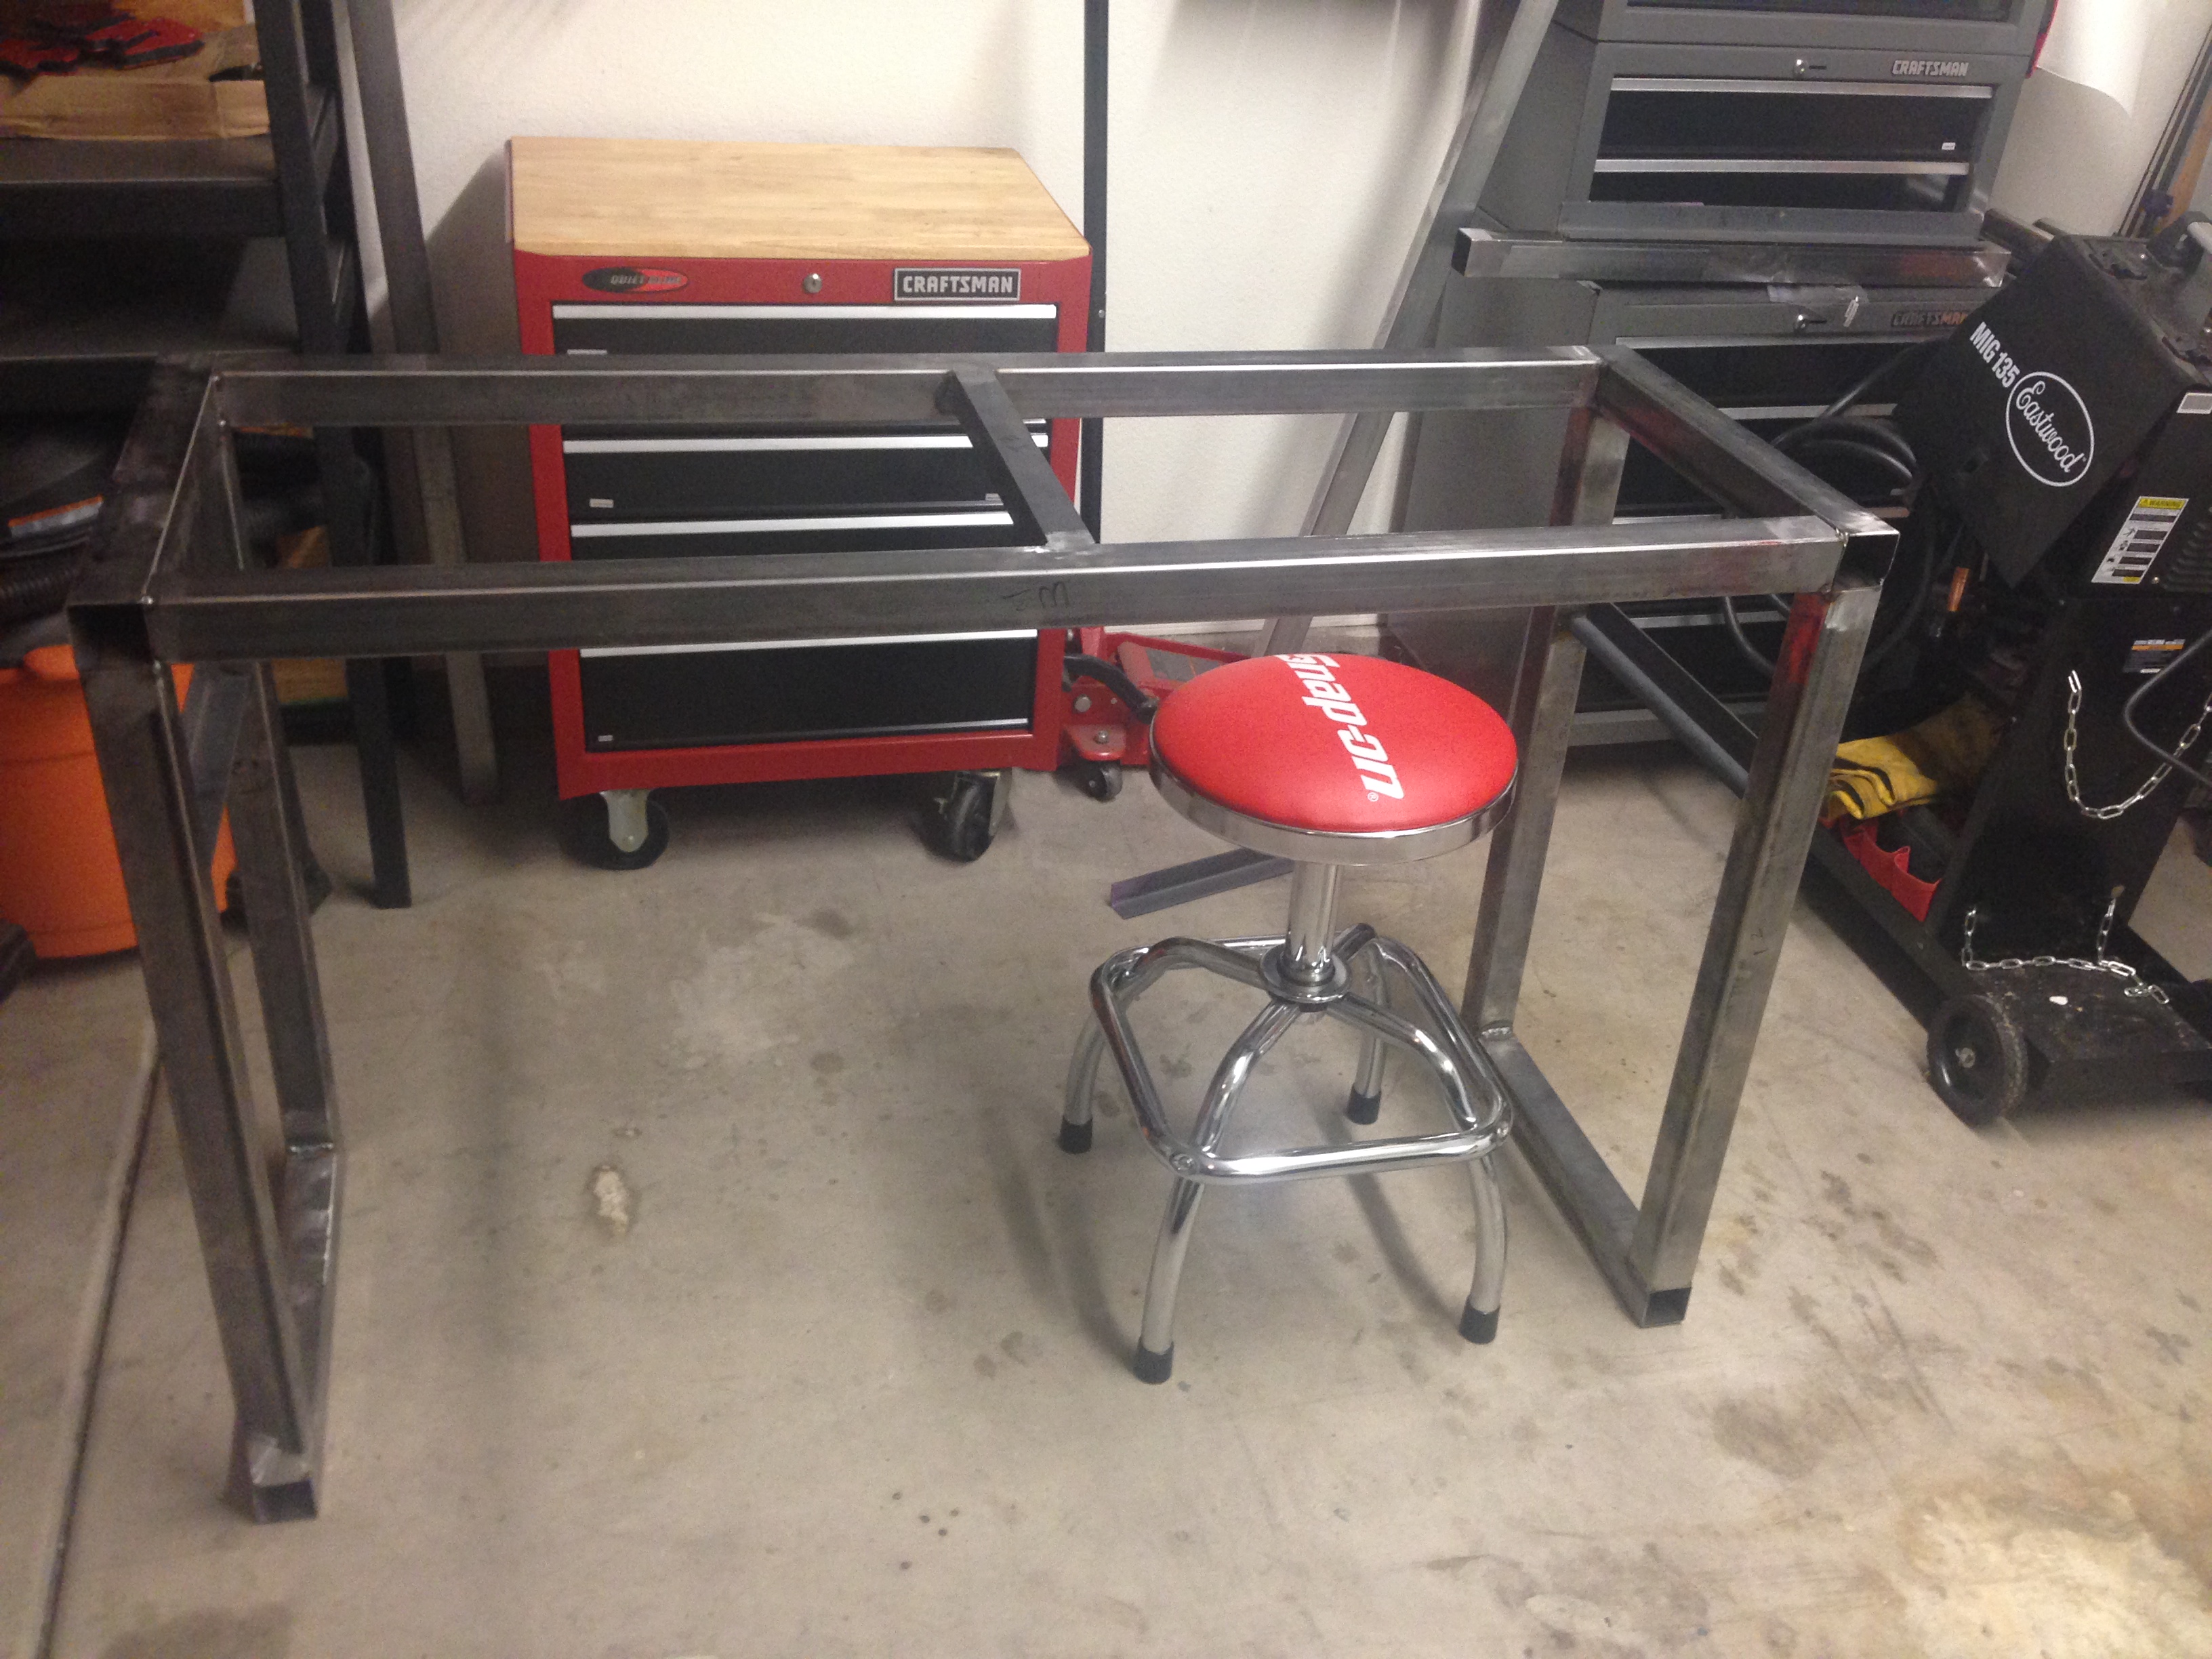
Since the table is open front I needed to create more support for the integrity of the table. The way I accomplished that is by adding another leg to the back of the table for strength. In order to create a level table, as the heat from welding can warp the frame, I only tack the corners of the supports; I will come back later to weld the entire seam.

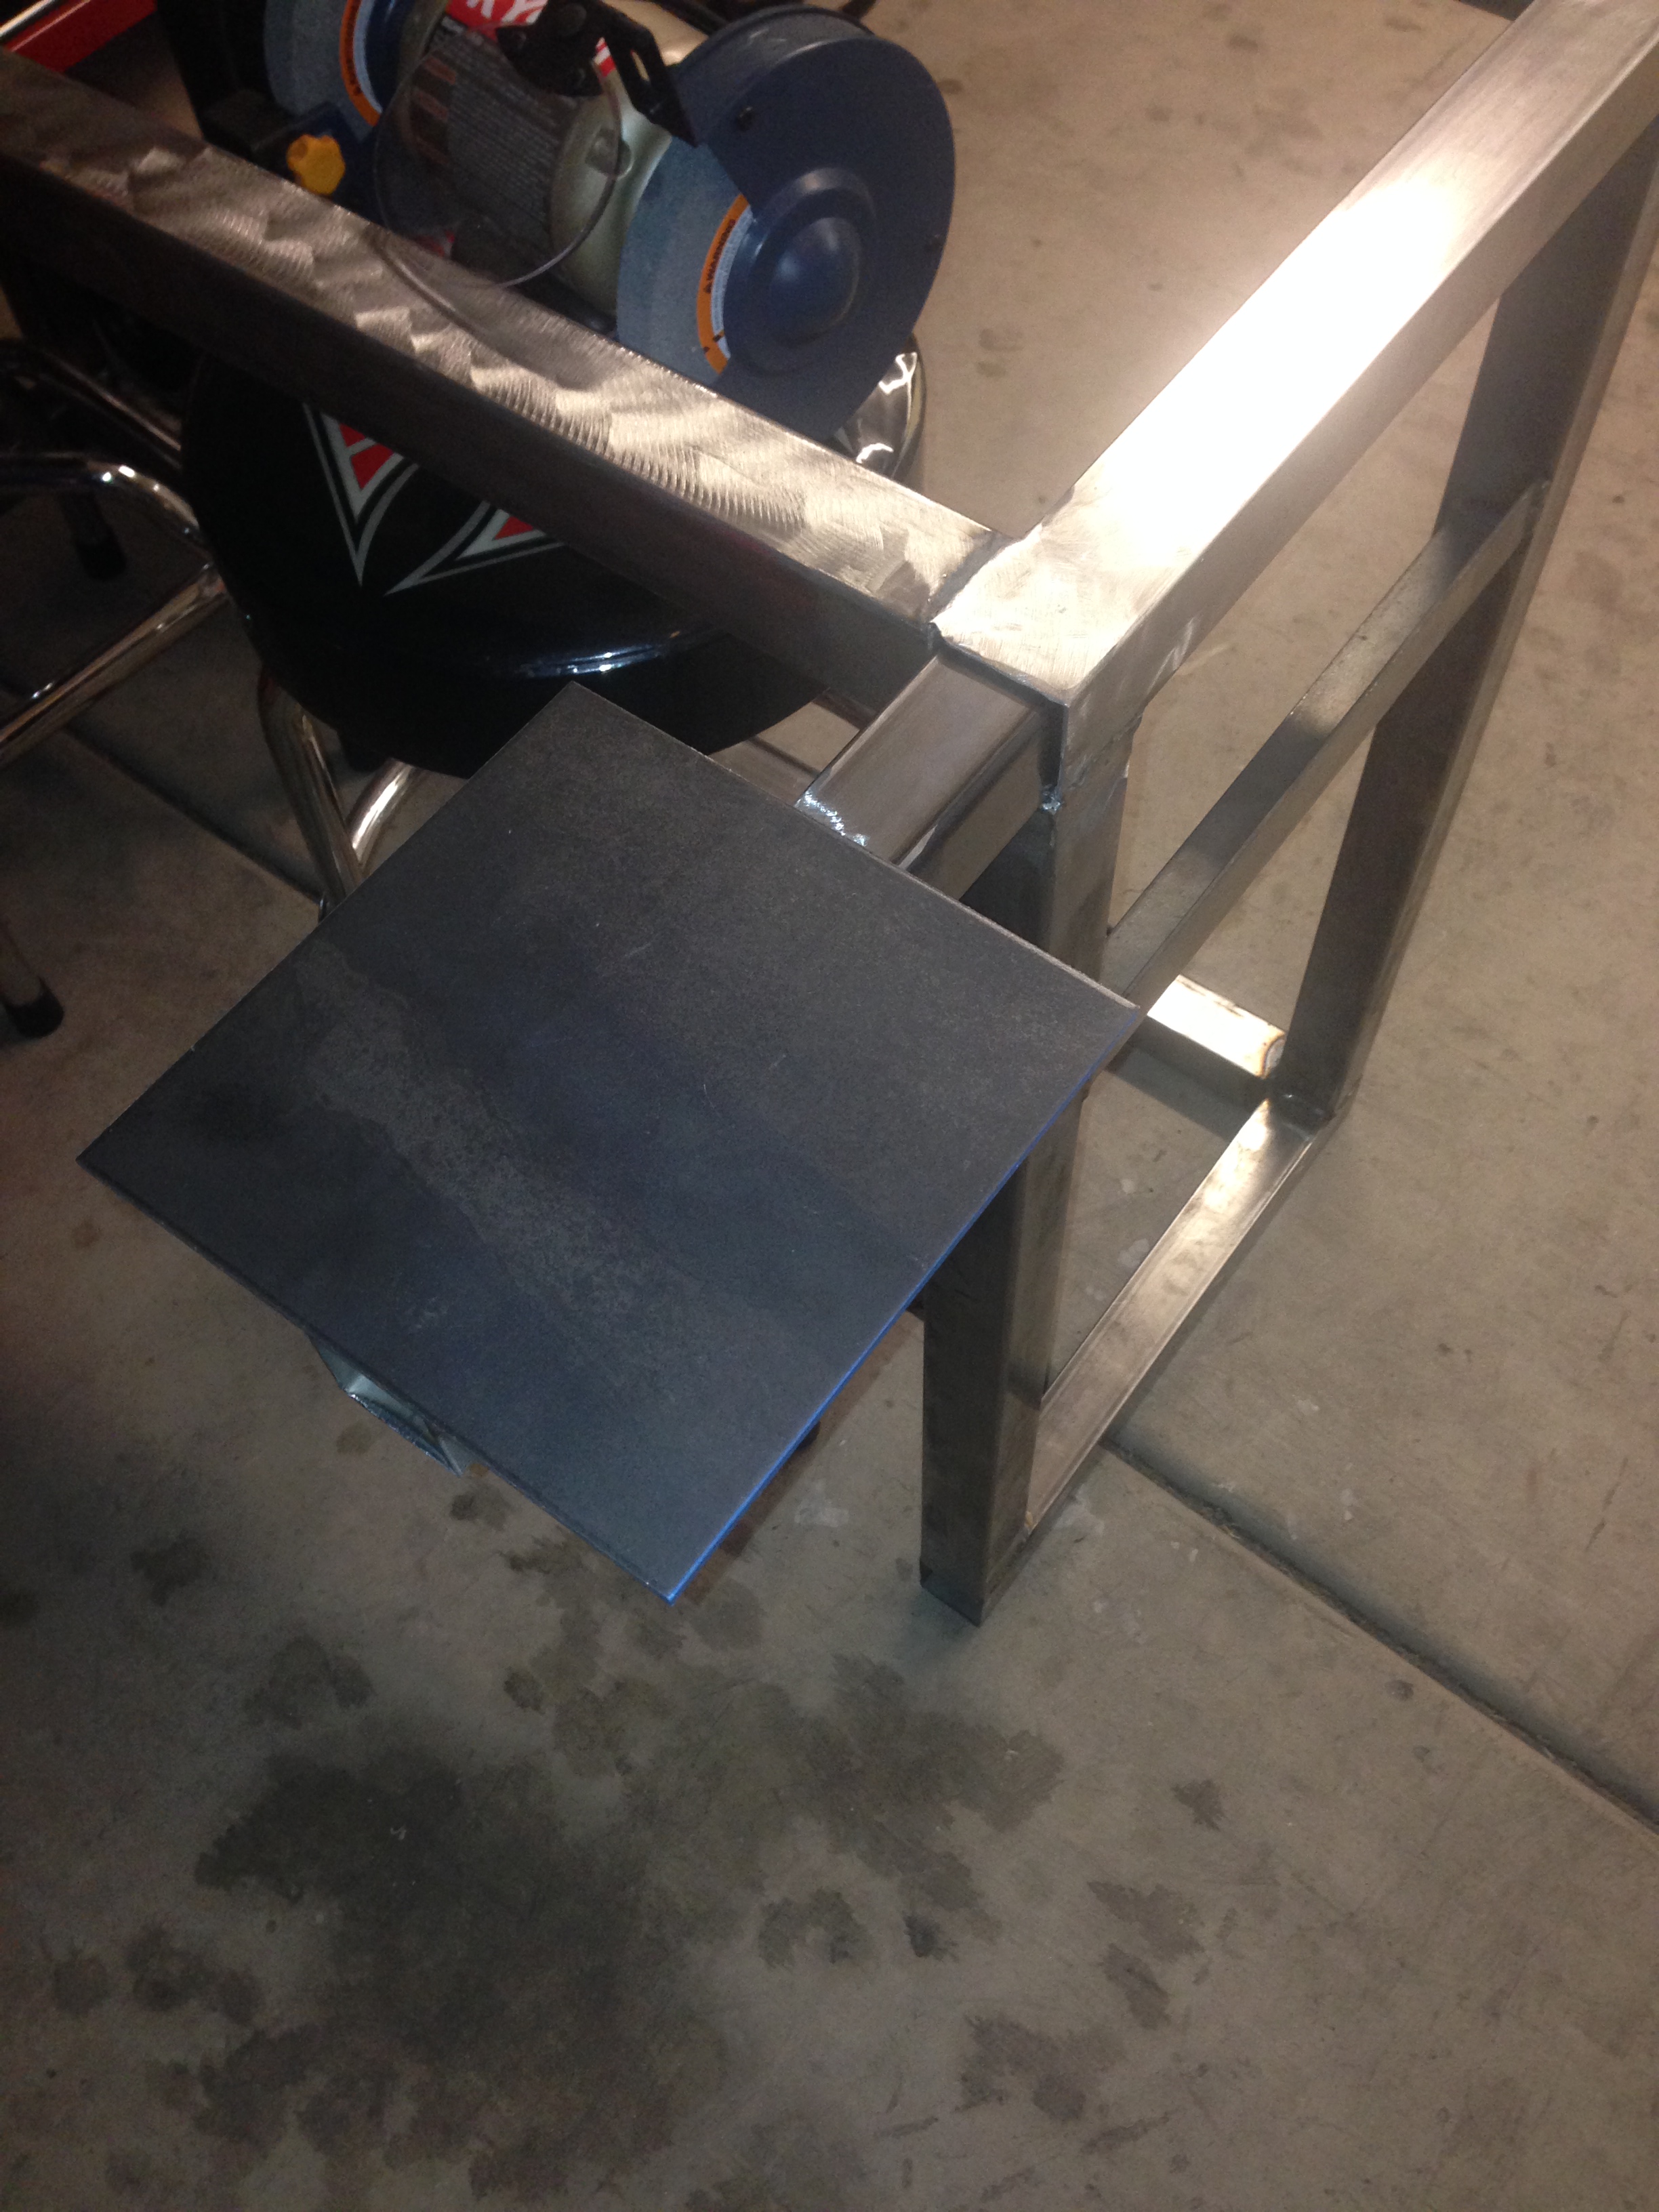
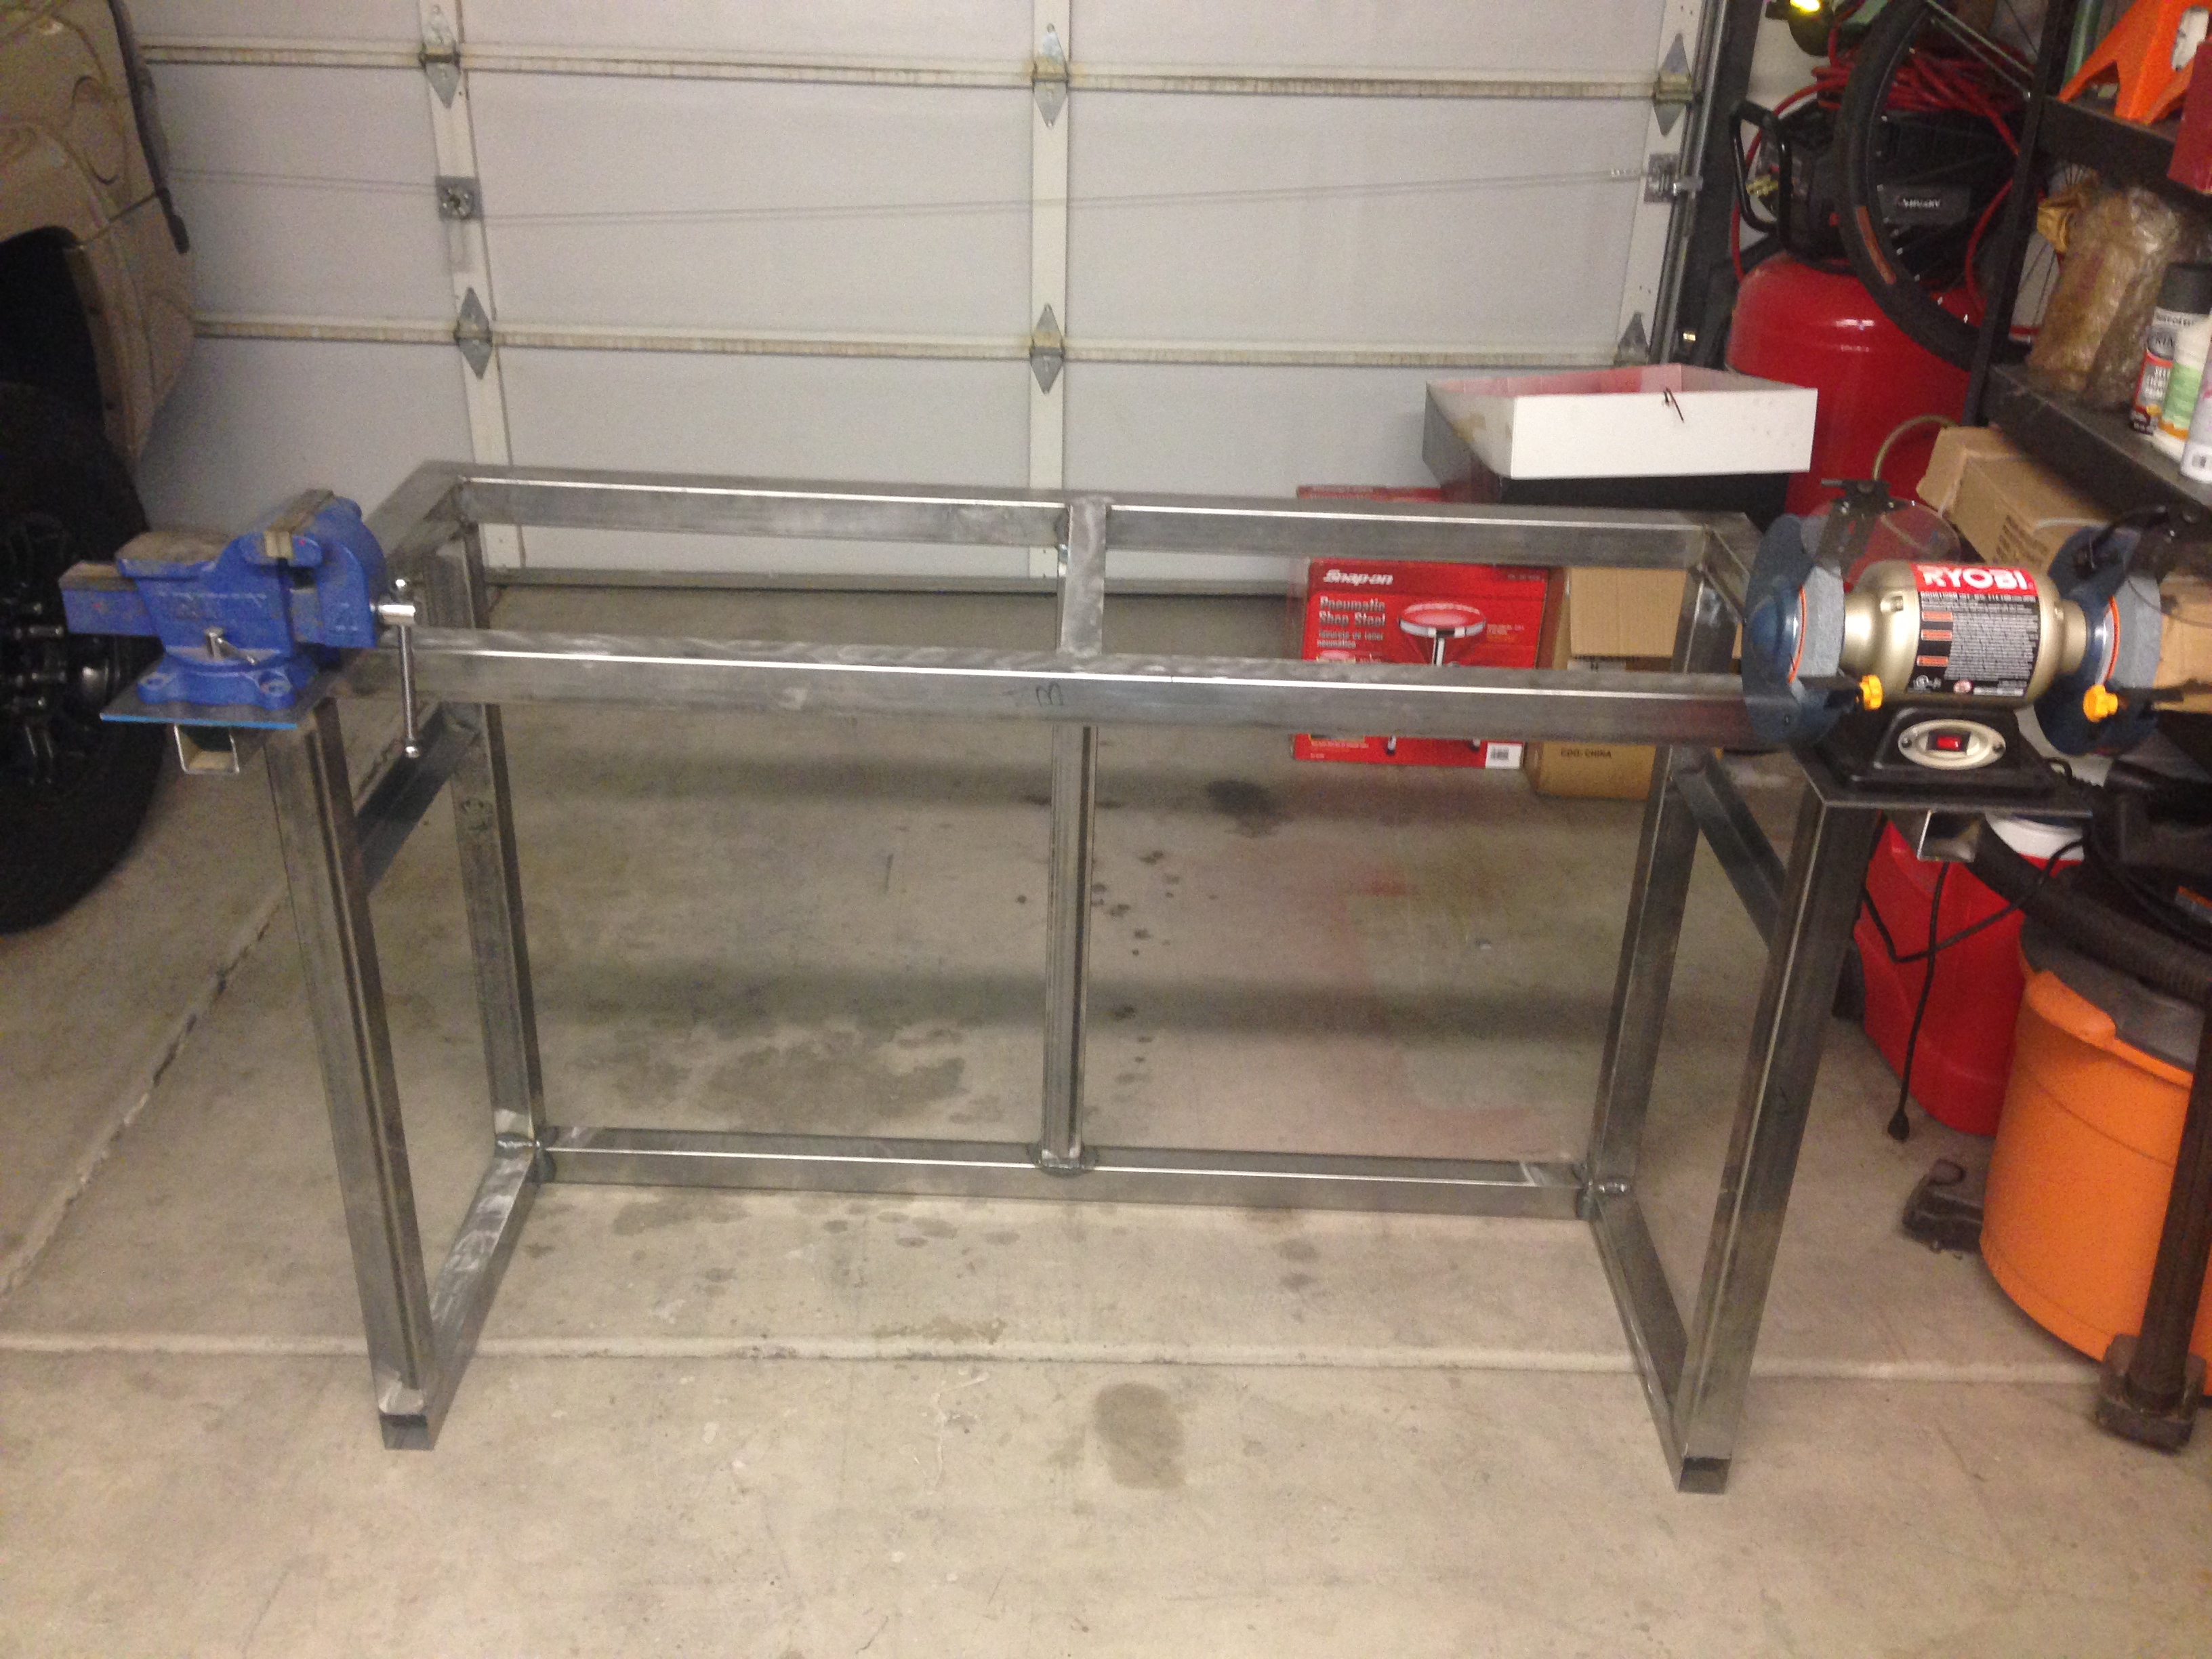
With the bones of the table structure together it is time for the add-ons to the table. My first addition was adding wheels to the bottom of the frame to make the structure mobile. My second add-on is a trailer hitch system that will allow you to add a vise and grinder to any corner to increase the versatility of the table.
To add the wheels I bought bolt on casters, drilled through the bottom of the leg supports and then screwed them into place. After adding the wheels it was time for the trailer hitch connection on the top of the table. I had pre-fit tubing that would securely fit inside the frame by using a hitch pin.
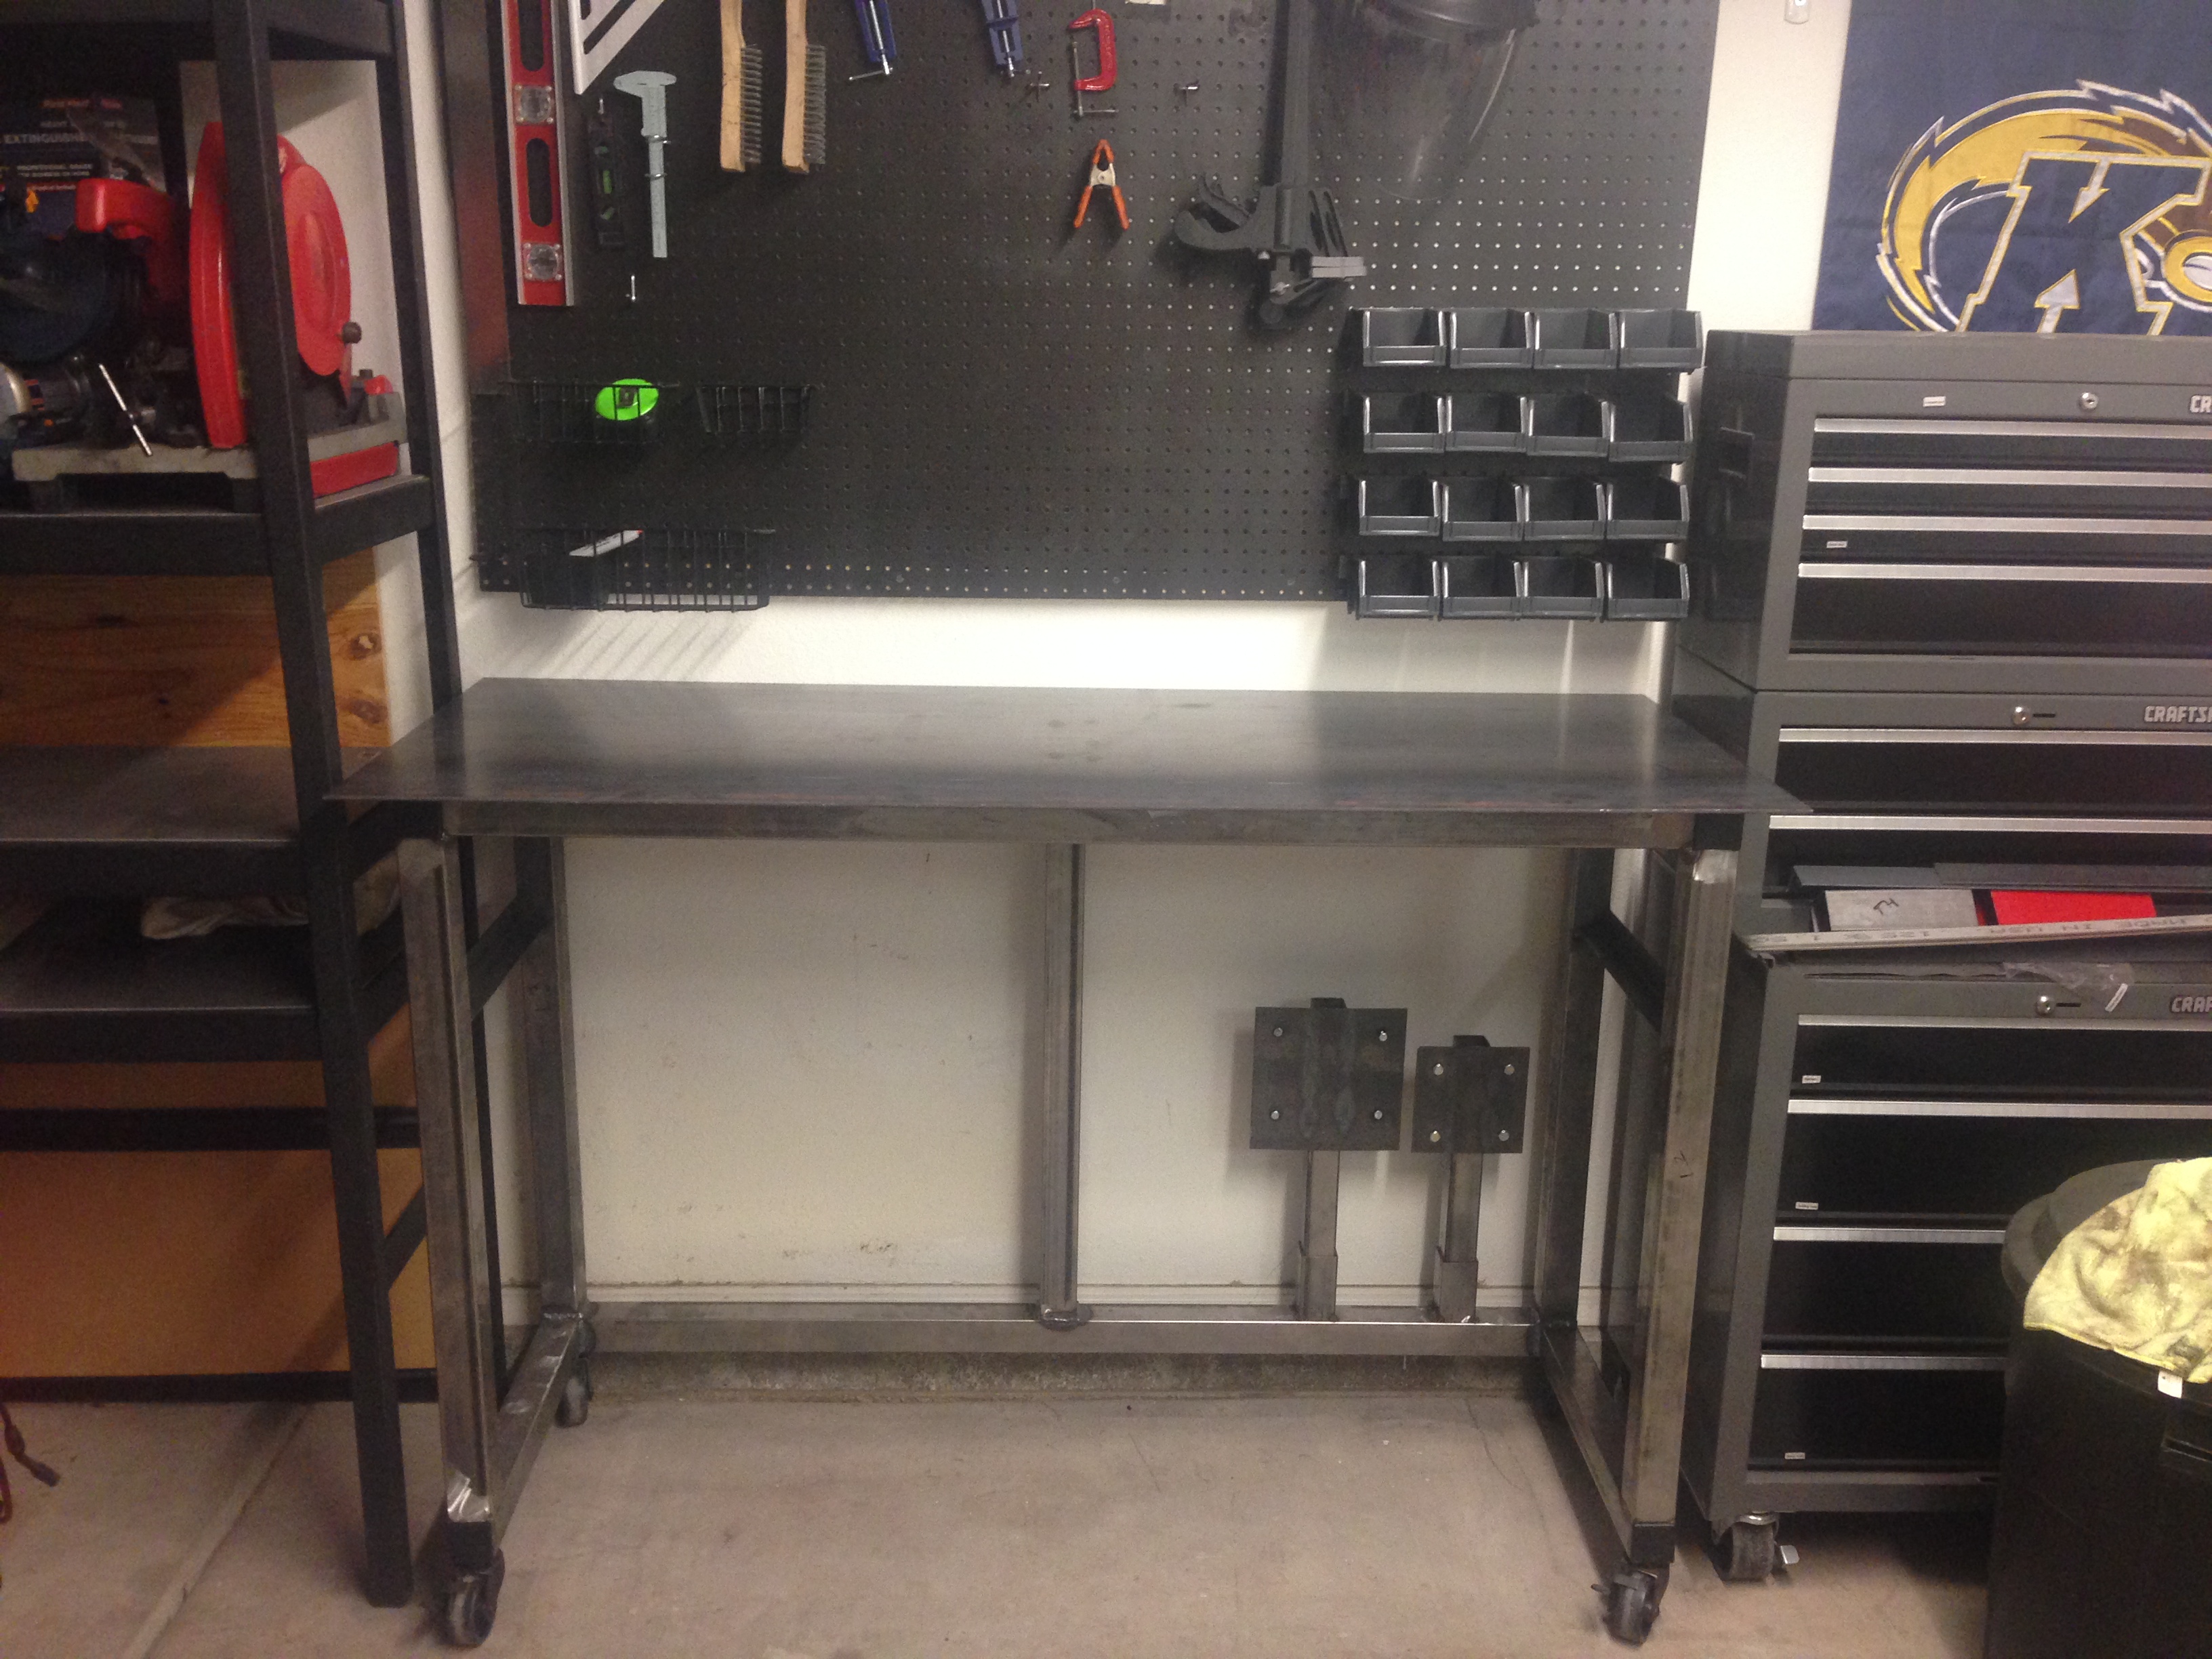
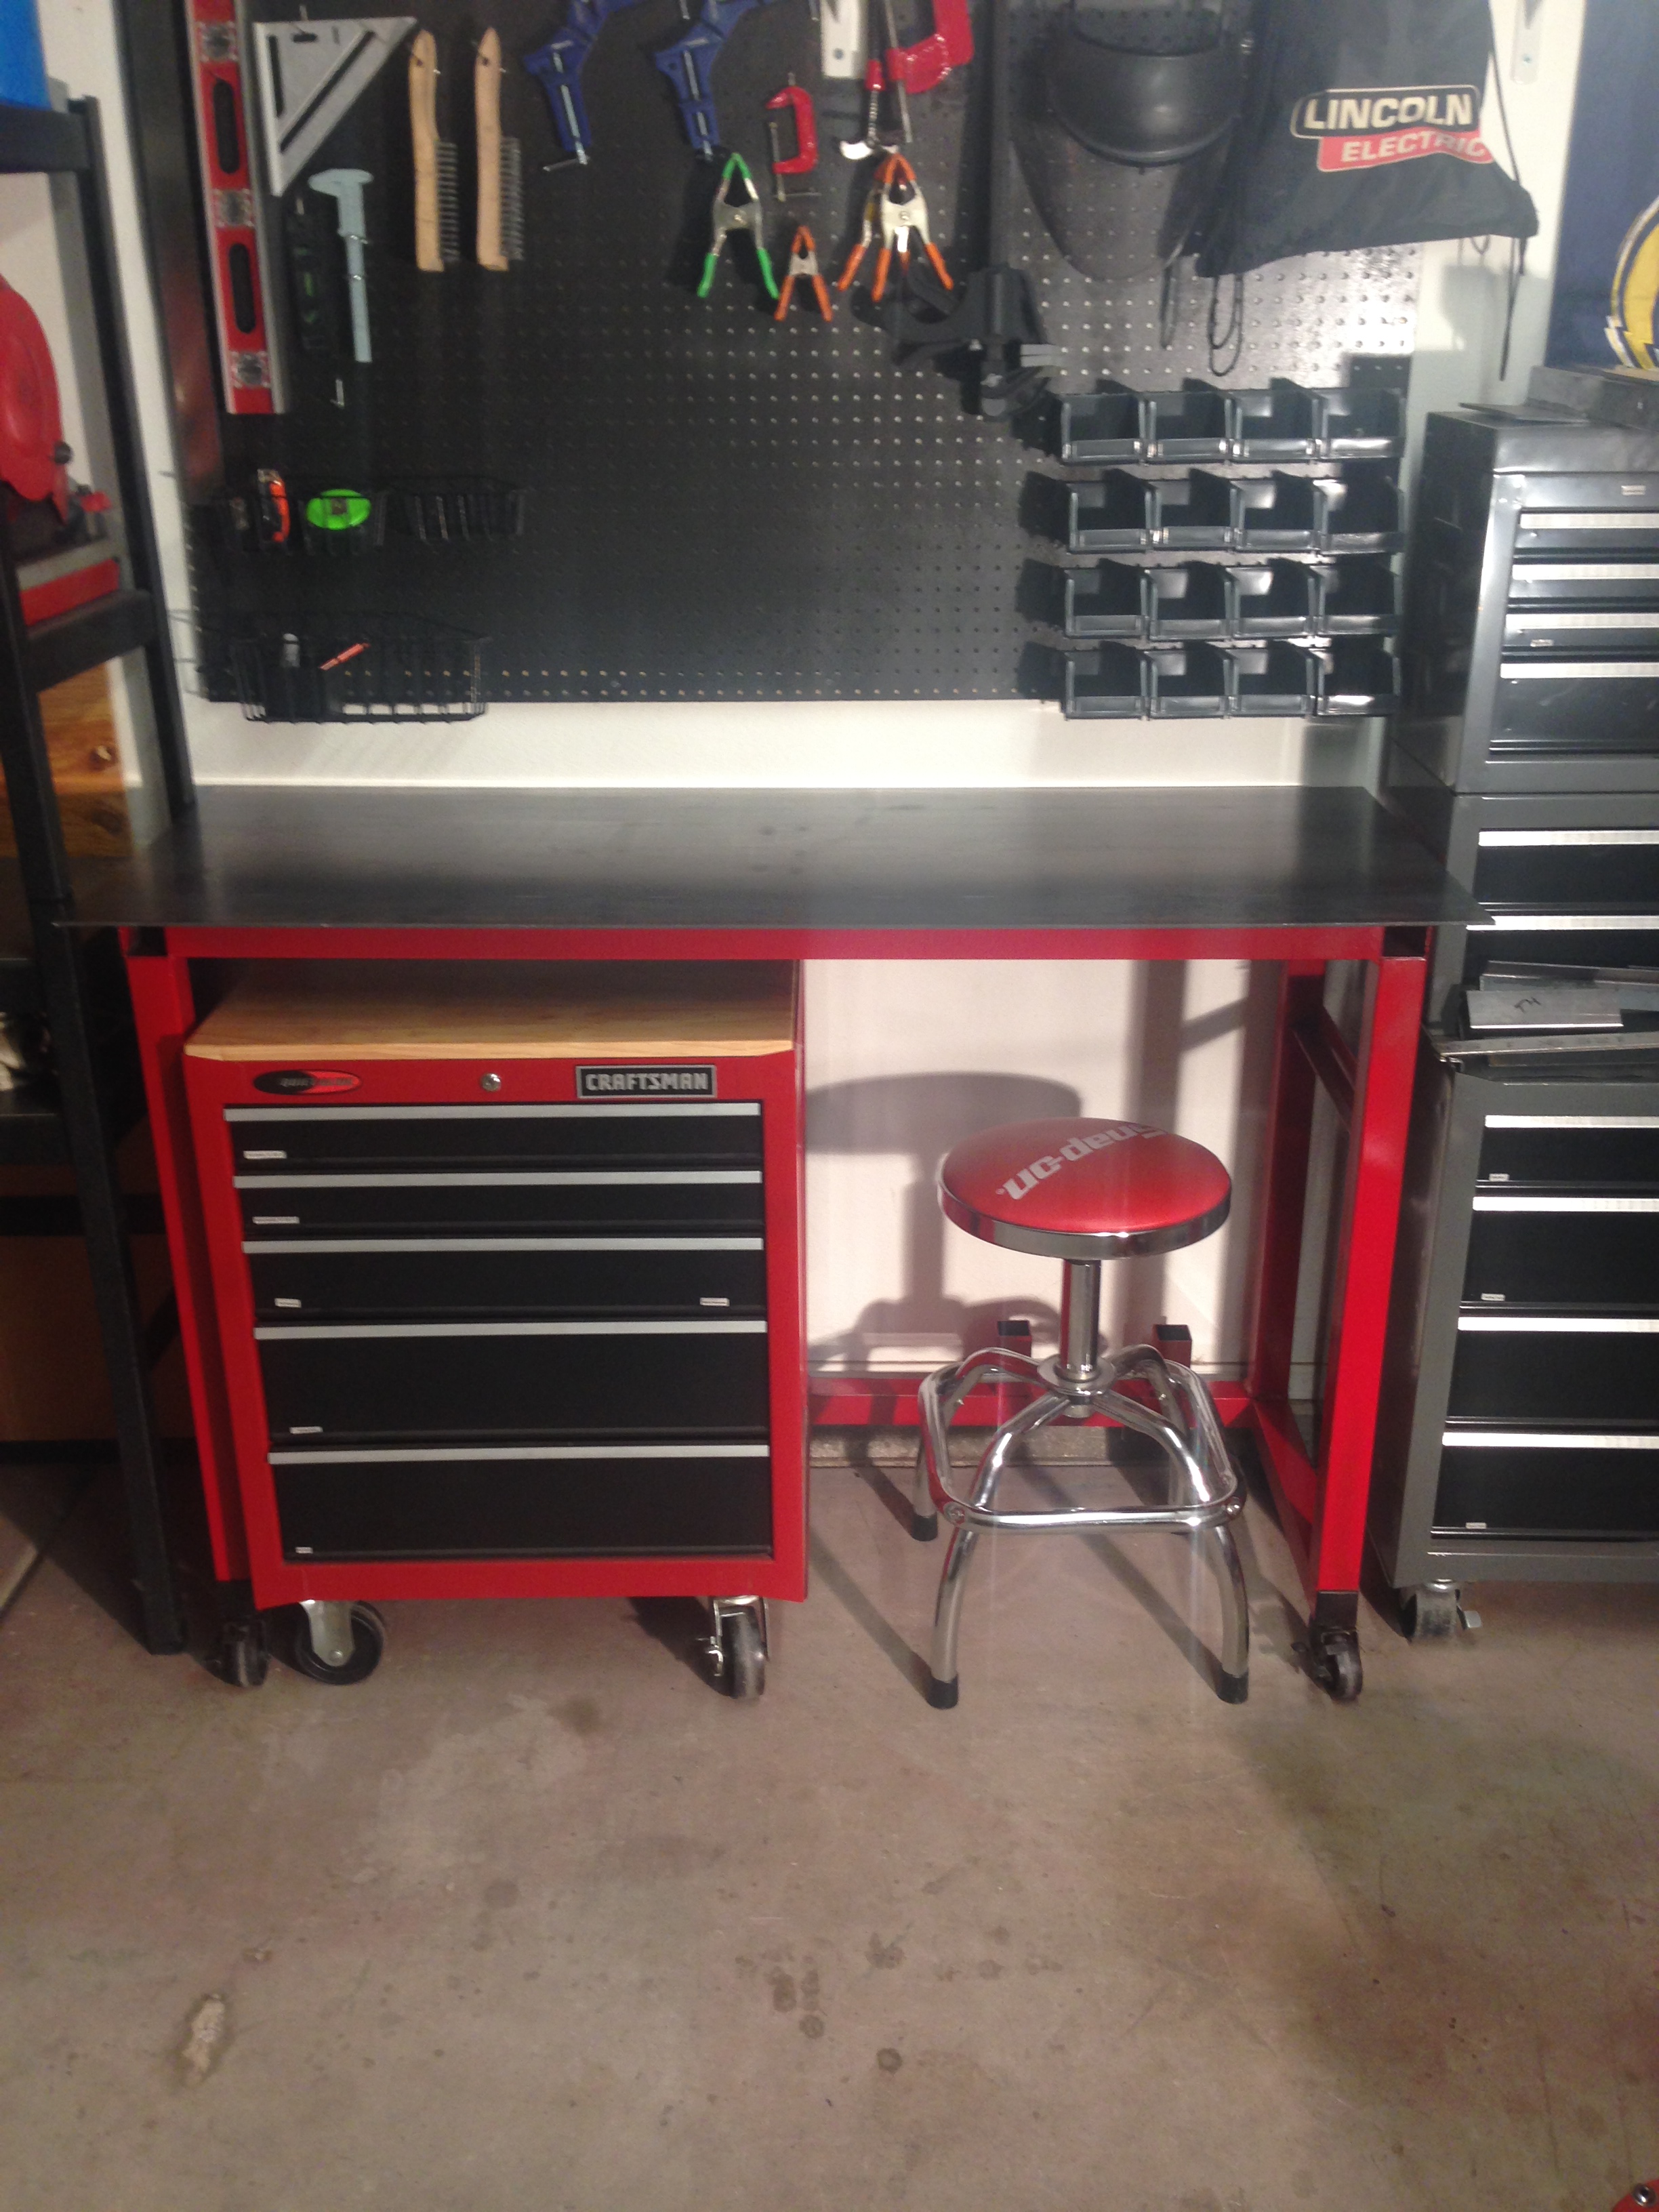
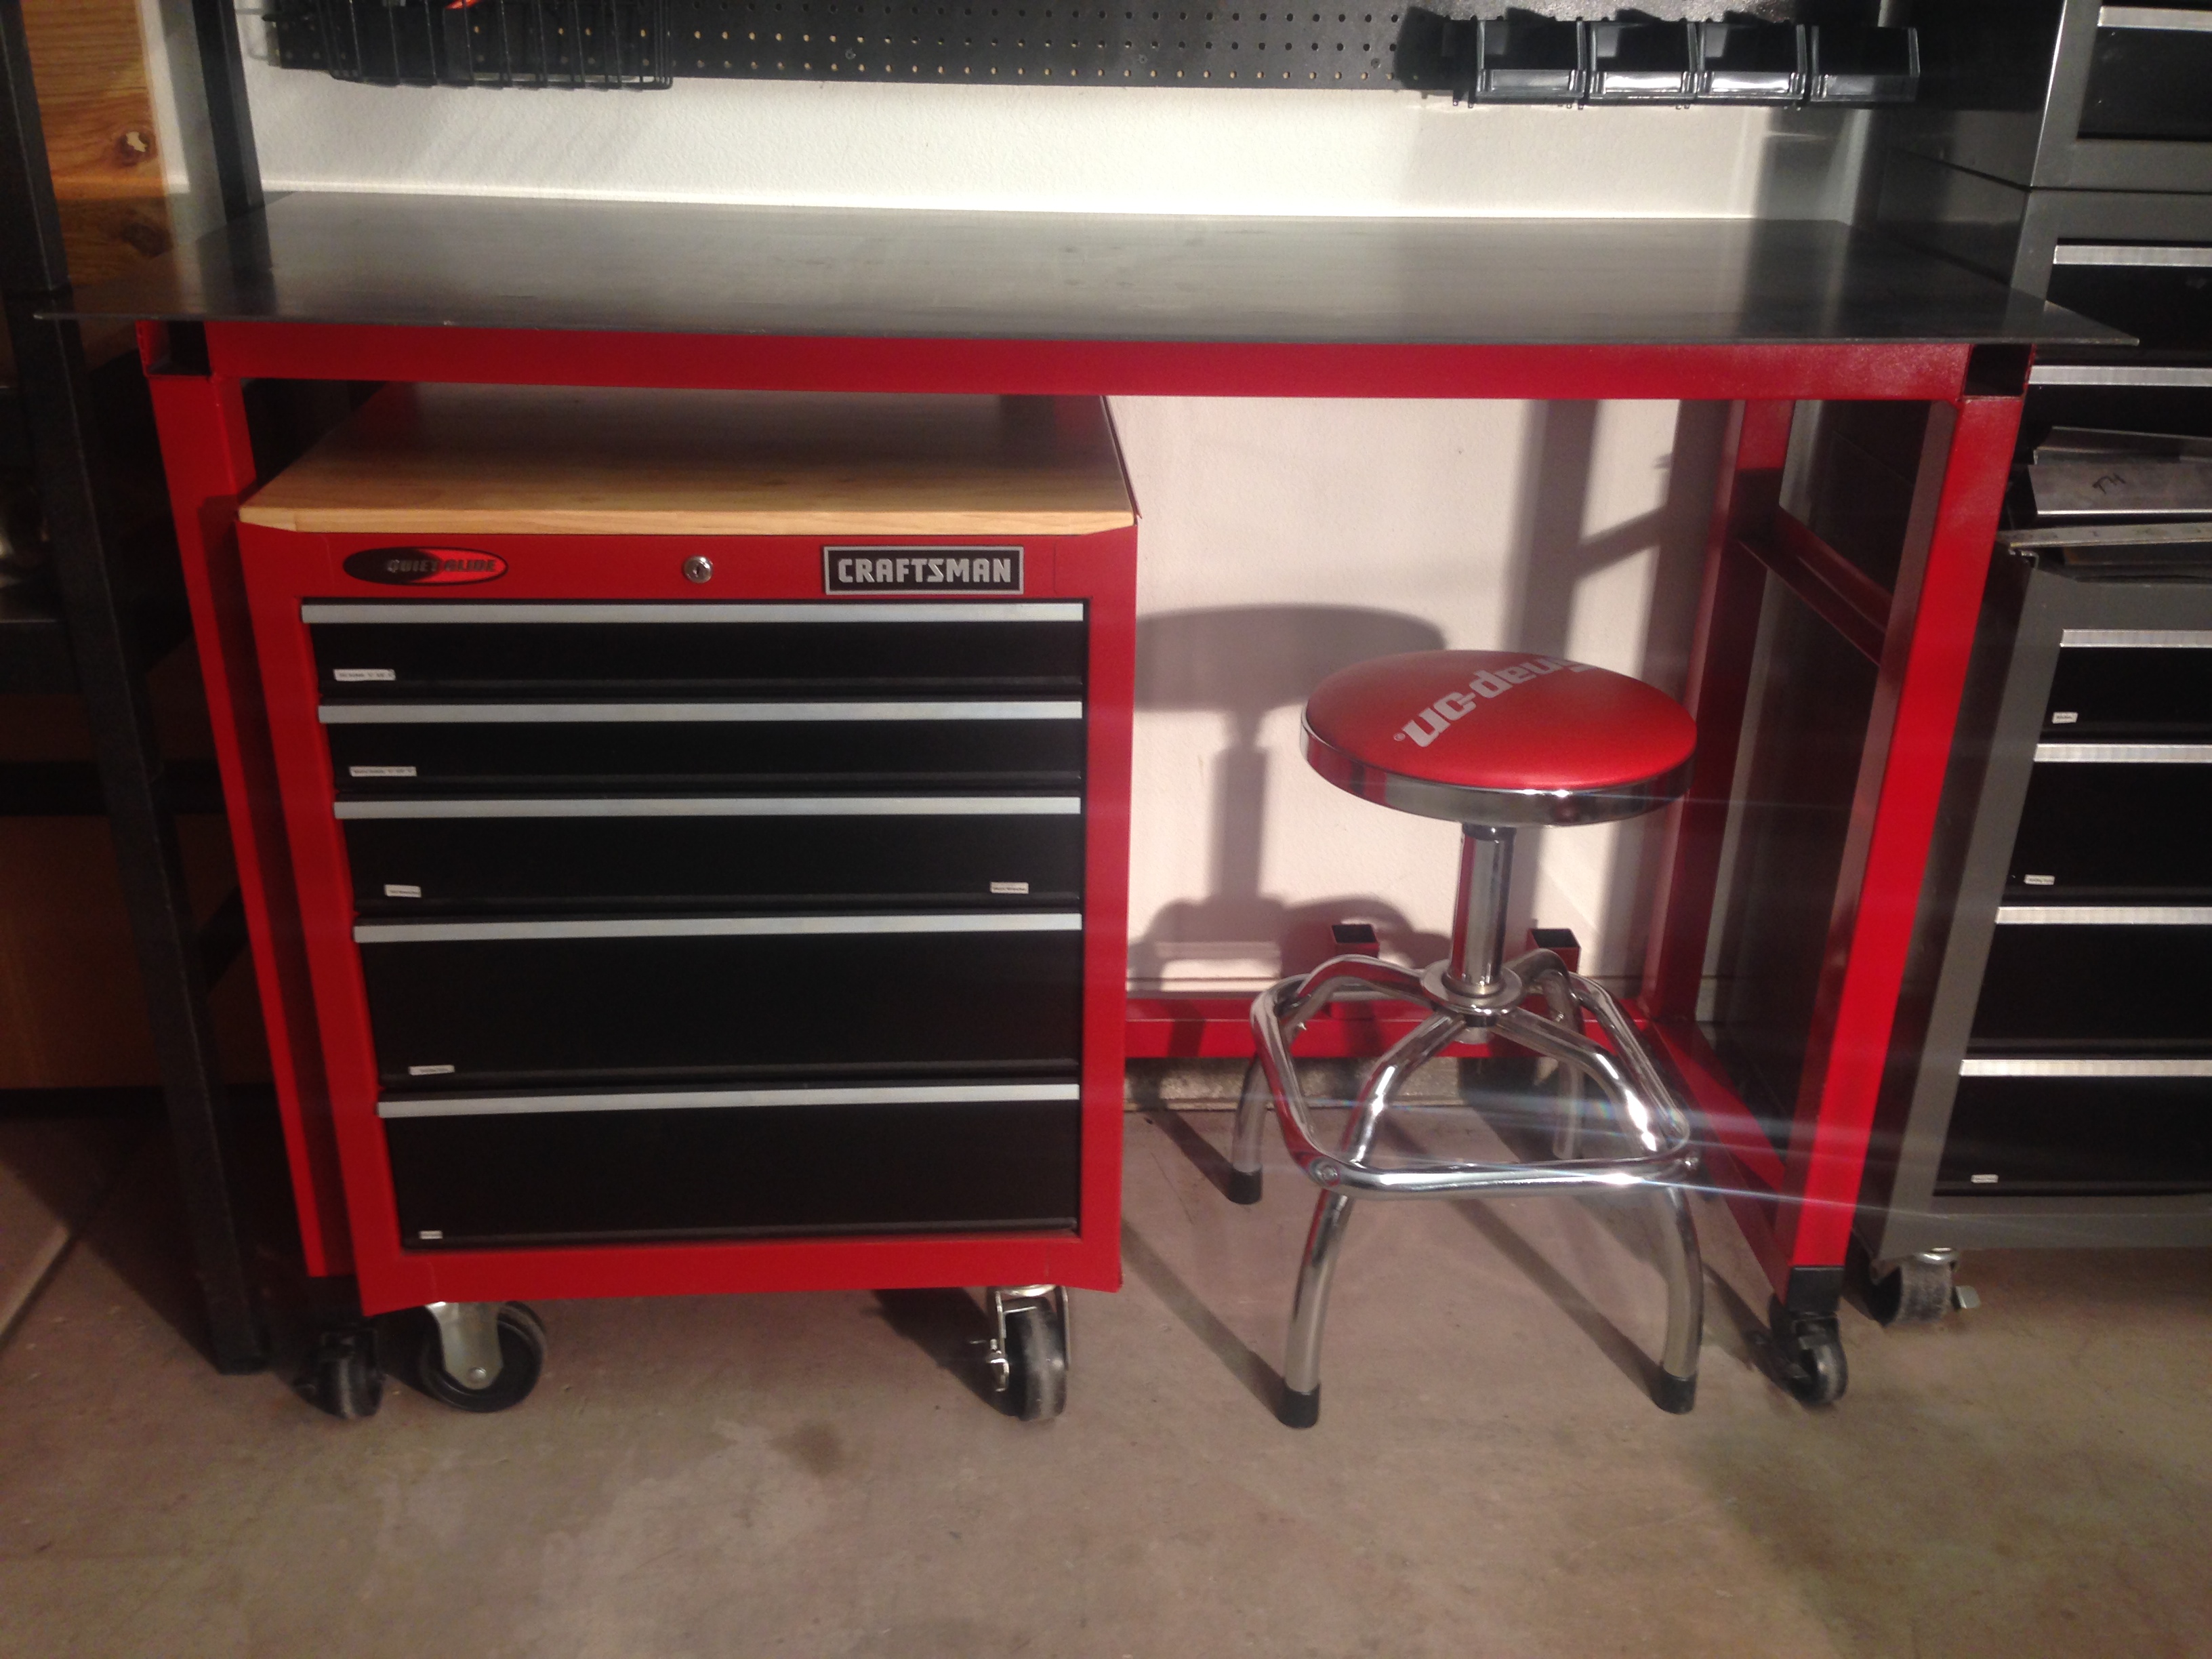
Once the hitch system was added to each corner, I wanted to make sure my Craftsman tool chest and stool would fit under the table for more condensed storage.
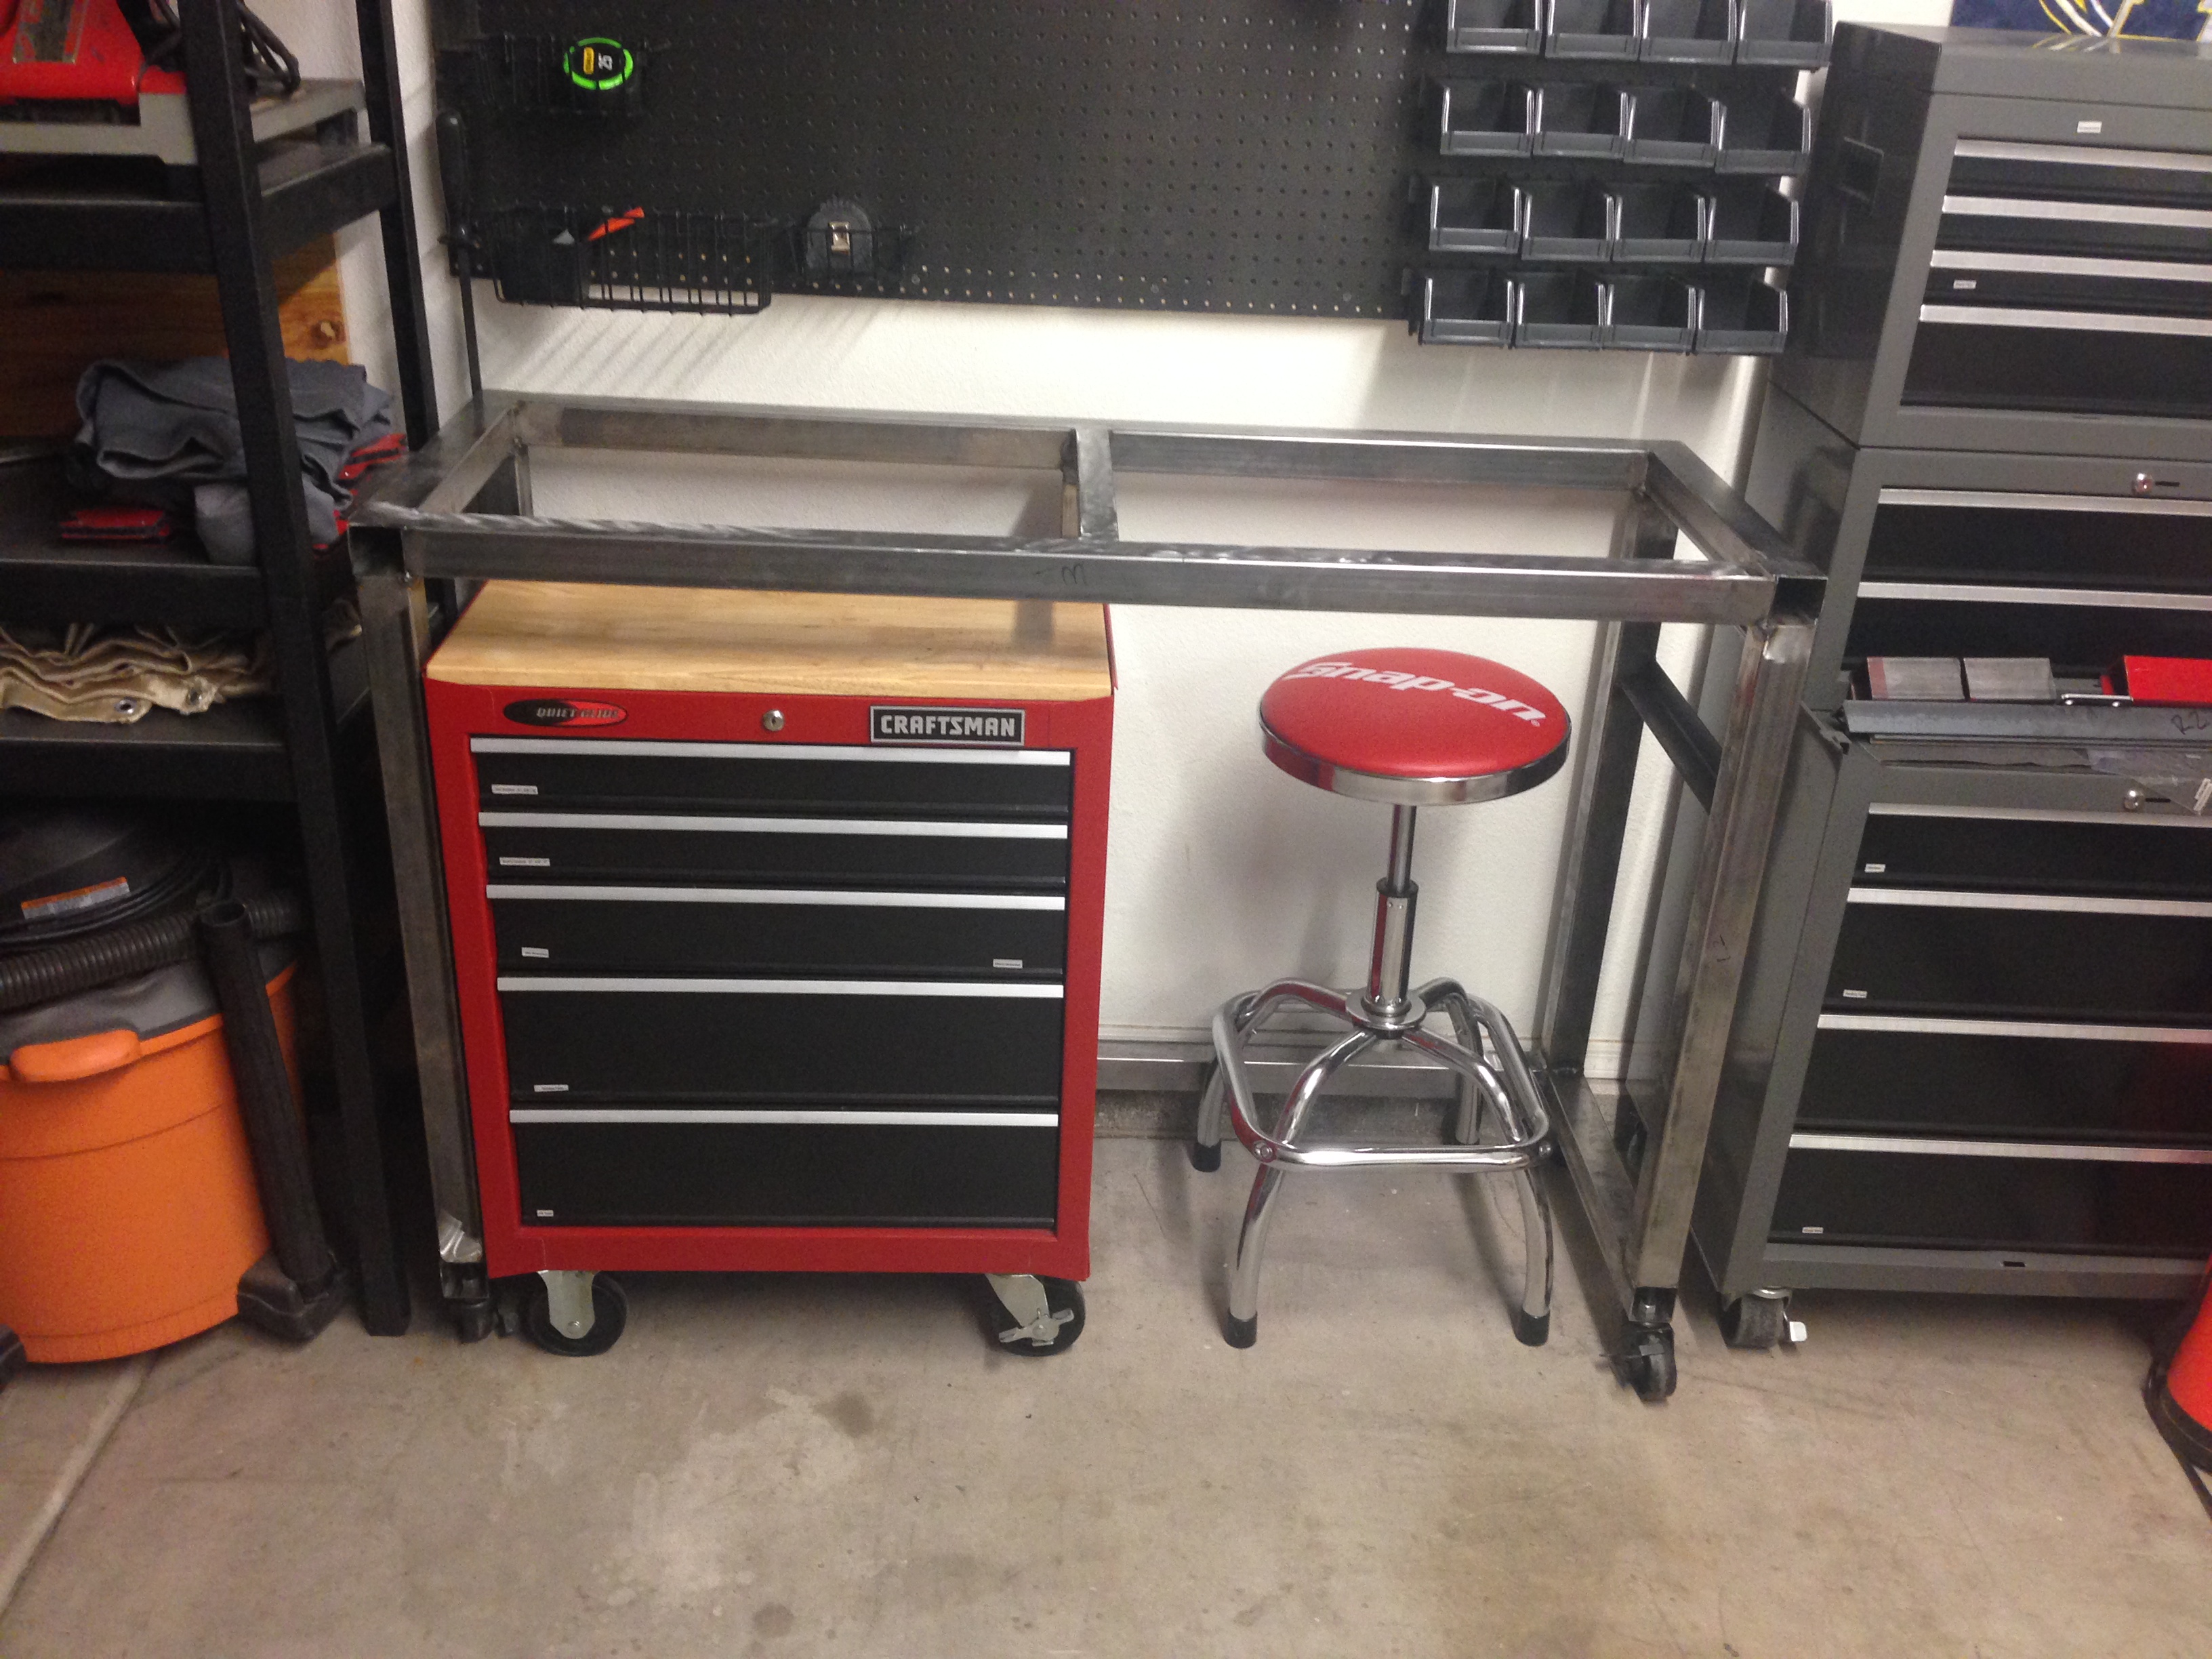
I also created 2 place holder tubes for the storage of the hitch system.
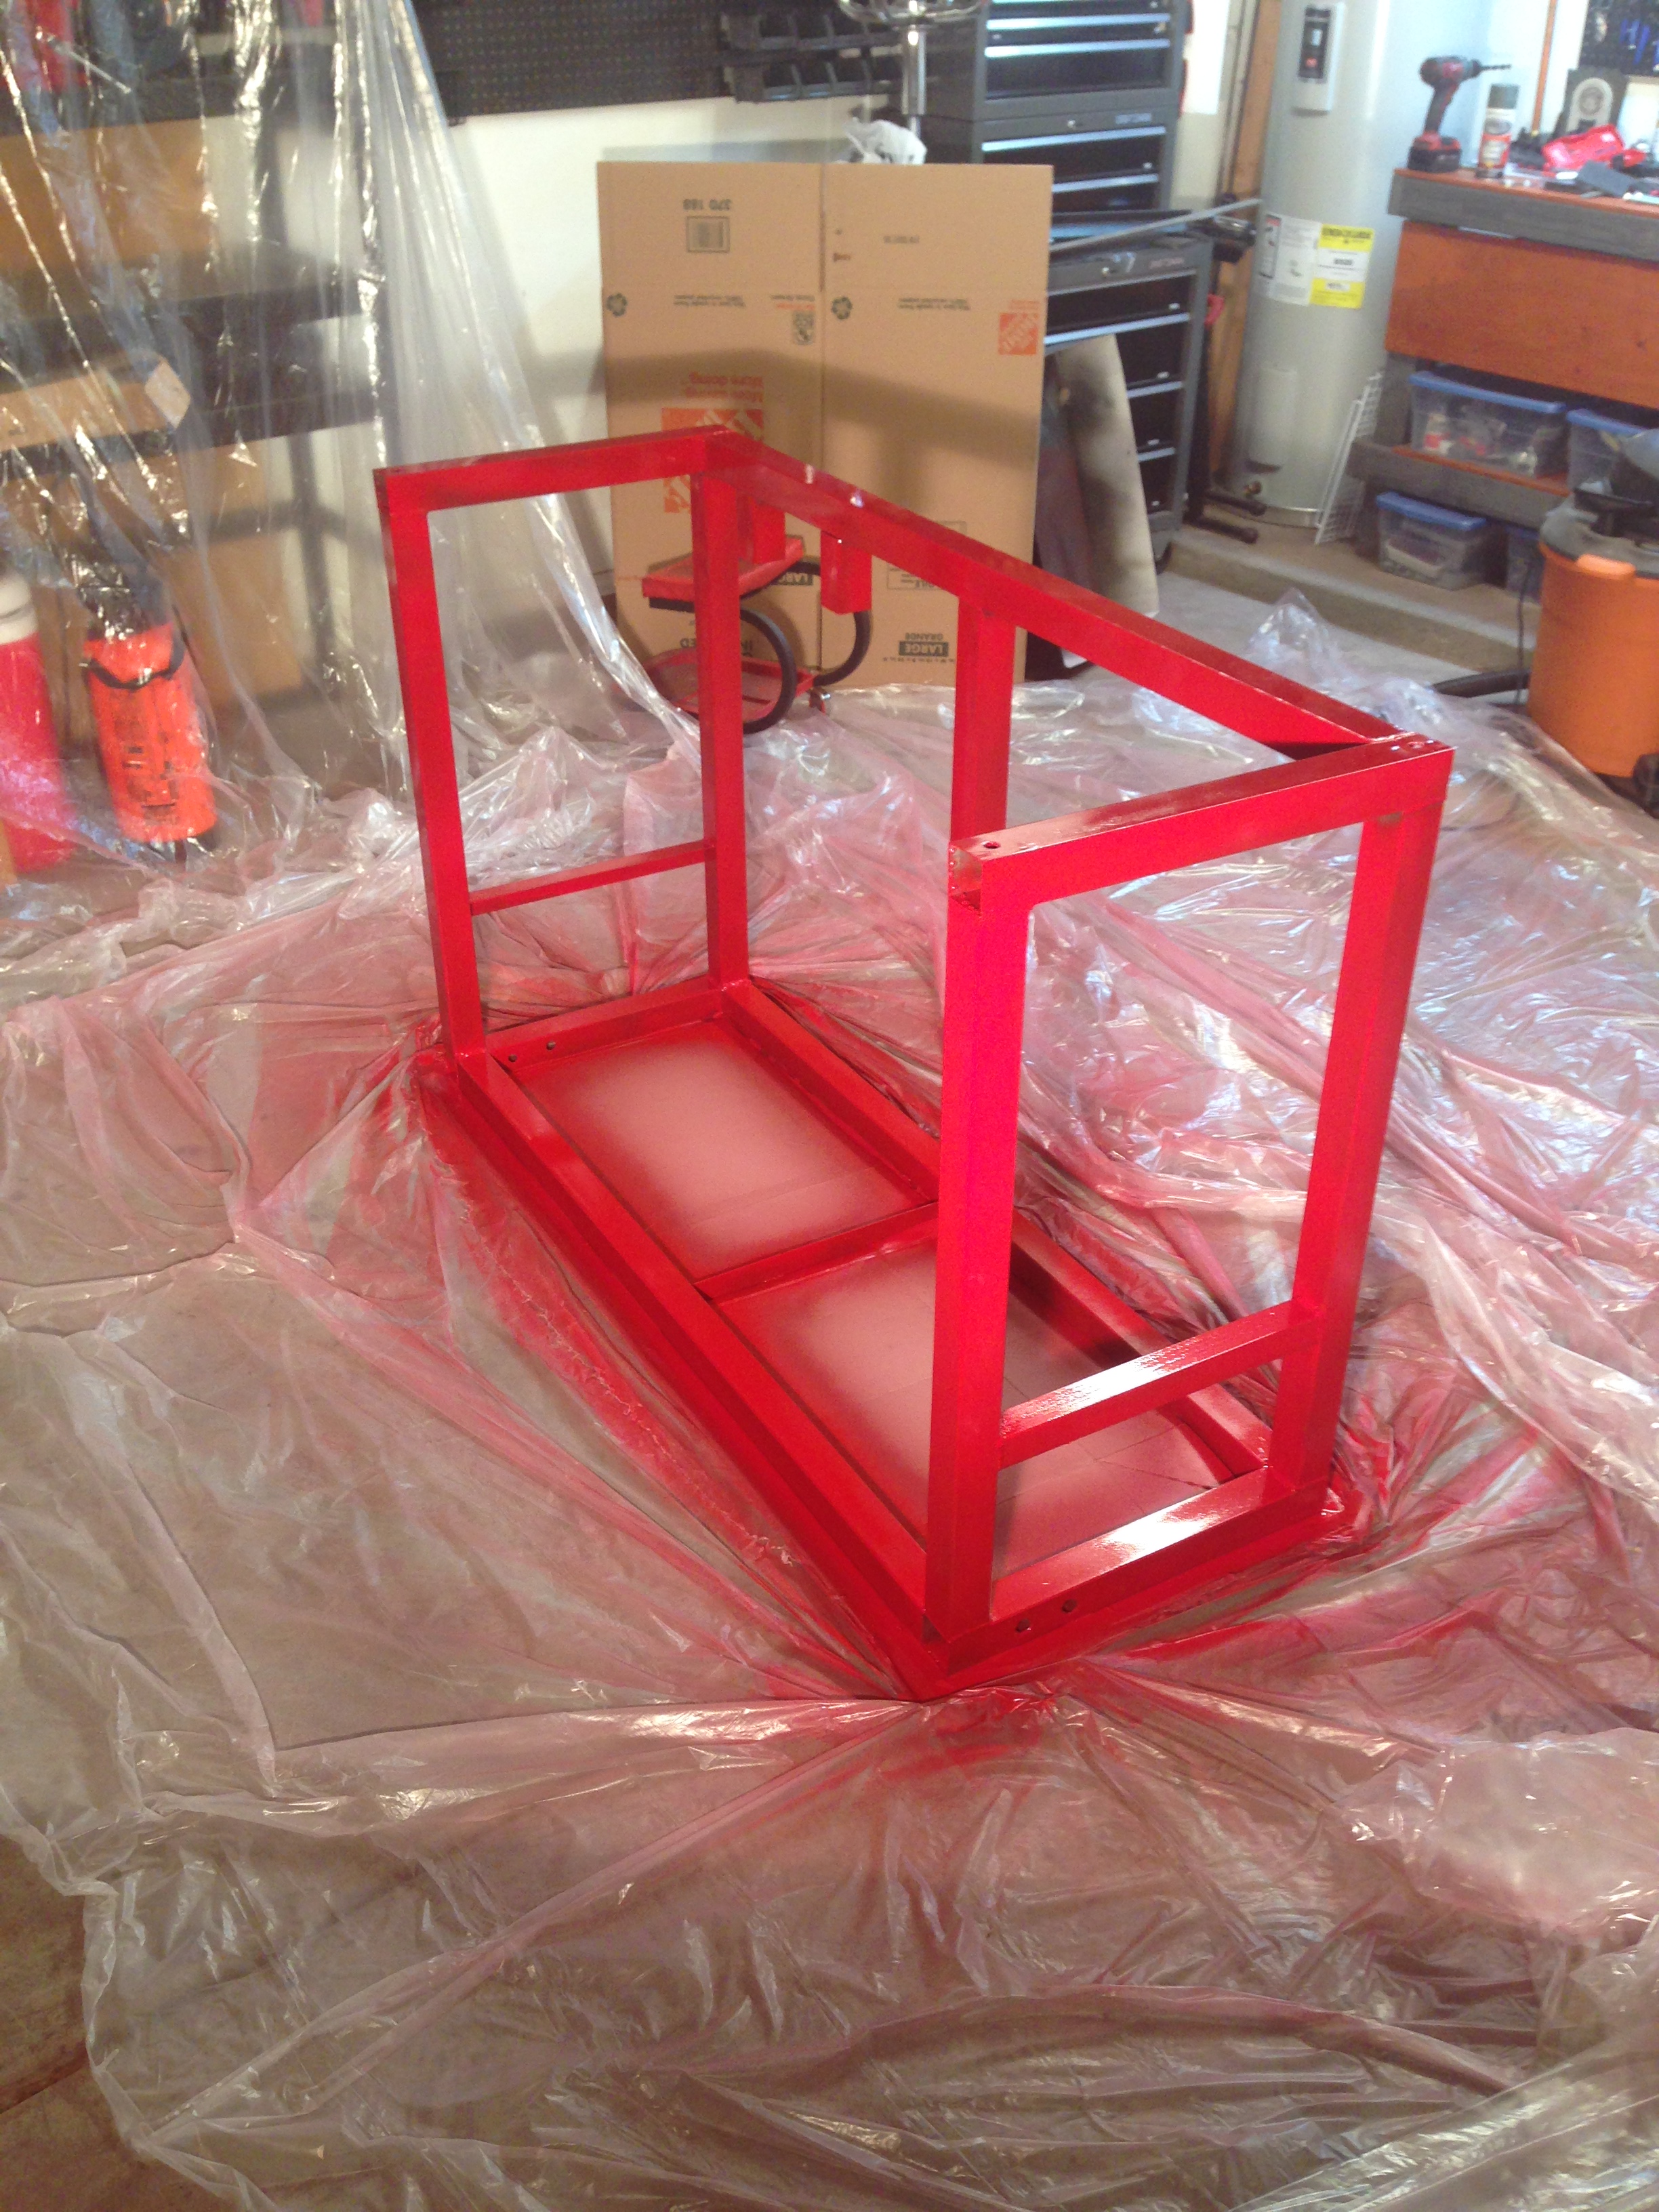
Only two steps left in the fabrication of my welding table: First I need to secure a top to the frame and second I need to paint it to match the rest of the garage…I think Milwaukee red will fit right in.
After welding the top on I had to prep the frame by sanding it and adding primer.
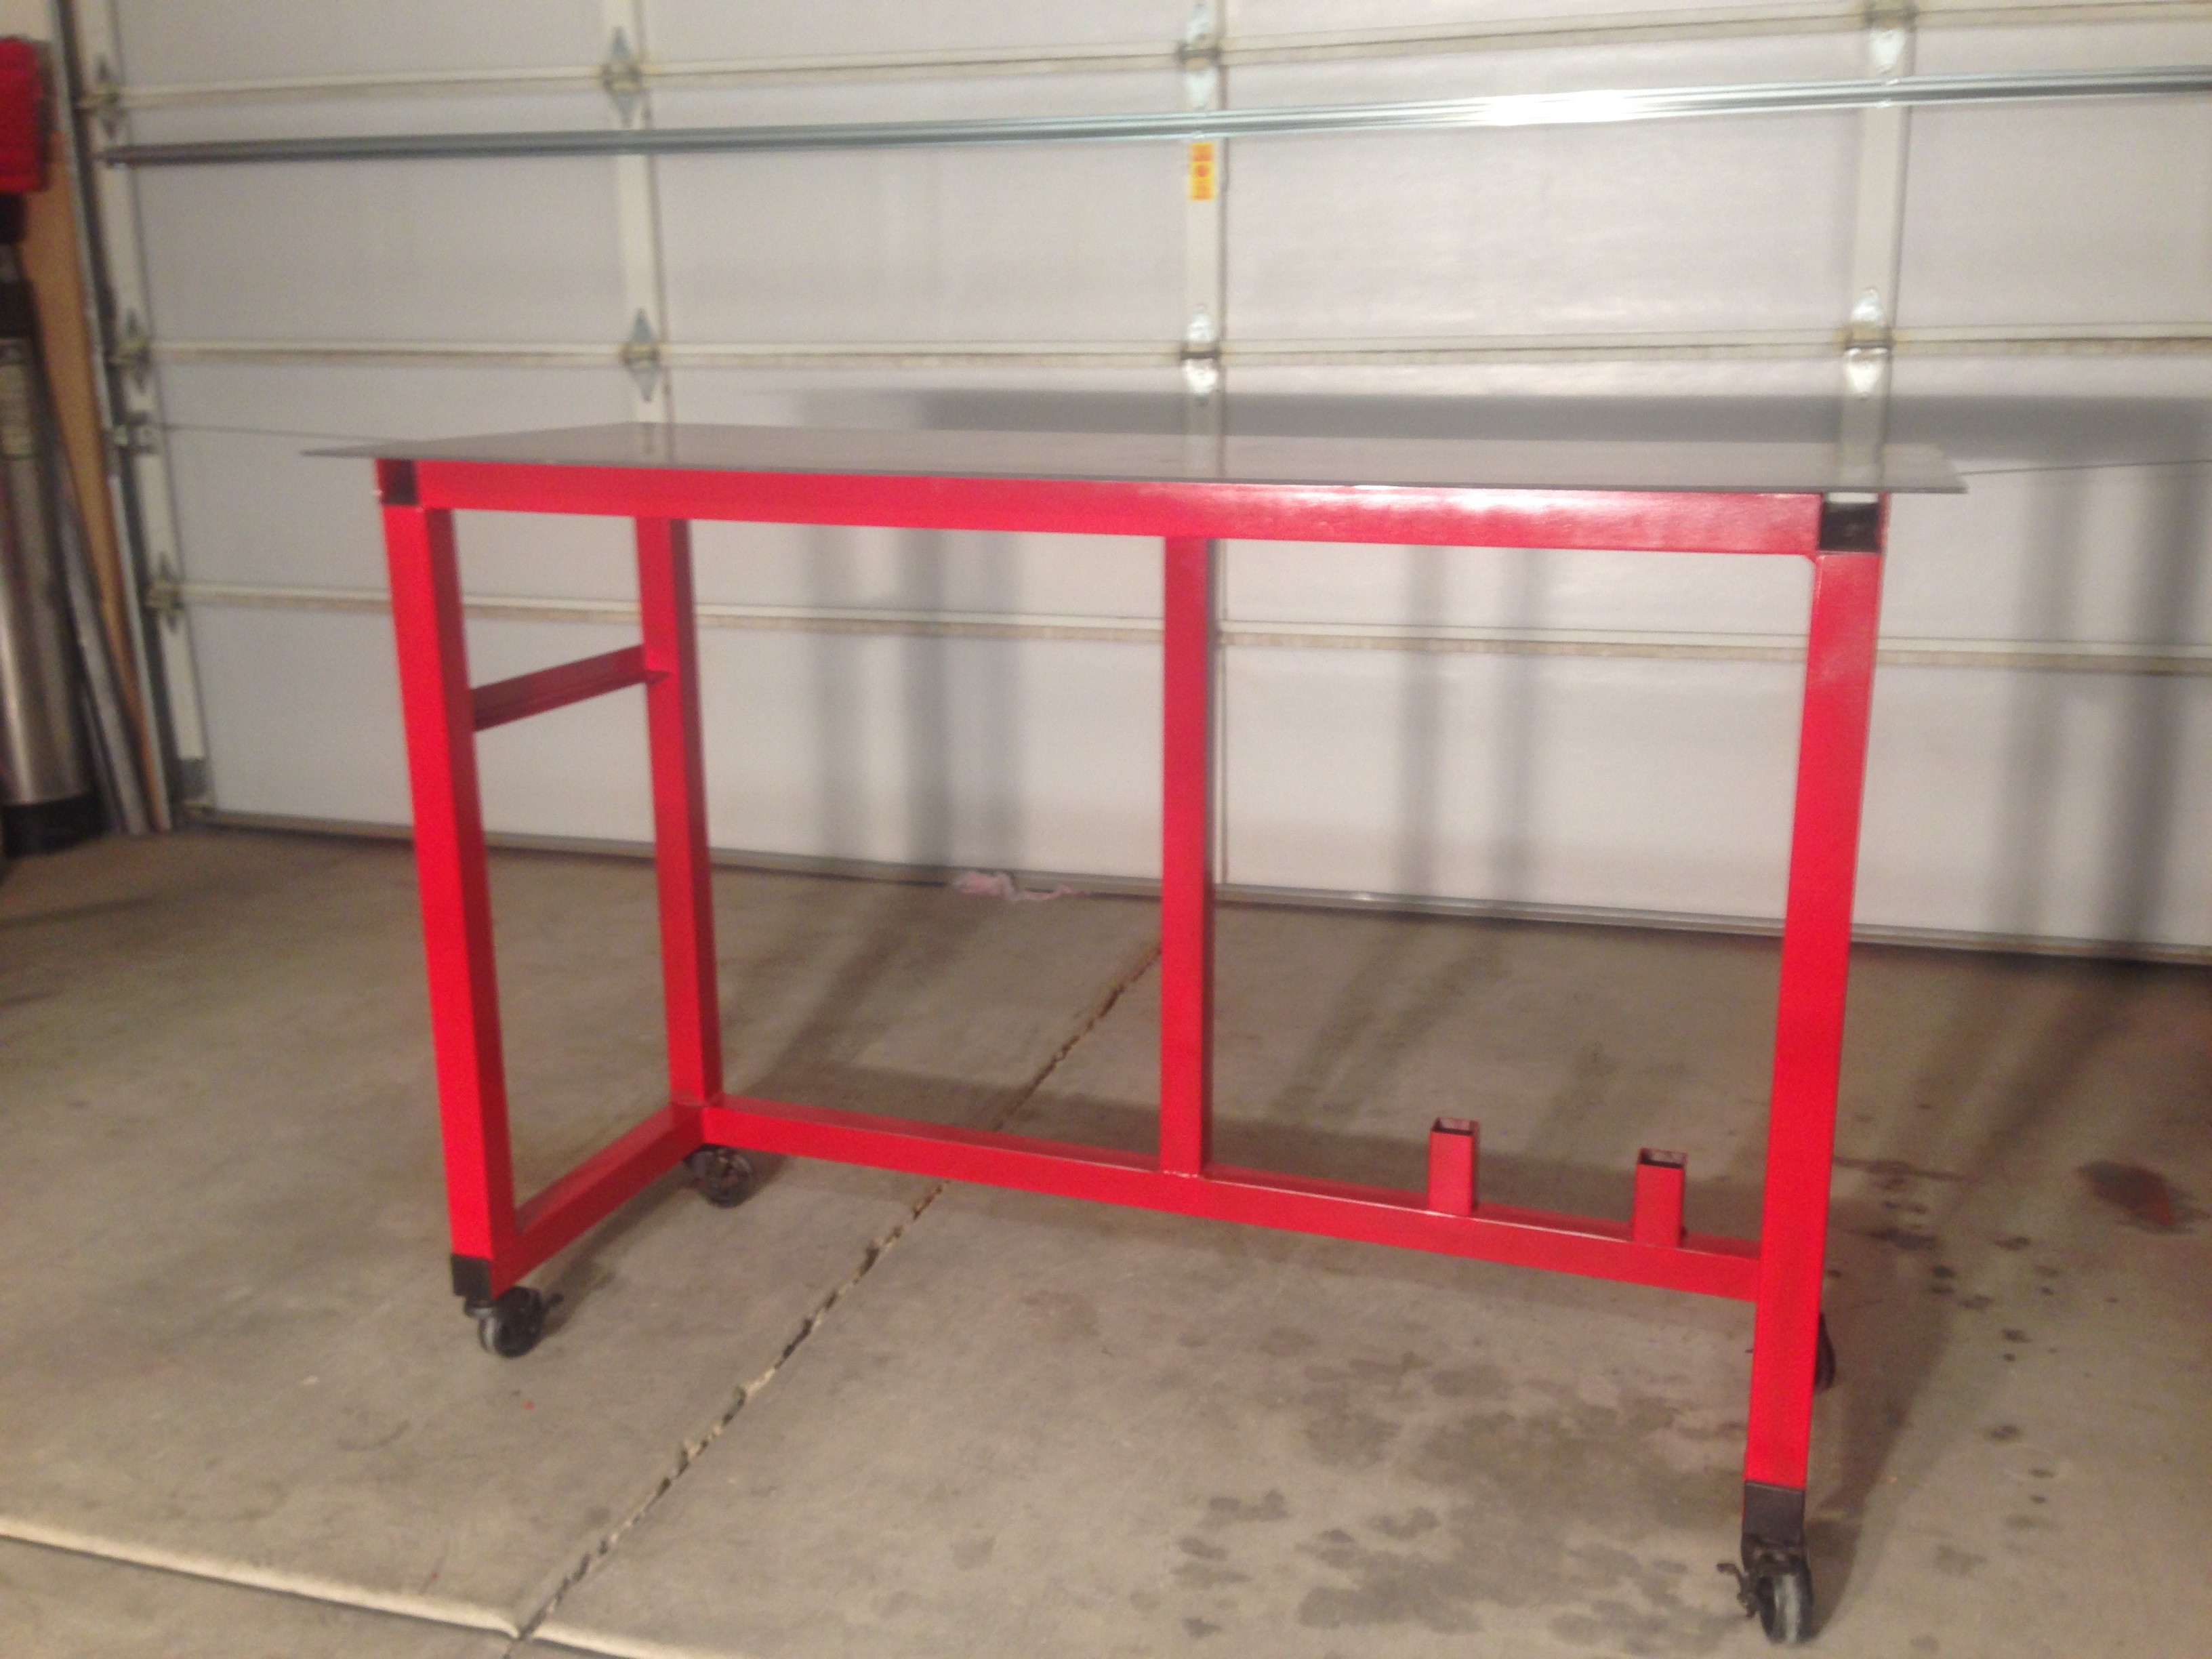
In the end I not only learned a lot from welding the table but also gained a strong welding fabrication table that I can wheel around the garage for any project I’m working on. Here are some final pictures after it was finished my learn to weld project as it sits in its final spot in the garage.
I like the helpful info you provide in your articles. I will bookmark your site and check again here often. I’m quite sure I’ll learn many new stuff right here! Good luck for the next!